DIY Fabric Candy Corn Pattern

This DIY fabric candy corn pattern is quick, easy, and a perfect way to use up fabric scraps you already have on hand. It’s a simple project that brings cozy, handmade charm to your Halloween décor — and it’s one you’ll want to make again and again.
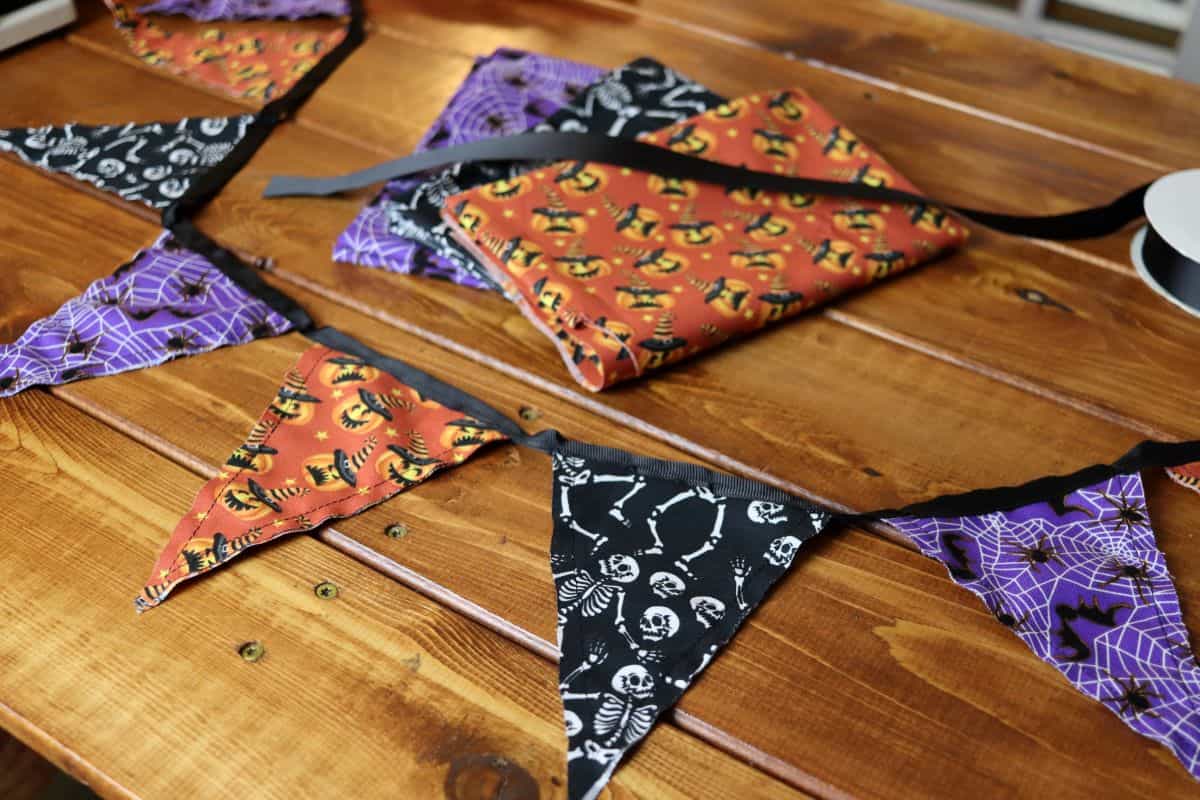
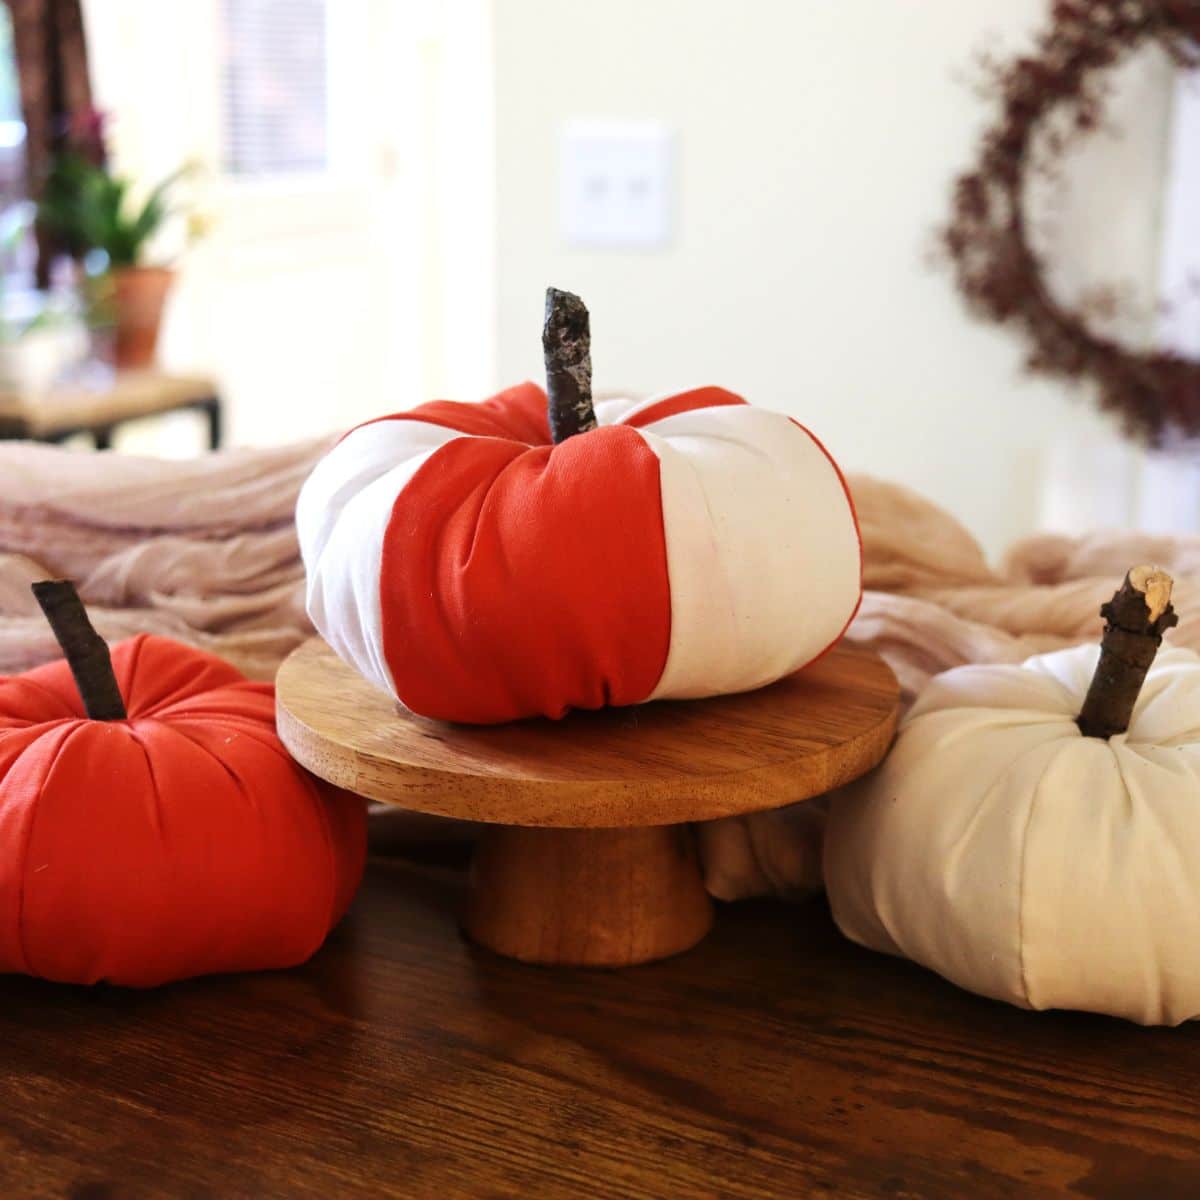
If you love seasonal crafting, you might also enjoy my DIY Halloween flag banner, fabric pumpkin sewing pattern, and DIY leaf stamped tea towels which are all simple handmade decorations that are perfect for spooky season.

Let’s talk about this project
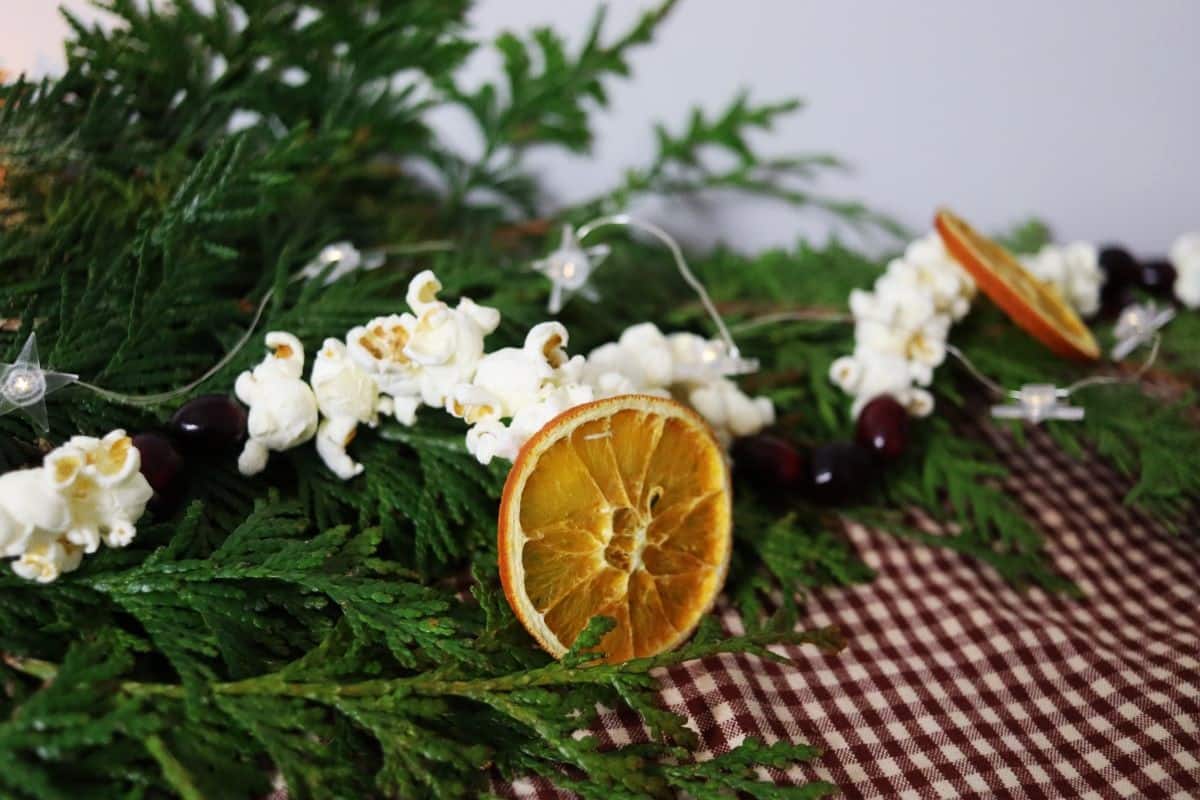
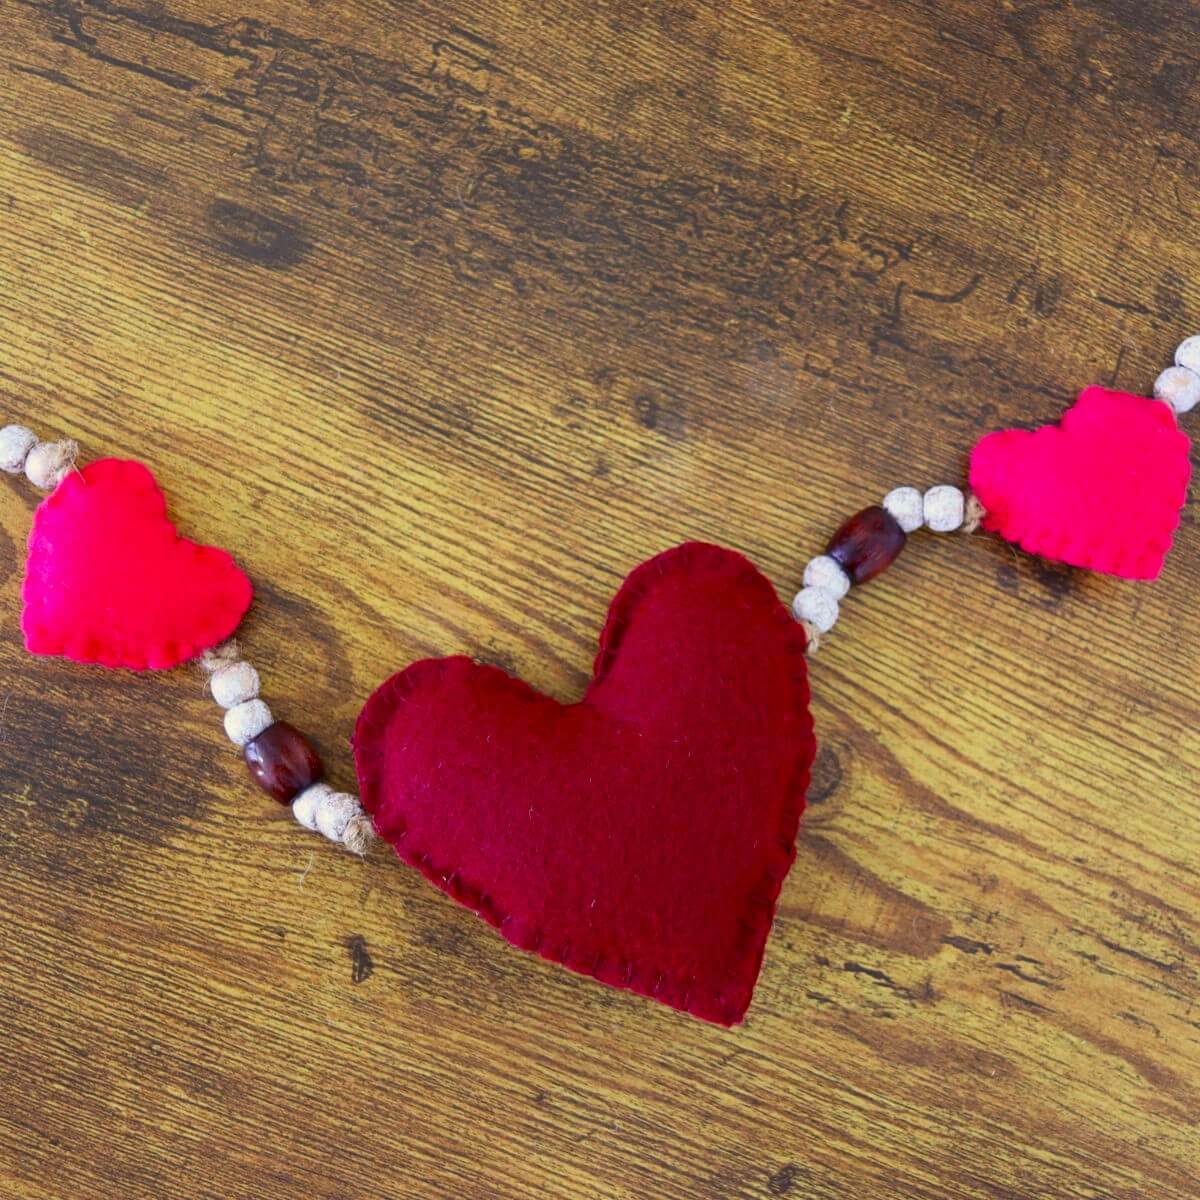
There’s something timeless about the rustic charm of handmade holiday décor. These fabric candy corn pieces fit beautifully into a slow living home — a touch of whimsy, mixed with warmth and creativity. Just like my rag tie garland, they’re an easy way to bring that homemade coziness into your seasonal decorating.
They also make wonderful little gifts for friends and family. With minimal supplies and just a bit of time, you can sew up a handful of these candy corn decorations to share with family and friends. They’ll bring a smile to their faces, warmth to their heart, and a little seasonal charm to their home.
Materials you’ll need
- Free pattern: Download my free DIY candy corn pattern to get started.
- Brown or yellow fabric: Cotton — solid or printed works beautifully.
- Orange fabric: Cotton — solid or printed.
- White fabric: Cotton — solid or printed.
- Thread: Brown or yellow thread to match the fabric used for the bottom section of the candy corn.
- Fiber fill: Used to lightly stuff your candy corn for soft, full shaping.
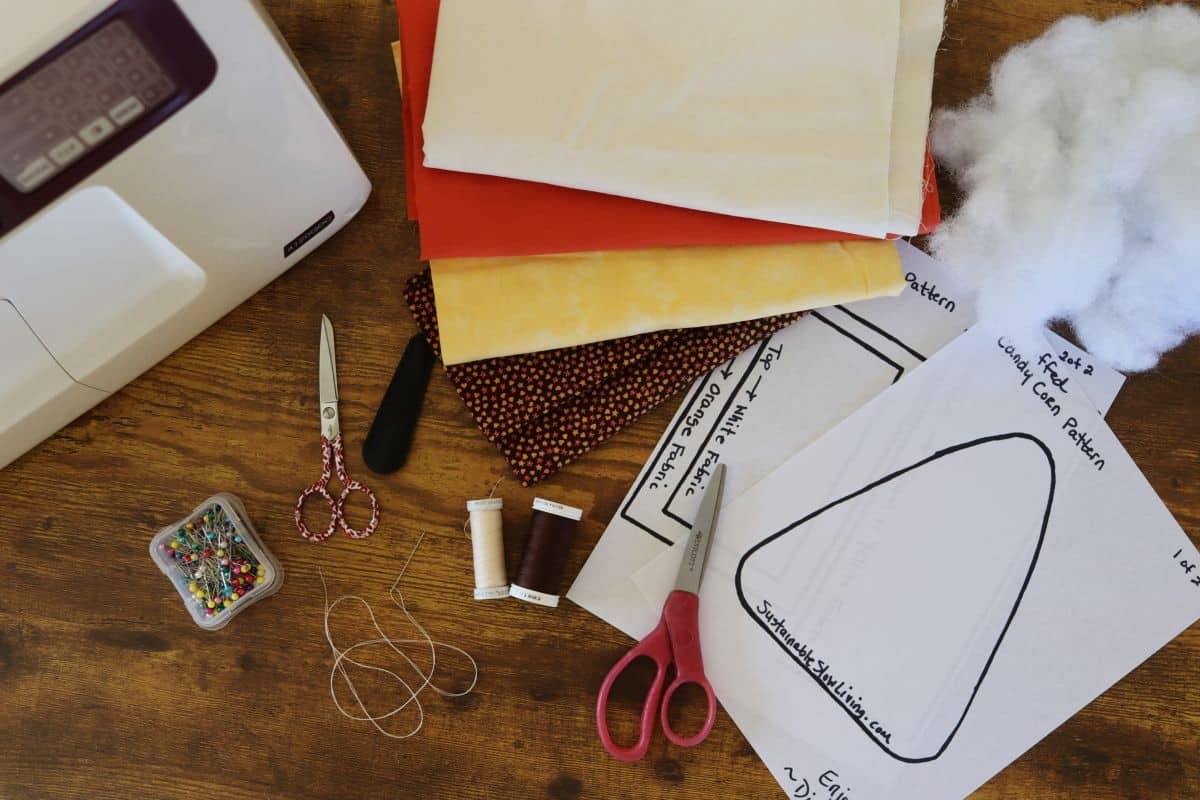
Equipment you’ll need
- Sewing pins: To pin the pattern pieces to your fabric and stabilize layers while sewing.
- Craft scissors: For cutting out the paper pattern.
- Fabric scissors: For cleanly cutting the fabric.
- Sewing machine: To stitch the panels together quickly and neatly.
- Sewing needle: For hand-stitching the small gap, in the bottom of the candy corn, closed after stuffing.
How to make DIY fabric candy corn
This is one of those fun, low-stress sewing projects that comes together in under an hour — perfect for beginners and for using up extra fabric on hand.


Step 1: Use the pattern pieces to cut two of each color fabric.
Step 2: Stitch the fabric strips together with a 5/8″ seam to create two tri-color panels. Iron seams open.


Step 3: Place the two panels right sides together and use the pattern to cut into candy corn shapes.
Step 4: Sew around the edges using the edge of your foot as a guide for the seam allowance, leaving a small gap at the bottom for turning.
Would you like to save this post for later?


Step 5: Turn the candy corn right-side-out and stuff with fiber fill.
Step 6: Hand-stitch the bottom opening closed using a blind stitch for a clean finish.
You’ll find more detailed step-by-step instructions in the how-to card below, which you can also print for your convenience if you’d like.

Diane Gail’s tips for success
- Pin strategically: Place sewing pins perpendicular to the seam line so they’re easy to remove as you stitch — this keeps your fabric strips from shifting as you sew them.
- Press seams open before cutting: After sewing the three fabric strips together, press the seams open to help the panels lay flat before cutting the candy corn shape.
- Leave a wide enough gap: A two-inch opening at the bottom makes turning and stuffing much easier. I use this same method in my free stuffed bunny pattern, and it works beautifully every time.
- Stuff lightly and evenly: A small handful of fiber fill goes a long way. Overstuffing can distort the shape and make hand-stitching the gap closed more difficult.
- Match your thread color: Choose thread that matches the bottom layer of your candy corn so your final stitches blend right in.
Other projects you’ll love


DIY Fabric Candy Corn
Equipment
- 1 FREE pattern linked in instructions
- 1 yellow or brown cotton fabric 8×18 inches, solid or patterned
- 1 orange cotton fabric 10×14 inches, solid or patterned
- 1 white cotton fabric 7×12 inches, solid or patterned
- thread match yellow or brown fabric
- fiber fill to stuff candy corn
Materials
- sewing pins
- craft scissors for cutting pattern
- fabric scissors for cutting fabric
- sewing machine
- sewing needle to close gap used for stuffing
Instructions
- Cut the fabric: Print and cut out the free candy corn pattern. Use it to cut two pieces of each fabric color — brown or yellow for the base, orange for the center, and white for the top.
- Sew color strips together: Arrange your fabric strips in order — base, center, and top. Sew them together using a ⅝" seam allowance to form two tri-color panels.
- Press seams open: Turn each panel over and press the seams open with an iron. This helps the panels lay flat and gives your finished candy corn a neat appearance.
- Cut candy corn shapes: Place the two tri-color panels right sides together. Use the pattern to cut both layers into the candy corn shape.
- Sew panels together: Sew around the edges with the right sides still facing, using the edge of your presser foot as a guide. Leave a 2-inch gap along the bottom for turning.
- Turn and stuff: Turn your candy corn right side out through the gap. Stuff lightly with fiber fill until it holds its shape without bulging.
- Close the gap: Thread a hand-sewing needle and use a blind stitch to close the opening neatly. Match your thread to the base fabric color for an invisible finish.
Notes
- Pin fabrics before sewing: Use sewing pins to keep your fabric strips aligned for neat, straight seams that look polished.
- Press seams open after joining: Flattening the seams before cutting the candy corn shape helps the panels lay smooth and professional-looking.
- Leave a wide gap for turning: A two-inch opening at the bottom makes it easier to turn and stuff your candy corn.
- Stuff lightly for the best shape: Add just enough fiber fill for a soft, plump finish — too much will distort the shape and make sewing the gap closed difficult.
- Match your thread to the base fabric: Using thread that matches the bottom layer gives your final blind stitch a seamless, invisible finish.
- Use short, even stitches to close: A small, consistent blind stitch will secure the opening neatly making it ‘disappear’ seamlessly into the piece.


I absolutely love how simple and fun these are to make — such a great way to use up leftover fabric scraps! They add the perfect handmade touch to fall decorating, and they come together so quickly that you can make a whole batch in no time.
~ Diane Gail