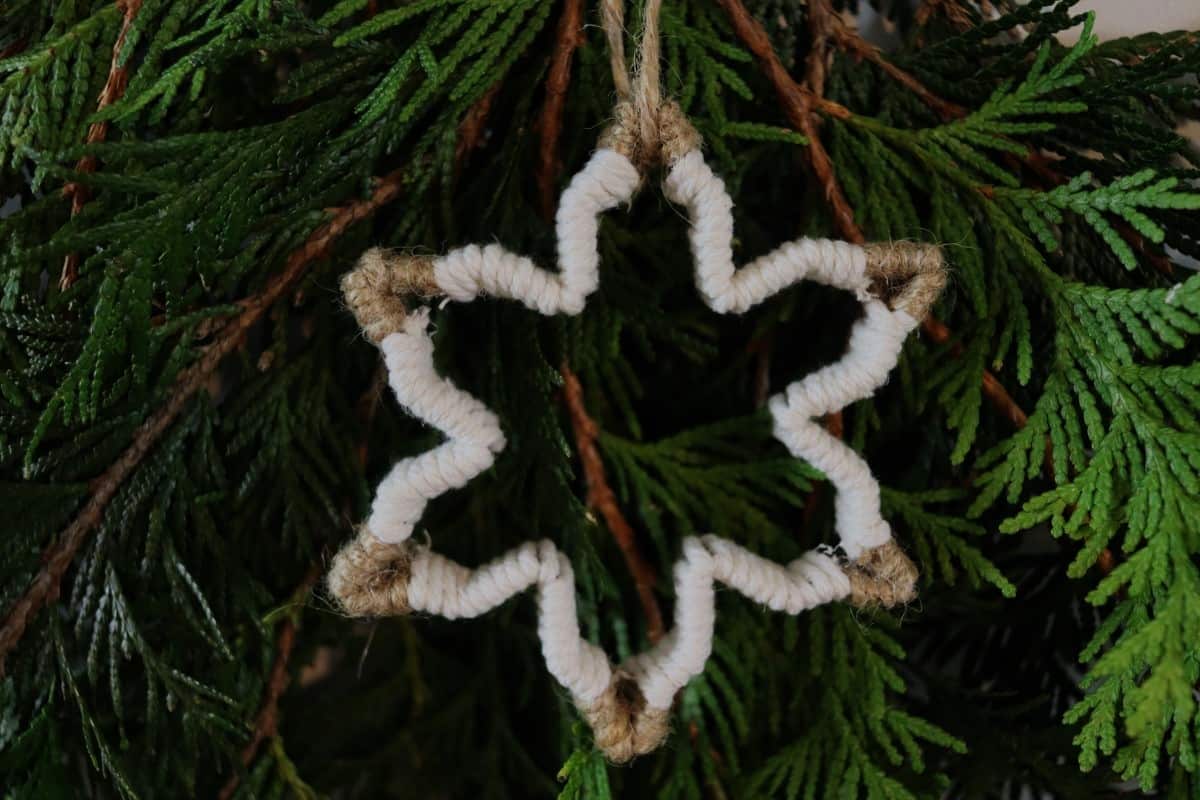
Twine Wrapped Snowflake Cookie Cutter Ornament Tutorial

This wrapped snowflake cookie cutter ornament tutorial turns a simple metal cookie cutter into a charming, textured Christmas ornament using just twine, cord, and a few minutes of hands-on crafting. It’s a quick, rustic project that holds up beautifully year after year — and once you make one, you just may want an entire tree full of them.
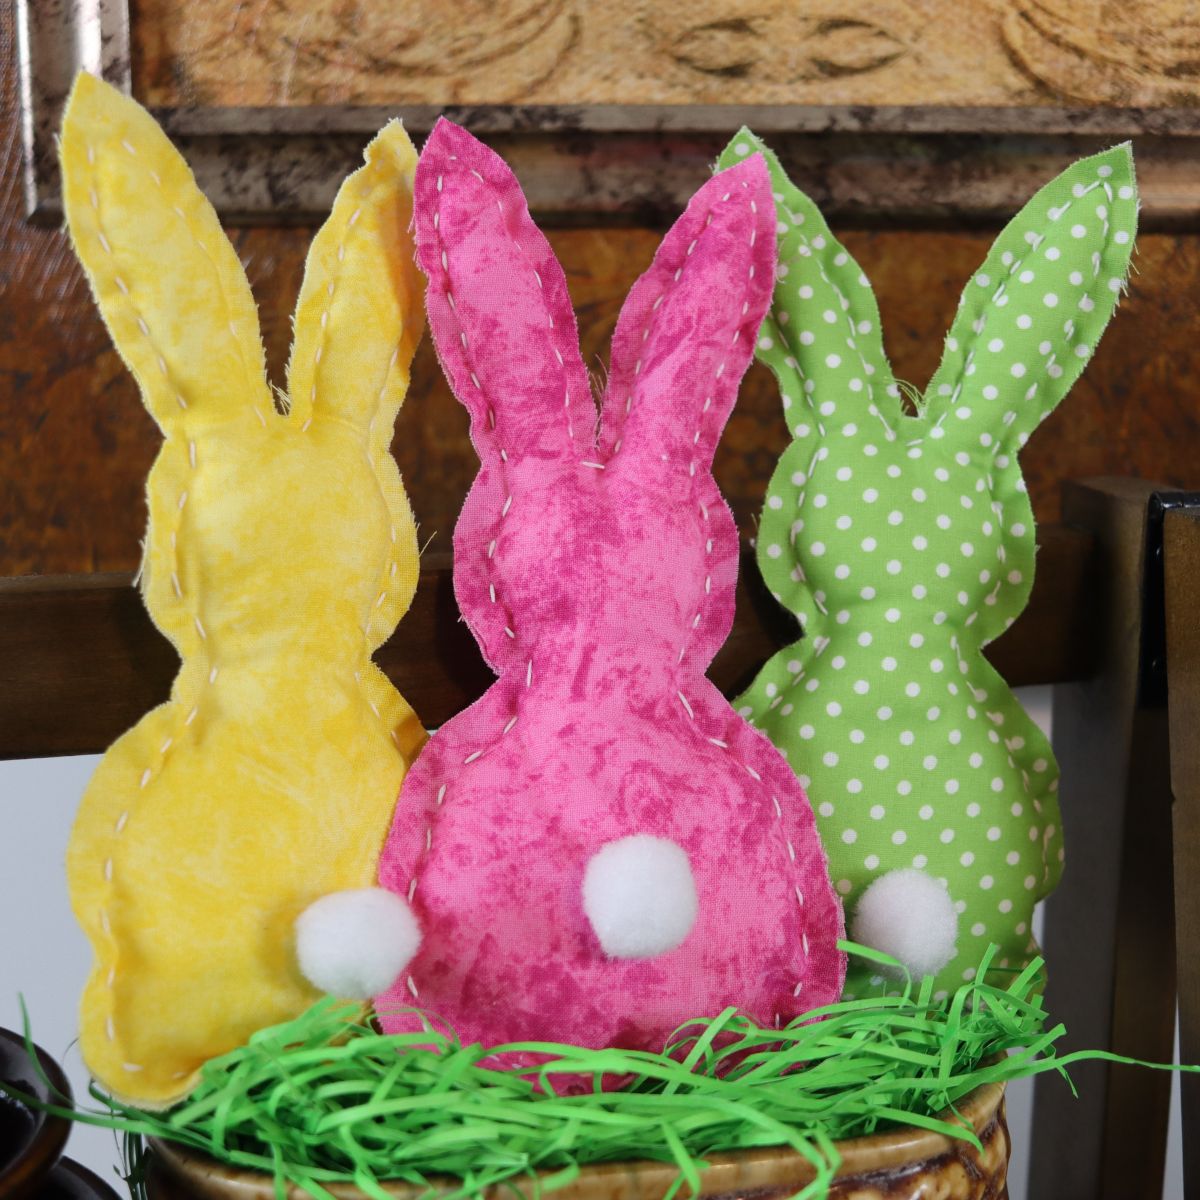
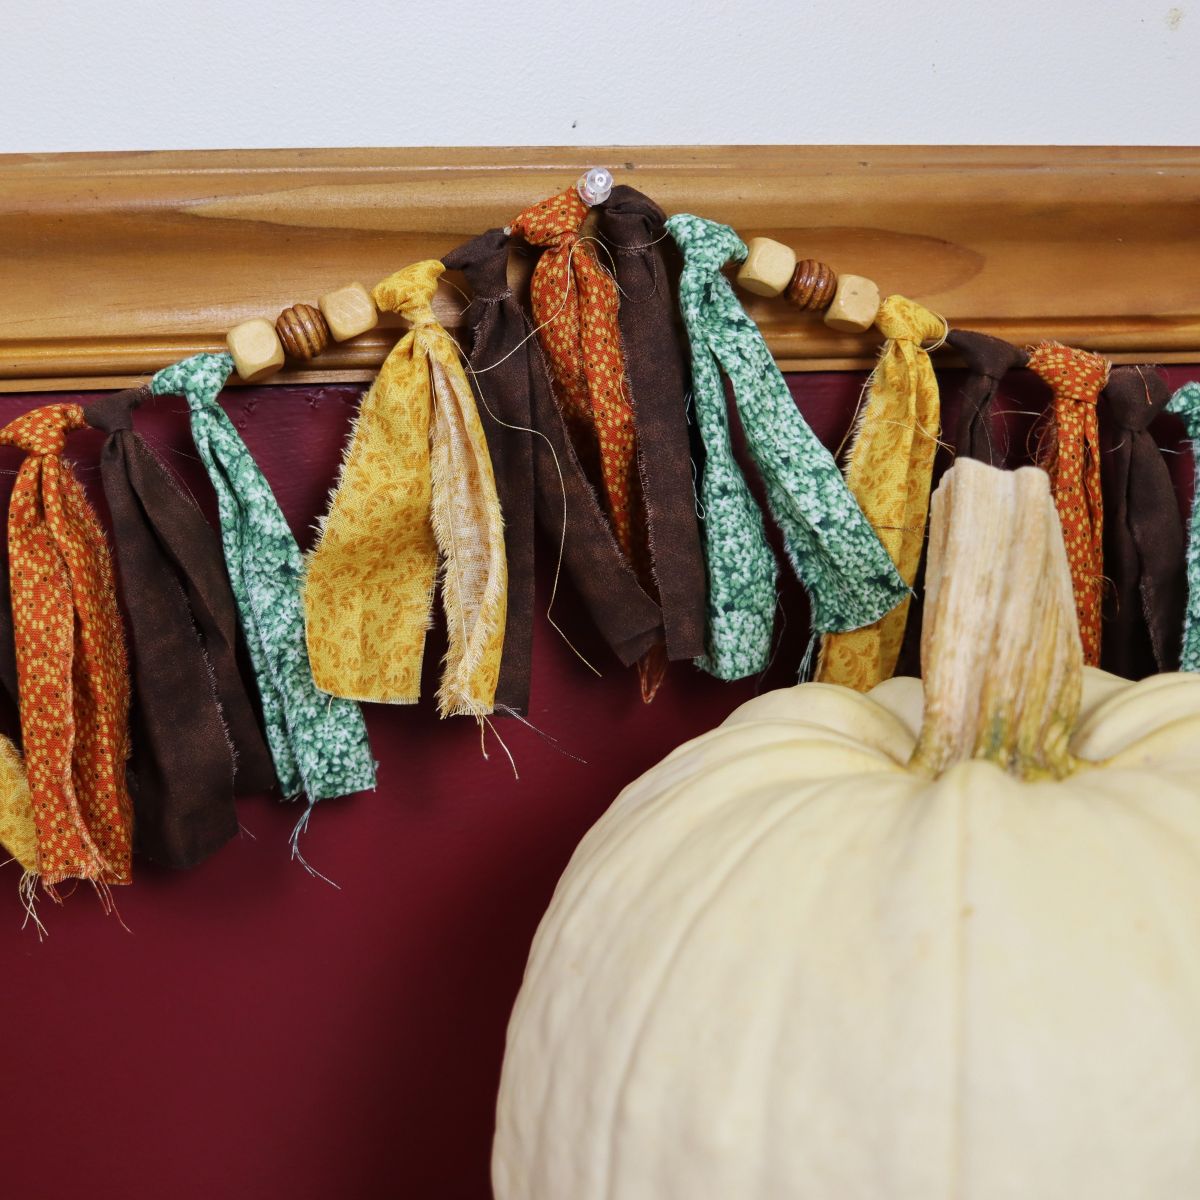
If you enjoy adding handcrafted touches to your Christmas holiday celebration, pair this ornament with my twine wrapped tree ornament, simple wrapped star ornament, and simple fabric star ornament for a cohesive rustic look.
Let’s talk about this project
There’s something so satisfying about taking a simple cookie cutter and transforming it into a rustic ornament with just twine, macrame cord, and a bit of glue. This is the kind of project that proves how approachable handmade decorating is for everyone — no fancy tools, no complicated techniques, just steady hands and a love for creating something meaningful for your home.
These wrapped ornaments also blend beautifully with other handmade Christmas pieces, like my salt dough gingerbread man ornaments, hand-stitched felt bird ornaments, and cranberry orange popcorn garland. When you mix crafts like these together, you create a tree full of texture, warmth, and that nostalgic, old-fashioned charm so many of us want to adorn our home with during the holidays.
Materials you’ll need
- Jute twine: Offers the most classic, rustic contrasting finish to the final piece, and its natural fibers grip the metal cookie cutter well, helping each wrap stay snug, instead of sliding out of place.
- Macramé cord: Use a cord with a similar thickness to your twine so the layers build evenly and the finished ornament looks balanced. Cotton cord is especially forgiving and easy to work with for beginners.
- Hot glue sticks: Stock several so you can maintain a steady workflow; hot glue cools quickly on metal cookie cutters, so having extra sticks ready helps you secure each wrap cleanly and without gaps.

Equipment you’ll need
- Cookie cutter: A sturdy metal cutter with a clear, recognizable shape works best; bold outlines hold their form once wrapped, while intricate edges tend to disappear under twine and cord.
- Tape measure: Useful for getting a rough idea of how much twine or cord you’ll start with, even though the final length is always adjusted as you wrap.
- Craft scissors: Sharp scissors give the cleanest cut on natural fibers, helping to keep the ends from fraying so they glue down neatly.
- Hot glue gun: Provides fast, secure adhesion on metal, which is essential since cookie cutters cool the glue quickly and require a reliable bond for every wrap.
How to make a wrapped cookie cutter ornament
This craft comes together quickly with just a few simple steps. Once you get the feel for wrapping the first side, the rest of the ornament is finished with ease.


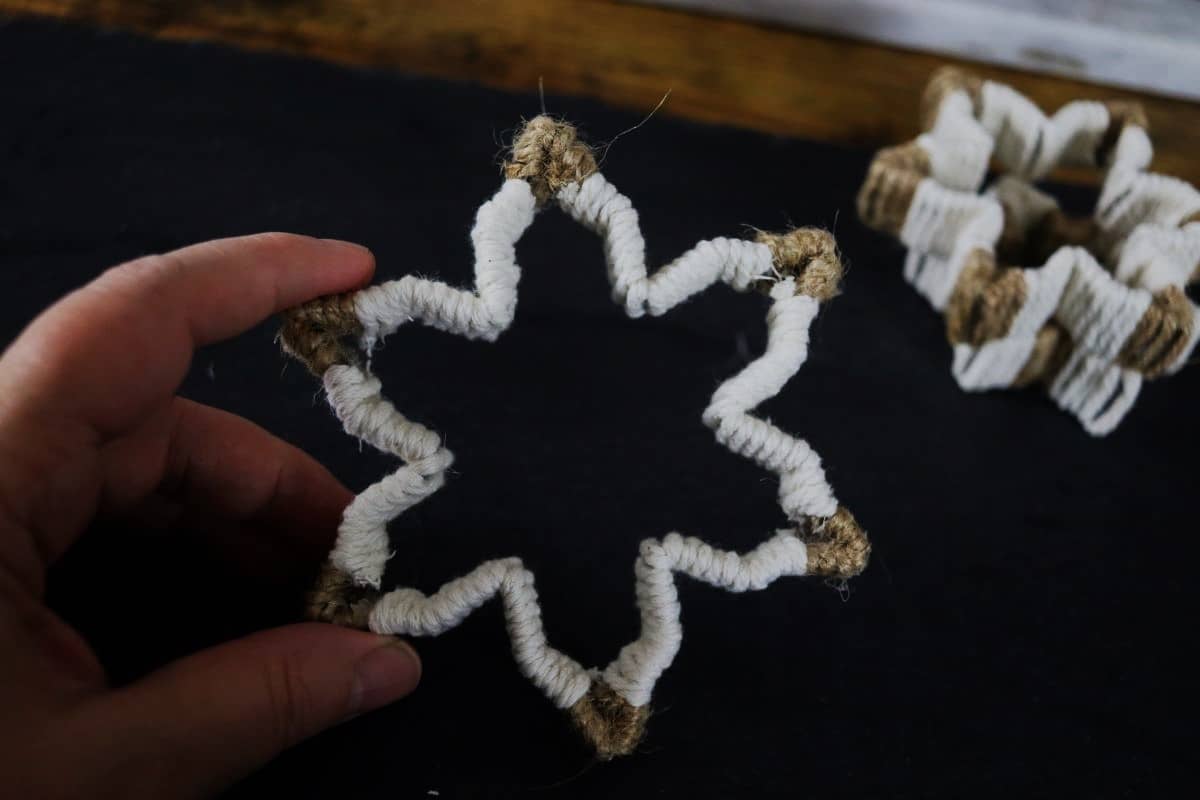
Step 1: Wrap the snowflake tips.
Cut a length of jute twine and wrap each tip of the snowflake cookie cutter snugly, securing the starting and ending points on the back with hot glue so the wraps stay in place.
Step 2: Finish shape with macramé cord.
Wrap the remaining sections of the cookie cutter with macramé cord, keeping each wrap tight and even. Glue both ends to the back of the ornament to hold everything securely.
Would you like to save this post for later?
Step 3: Clean and add the hanging loop. Remove any glue strings, then slide a short piece of jute through an opening at the top of the ornament and tie the ends together to form a loop for hanging.

Diane Gail’s tips for success
- Choose sturdy cookie cutters: Metal cutters maintain their shape under tension, which keeps the wraps smooth and prevents the ornament from warping over time.
- Keep your wraps gently snug: Apply light, steady tension so the twine and cord sit close together without crushing or distorting the cookie cutter’s outline.
- Anchor each section with precision: Small, well-placed dots of hot glue at the start and end of every wrap create a cleaner finish and dramatically extend the ornament’s lifespan.
- Stick to clean, recognizable shapes: Designs with too many tight curves or delicate points are difficult to wrap and often lose definition once the cord is in place.
- Use thoughtful color pairings: Combining natural jute with a coordinating or contrasting macramé cord highlights the shape’s details and adds intentional depth to the finished ornament.


Wrapped Snowflake Cookie Cutter Ornament
Equipment
- tape measure
- Scissors
- hot glue gun
Materials
- snowflake-shaped cookie cutter
- jute twine
- macrame cord
- glue sticks
Instructions
- Wrap the tips with jute: Secure one end of the jute to the back of the cookie cutter with a small dot of hot glue, then wrap each tip snugly and glue the end in place for a clean finish.
- Wrap the remaining sections with macramé cord: Start at the edge of a jute-wrapped tip, glue down the starting end, then wrap each section tightly until fully covered and secure the end with glue.
- Clean up and add a hanger: Remove any glue strings by gently pulling them away with your fingers, then thread a cut piece of jute through the ornament’s center, tie the ends together, and form a loop for hanging.
Video
Notes
- Work in small sections: Wrapping shorter sections at a time keeps the cord tight and prevents shifting as you go.
- Use minimal glue: Small dots of glue keep the ornament neat while still anchoring each wrap securely.
- Check coverage as you wrap: Adjust the cord slightly as needed so no metal peeks through.
- Let everything cool completely: Allow the glue to harden fully before handling to ensure the wraps stay tight and secure.


This twine-wrapped cookie cutter ornament is a charming way to bring a little rustic style to your holiday decor. It’s an easy craft that’s full of character! If you make one, I’d love to hear how it turns out in the comments. Have fun creating your festive decorations!