Easy DIY Felt Ornaments || Make Them In Under An Hour
DIY felt ornaments have a rustic, folksy charm and they’re really fun to make. They’re made with easy to get materials that are customizable and inexpensive.
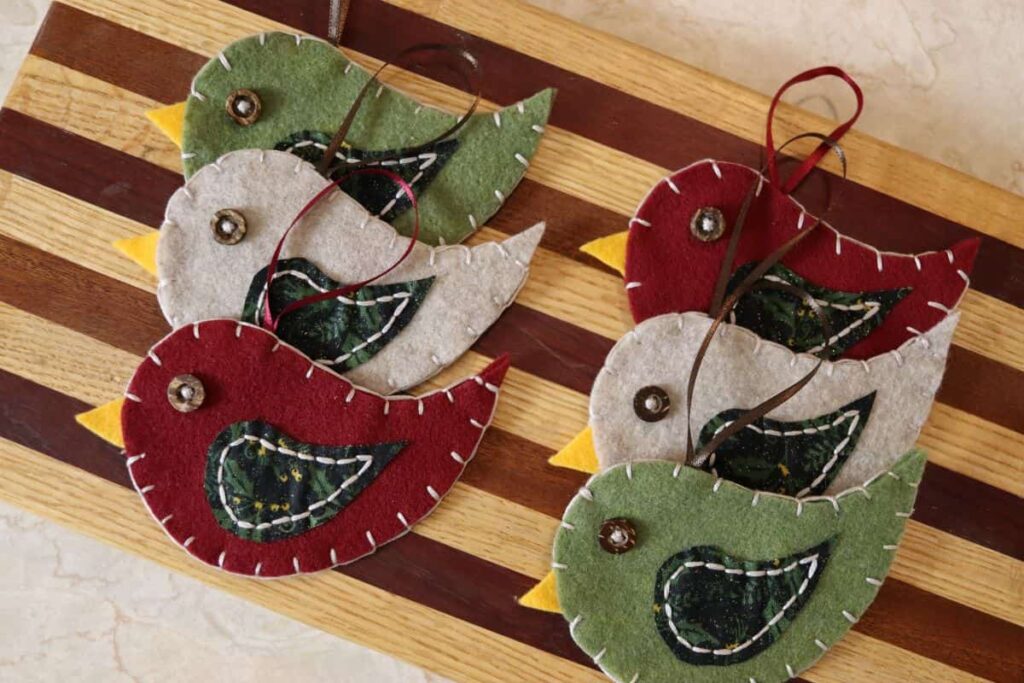
These ornaments are unbreakable, making them perfect for active homes where little people and pets run free. And they’re very easy to store.
They lay flat, one on top of the other, taking up very little space. You can place a piece of tissue paper between each layer if you choose, but it’s not a necessity.
It is just as much fun to make them by yourself, as it is to make them as a group. They’re a particularly great project for first time sewers, as they’re easy to do and can be finished quickly, providing the novice with reasonably quick gratification.
Set Yourself Up To Make DIY Felt Ornaments
Taking a few moments to set yourself up to make diy felt ornaments makes the project effortless. It may seem like an unnecessary step in the overall scheme of things, but the fact is you’ll thank yourself many times over if you do it.
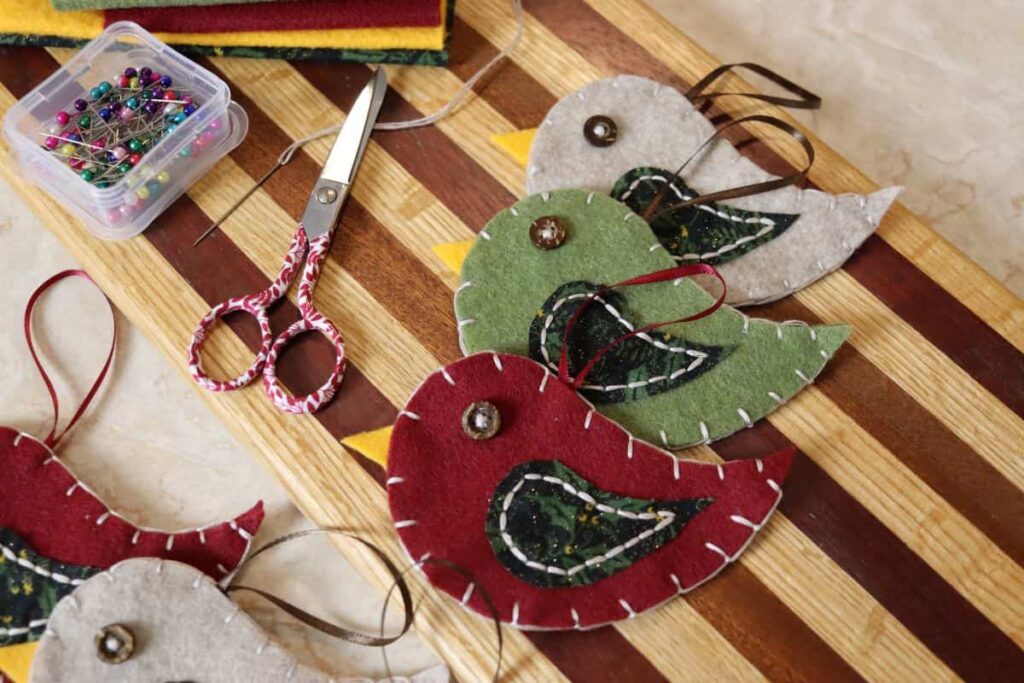
You don’t need a lot of space to work. As a matter of fact, all of the ornaments I made for this project, apart from those I shot how-to pics of or filmed, were done sitting on a big comfy couch.
The end table next to the couch was plenty big enough to work from. The more important thing when setting up is to be sure that you have all of your supplies on hand.
If you do that, you won’t have to get up and down throughout the project to fetch the next thing you need. You can simply sit, relax, and enjoy expressing your creativity.
Tools And Materials Needed For This Project
The tools needed to make diy felt ornaments are already in your sewing box if you’re a sewer. They are the most basic tools of the trade.
If you are just starting your sewing box, they are easily attainable and will set you in the right direction for many future projects.
Tools needed for this project …
- SCISSORS – A sharp pair of scissors that are designated just for fabric are a must have for any sewing project.
- SEWING NEEDLES – A basic sewing needle will be needed to make this project.
- NEEDLE THREADER – A needle threader is not absolutely necessary for this project. But it does come in quite handy. I wouldn’t want to be without mine.
- SEWING PINS – Sewing pins are needed to make this project. I prefer something with a large colorful head, as they are easier to see and grip.
The materials needed to make this project are also easily attainable. They are inexpensive and come in a wide array of colors and patterns, making it very easy to customize your ornaments to your personal liking.
Materials needed for this project ..
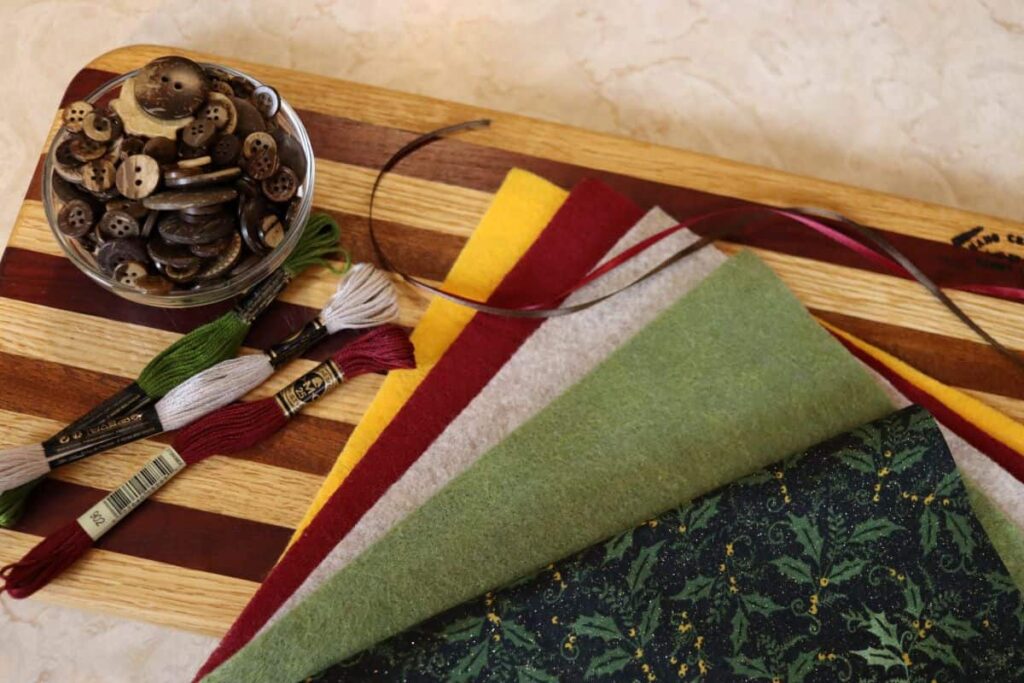
- FELT – You’ll need felt in the color of your choice for this project. You’ll also need felt for the beaks.
- COTTON FABRIC – A cotton print fabric that coordinates with the felt you’ve chosen will be needed for this project. A christmas print on the fabric is a nice choice.
- BUTTONS – I chose wooden buttons for my ornaments. You can use any button that you like. My sister made her ornaments with a button shaped like a snowflake. They’re adorable.
- EMBROIDERY THREAD – You’ll need embroidery thread in a color that contrasts enough with the felt and cotton fabric to stand out on the finished piece.
- RIBBON – A plain ribbon in a matching color will be needed to make the loop to hang the ornament.
Choosing Materials For This Project
I had a lot of fun shopping for the materials to make these diy felt ornaments. It was fun to choose the colors and patterns that I wanted to use to make ornaments that reflect my own personal style for this project.
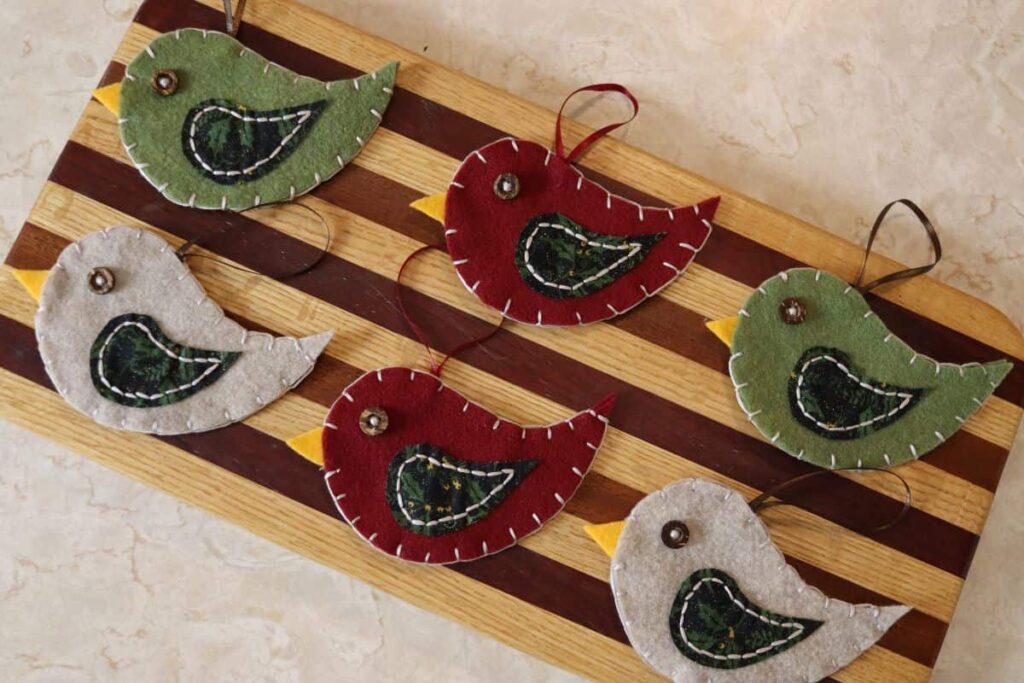
The color combinations are really endless. They’re limited only by your imagination.
I choose to go with a color scheme that’s common in Victorian era decor. But you can go with the more common tradtional reds and greens of the Christmas season if you like.
Or you can choose a theme that includes a frosty blue, silver, and white color palette. This is also a very popular combination found in holiday decor.
Start by choosing the felt for your ornaments. And then you can match the rest of your materials to that.
I found that the easiest way to do this was to lay everything out in my cart so that I could see how the pieces looked together as I was choosing them.
Free Pattern To Make DIY Felt Ornaments
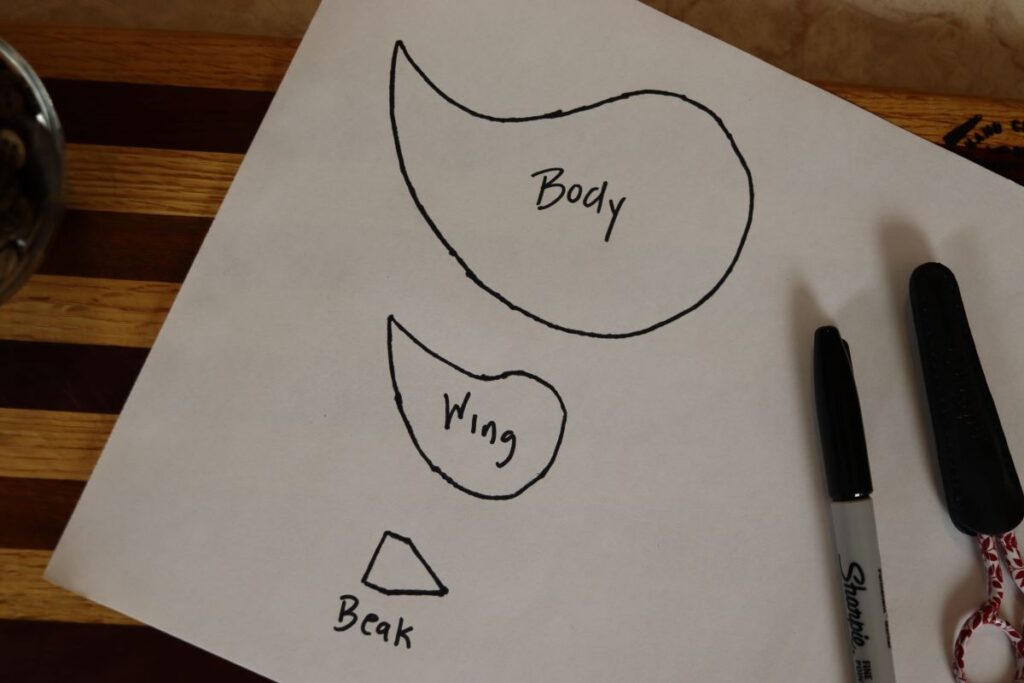
In order to make the diy felt ornaments in this post, you’ll need to print the pattern template for them. You can get that template here.
Would you like to save this post for later?
It’s a very simple template, and it takes just a minute to print out. Once you’ve printed it, you can cut it out and use it to create the felt and fabric pieces needed for this project.
You will cut 2 pieces for the body, 2 pieces for the wings, and 1 piece for the beak of the ornament.
How To Make These Ornaments
I will present the basics of how to make these diy felt ornaments in this section of this post. However, if you need more detailed instructions you will find them in the youtube tutorial I created for this project.
No matter which way you choose to use as a guide to make your ornament, you will need to print out the pattern template and cut out the pieces to get started.
Pin the body to a folded piece of felt in order to cut two body pieces. Pin the wing to a folded piece of printed cotton fabric in order to cut two wing pieces. And pin the beak to a single piece of felt in order to cut one beak piece.
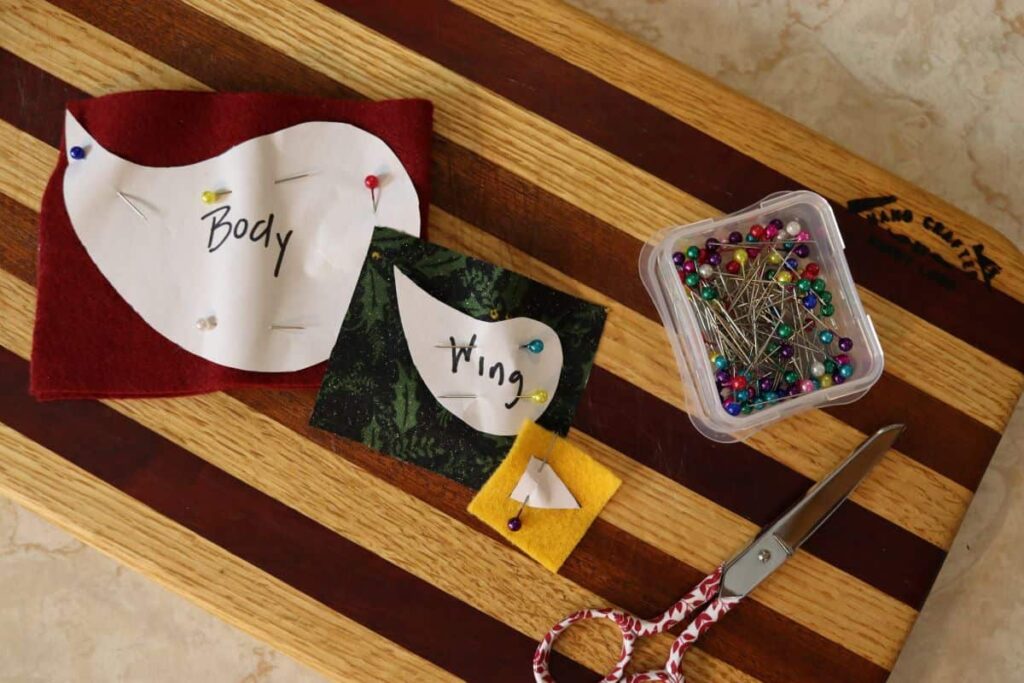
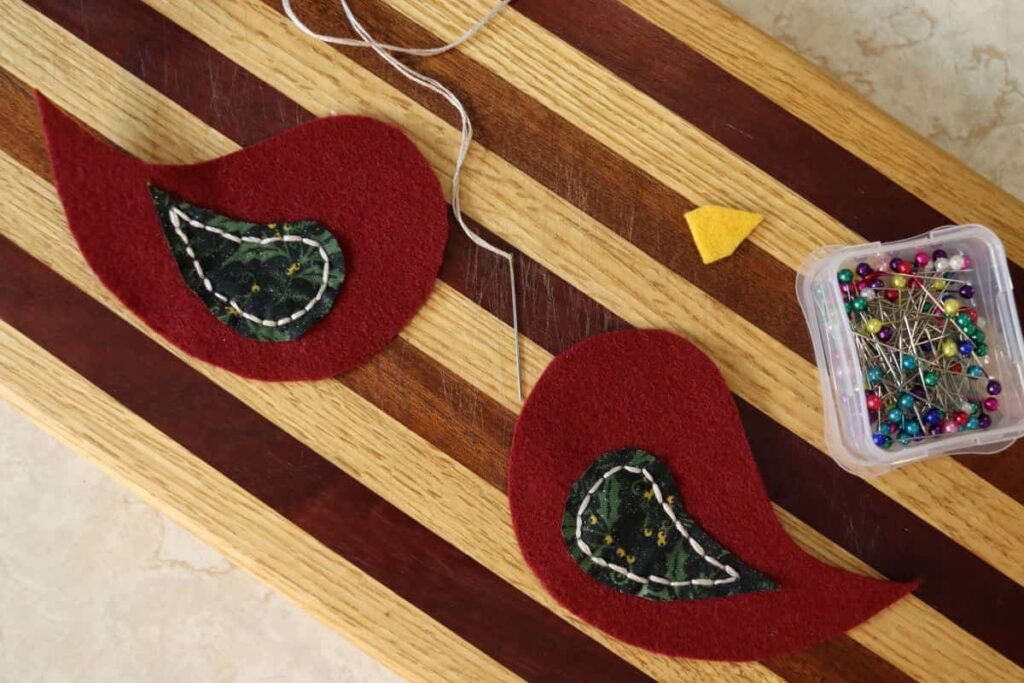
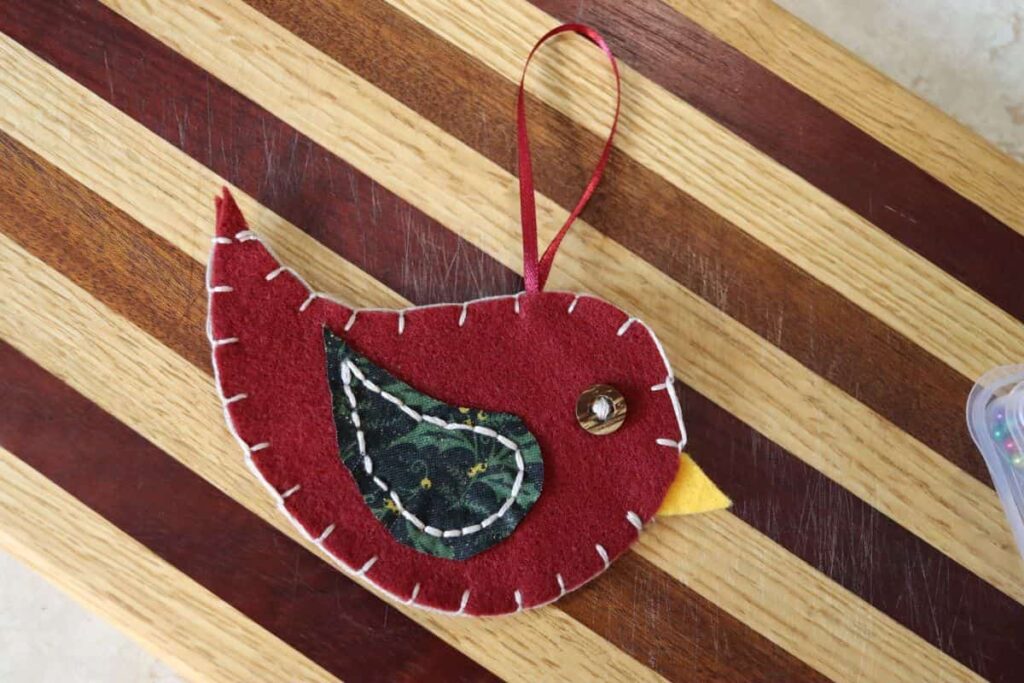
Place the wing pieces on the body pieces, secure with pins, and sew in place using a backstitch. Using 3 strands of embroidery floss for this will give your stitch the chunky look that adds such a folksy flair to this ornament.
Stitch the buttons you’ll be using for the eyes in place.
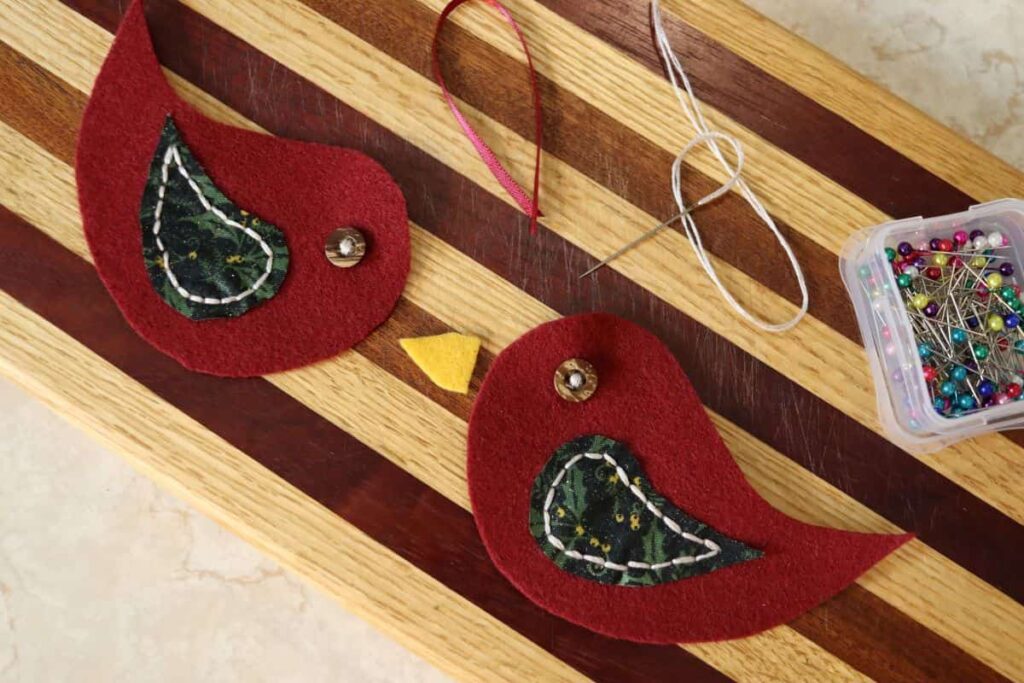
Stitch the beak and the ribbon hanger in place on one side of the ornament. Be careful not to bring your stitch all the way through to the front of the ornament, as you don’t want it to show on the finished piece.
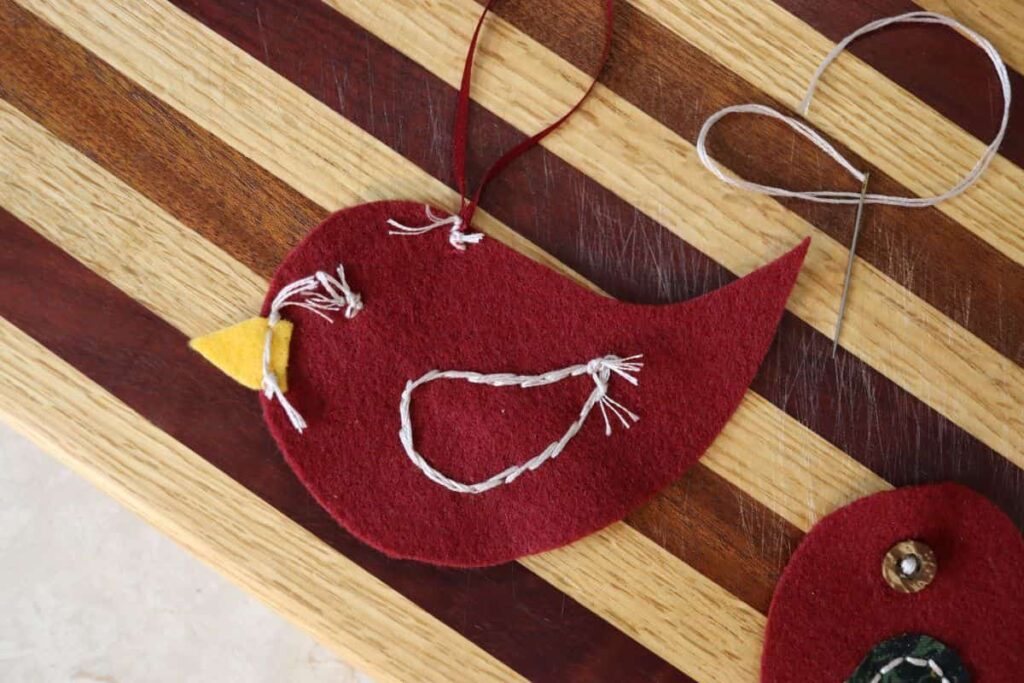
Starting at one edge of the beak and working around the ornament to the other edge of the beak, use a blanket stitch to secure both sides of the ornament together.
Ways To Use DIY Felt Ornaments
By far, the most obvious way to use your diy felt ornaments is to hang them on your Christmas tree. But, that is not the only way to use them.
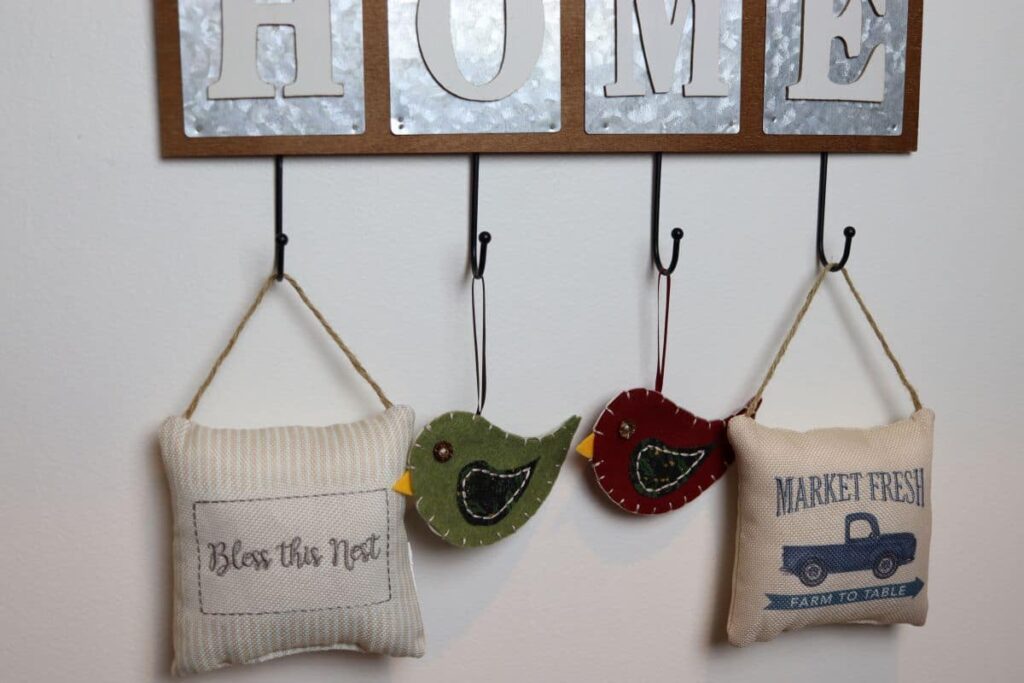
They can be turned into a really beautiful garland, that can be hung anywhere in the house. Or they can simply be hung individually throughout the house to add a little festive touch; think windows and shelving.
It’s also great to give them to others over the holiday season as a small token of your appreciation for them. People love to receive little handmade gifts and it’s so much fun to give them as well.
So hand them out at the office or at any clubs or groups you belong to. Everyone will love them.
Or just give them randomly to people you don’t really know. This is probably one of the most gratifying things you can do, not only for others but for yourself as well.
Seeing the look on the face of the cashier at the grocery store when you hand them an ornament you stitched together yourself and wish them a happy holiday is truly a two-way blessing.
They also add a really nice touch to gift wrapping. Use them to give a little extra something to your gift presentation. They look particularly festive on a present wrapped in plain kraft paper and jute twine.
Recommended For You


These felt bird ornaments are a sweet and whimsical addition to any holiday tree. They’re simple to make and add a lovely handmade touch to your decor. If you create your own, I’d love to hear how they turn out in the comments. Happy crafting!