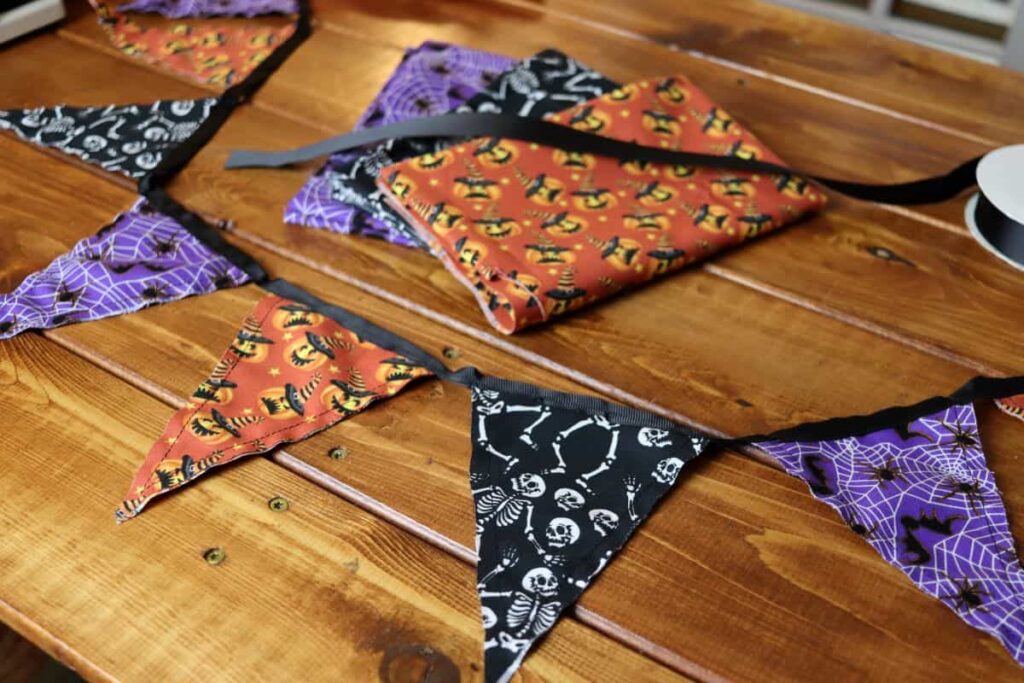
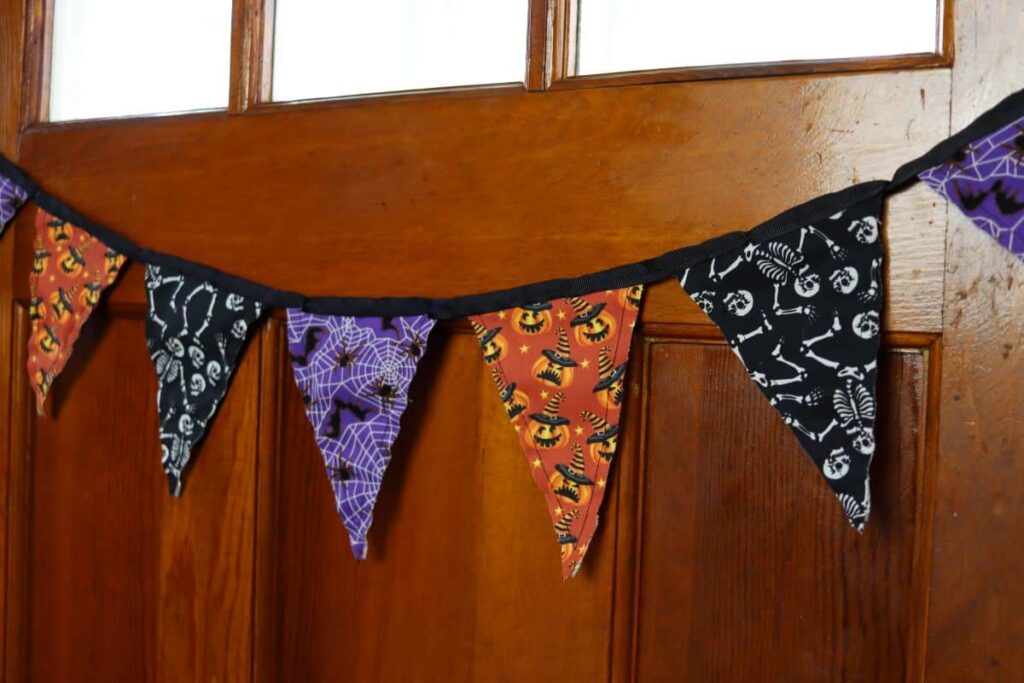
Easy DIY Halloween Flag Banner

This easy DIY Halloween flag banner is a simple way to bring a little handmade magic into your home for the season. It’s festive without being over the top — just the right touch of Halloween charm to make your space feel cozy and spirited. Hang it on your porch to welcome trick-or-treaters, or drape it inside across a window, doorway, or shelf for a subtle seasonal accent.
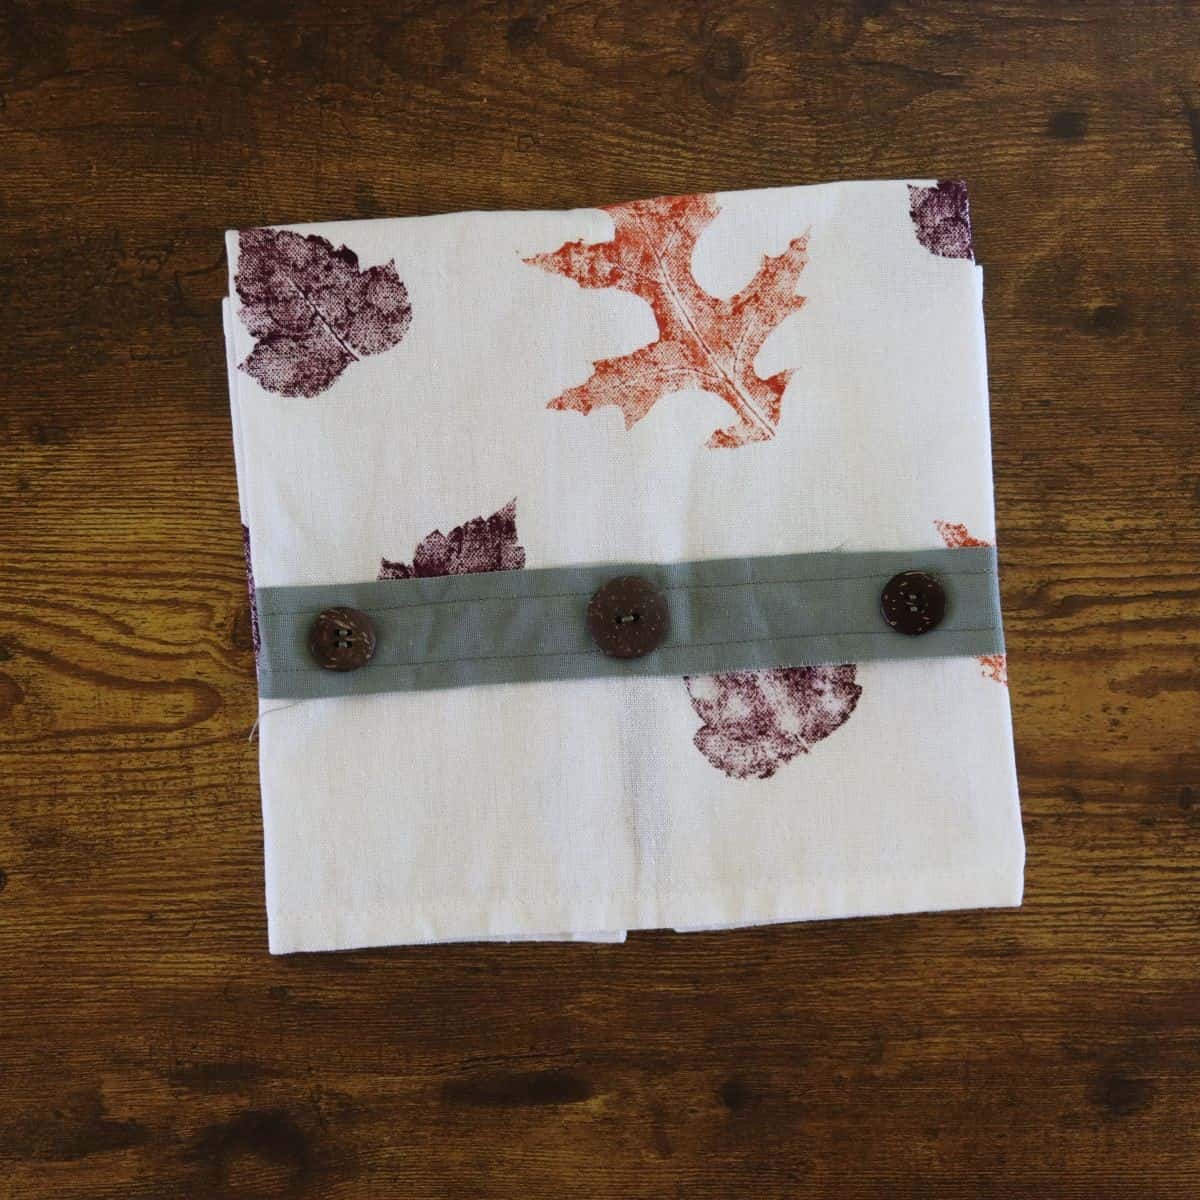
If you’re looking for more Halloween-themed handmade home decor ideas, my DIY fabric candy corn pattern is just the ticket. And once Halloween passes, you can easily swap out your flag banner for my fall rag tie garland, a few handmade fabric pumpkins, or a DIY leaf stamped tea towel to keep your home feeling warm and festive all through autumn.
Introduction
Halloween has a way of sneaking up, and before you know it, you’re craving a few festive touches around the house. This simple fabric flag banner is the perfect place to start — playful without being overdone, handmade without being fussy, and just right for setting the mood of the season.
Whether you’re decorating for a gathering or simply adding a touch of Halloween charm to your everyday space, this project will do the trick. And if you want to bring that same cozy spirit to your party table, make a batch of peanut butter candy apples to share with your guests — they have an appealing rustic charm that’s sure to be a hit with everyone.
Supplies Needed For This Project
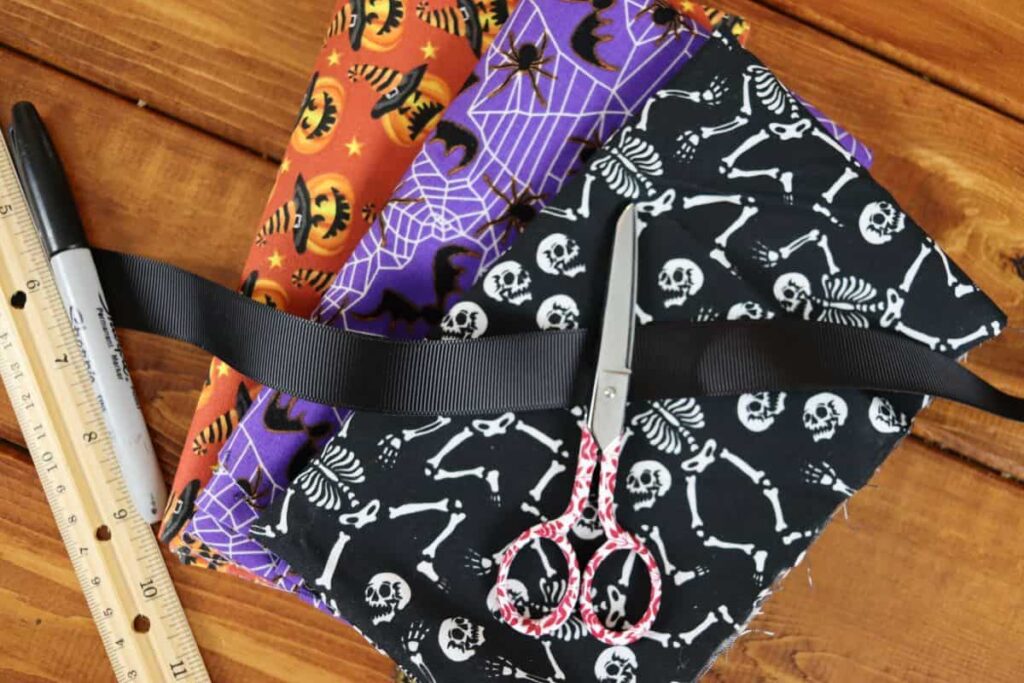
- Material: Choose three different Halloween-themed cotton fabrics. Basic cotton works beautifully — it’s easy to handle, hangs well, and gives the banner a nice finished look.
- Thread: A mid-grade sewing thread is perfect for this project and strong enough to hold up through many seasons.
- Ribbon: Grosgrain ribbon is ideal here — it adds texture and interest without overpowering your fabric prints.
- Paper: Use an 8½” x 11″ sheet of paper to create your flag template. It’s the perfect size for cutting the flag shapes.
Tools Needed For This Project
- Ruler: A sturdy ruler works best for this project since you’ll need a firm edge to measure and cut your flag template accurately.
- Marker: I like using a Sharpie, but any marker you have on hand will do the job just fine.
- Scissors: A sharp pair of fabric scissors makes cutting your materials quick and clean.
- Sewing Machine: Using a sewing machine helps the project come together quickly and neatly, though hand stitching works if you prefer it.
- Sewing Pins: A few good pins make assembling your flags so much easier and keep everything lined up as you sew.
- Iron: Pressing your fabric and ribbon is essential — it gives the finished banner a crisp, polished look.
How To Make A Halloween Flag Banner
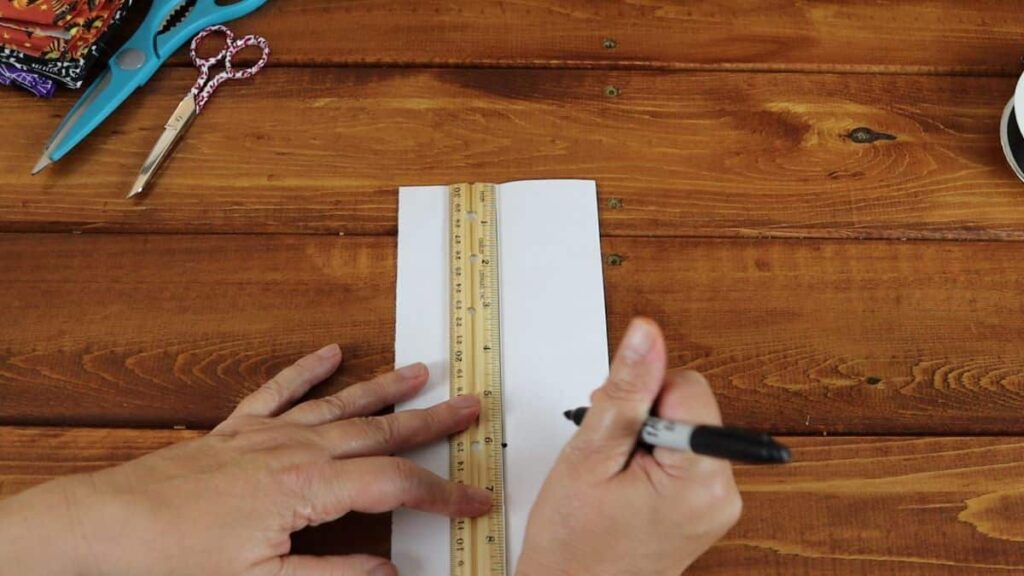
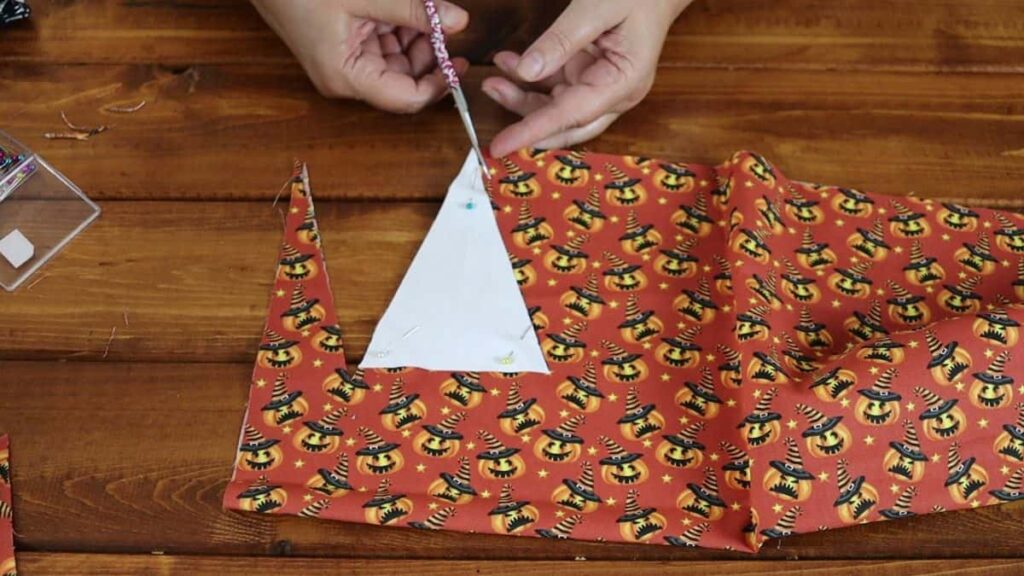
Step 1: Start with an 8½” x 11″ sheet of paper. Cut it to your desired flag width, then fold it in half lengthwise to mark the center. Measure down from the top to where you’d like the point of your flag to end.
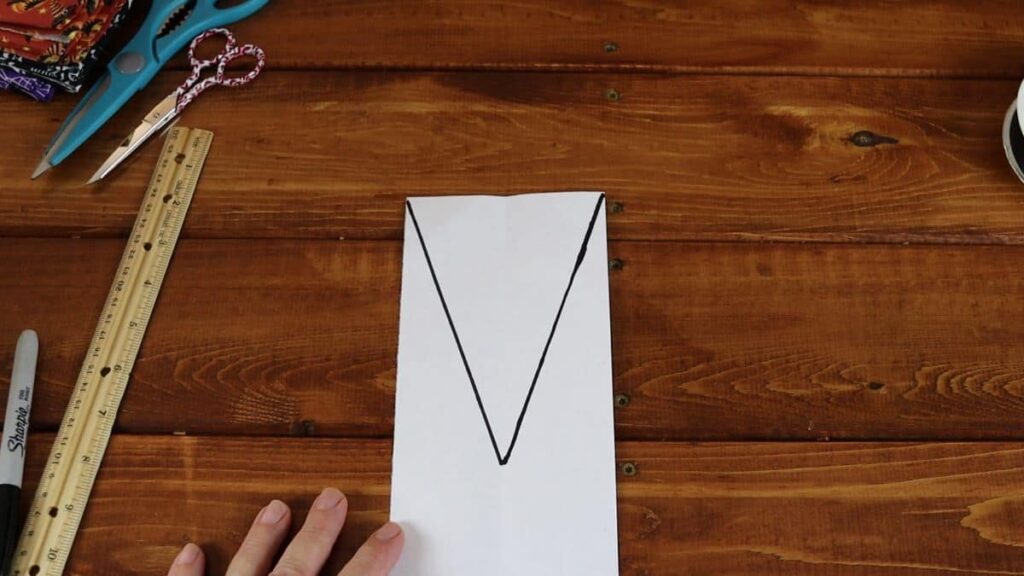
Step 2: Draw diagonal lines from that mark to each top corner. Cut along the lines to form your template.
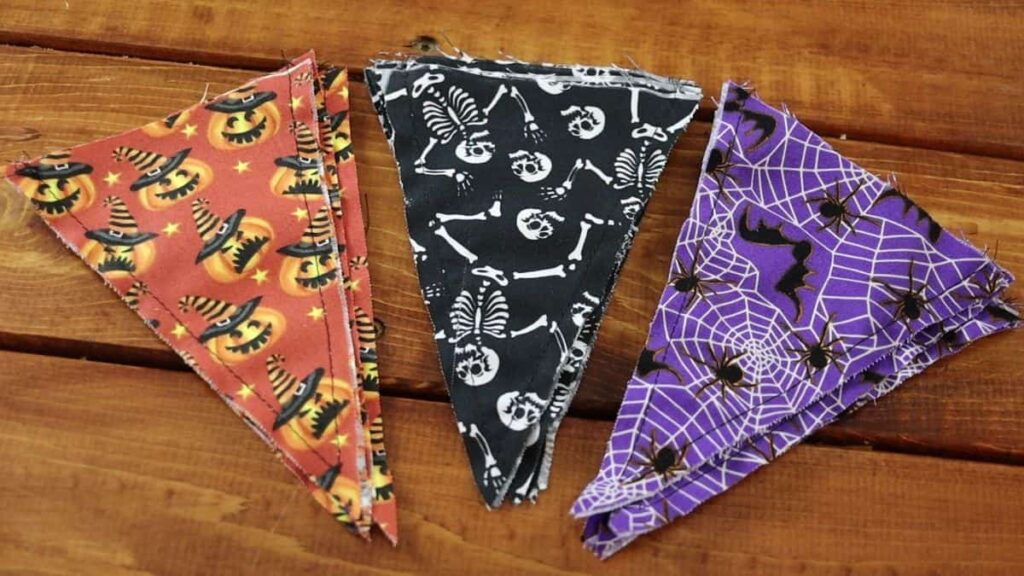
Step 3: Cut 5 sets of 2 flags from each of the 3 different fabrics, giving you a total of 30 pieces.
Would you like to save this post for later?
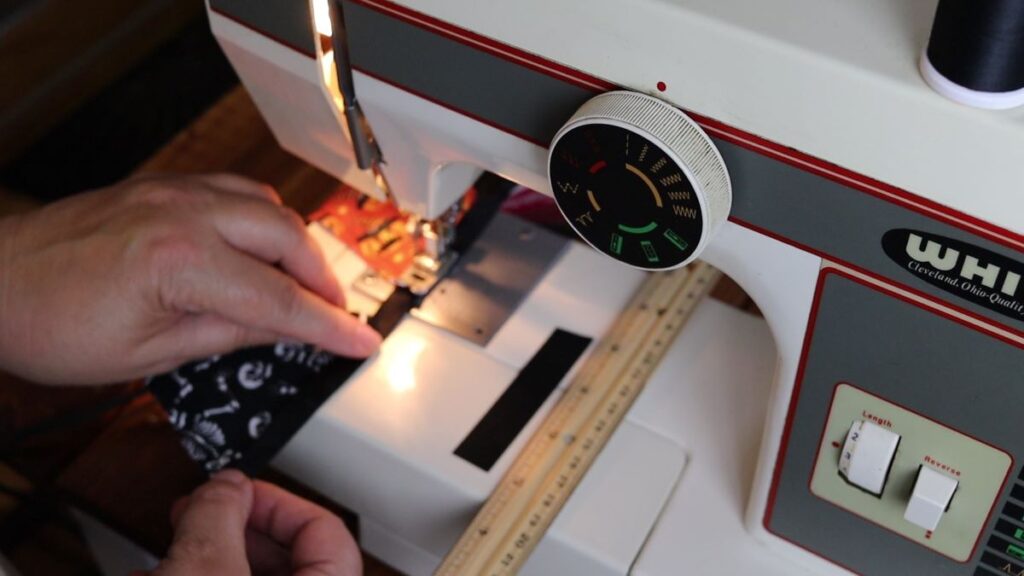
Step 4: Pair two matching pieces together with right sides out. Sew down both long sides, stopping just above the bottom point before turning to sew the other side. Use the edge of your presser foot as a guide for straight, even seams.
Step 5: Cut an 84″ length of grosgrain ribbon and press it in half lengthwise. This fold will help you align the flags when attaching them.
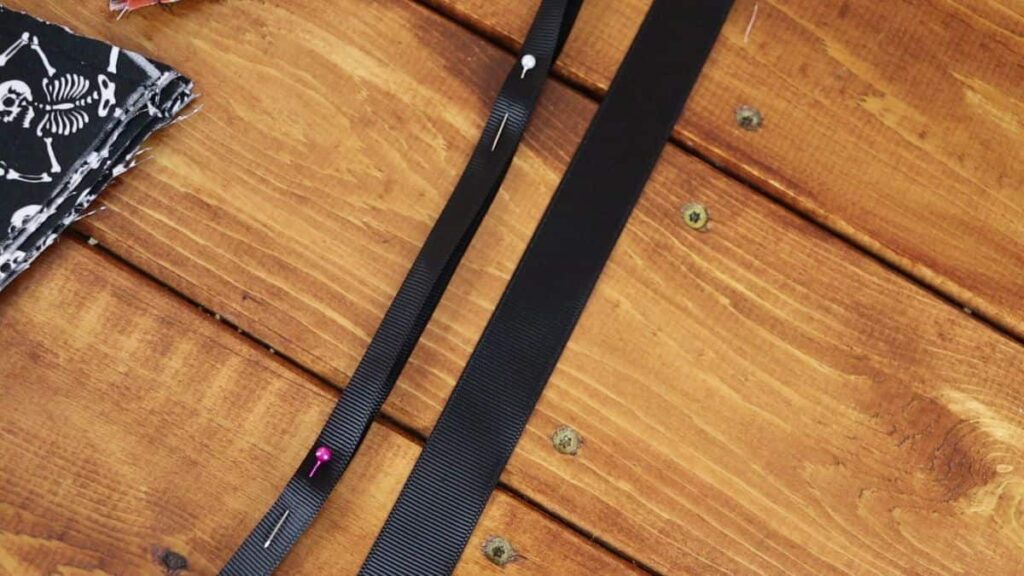
Step 6: Starting about 6″ from one end of the ribbon, sandwich the top of the first flag inside the fold. Continue adding flags ½” apart, alternating fabrics as you go. Pin each of them in place.
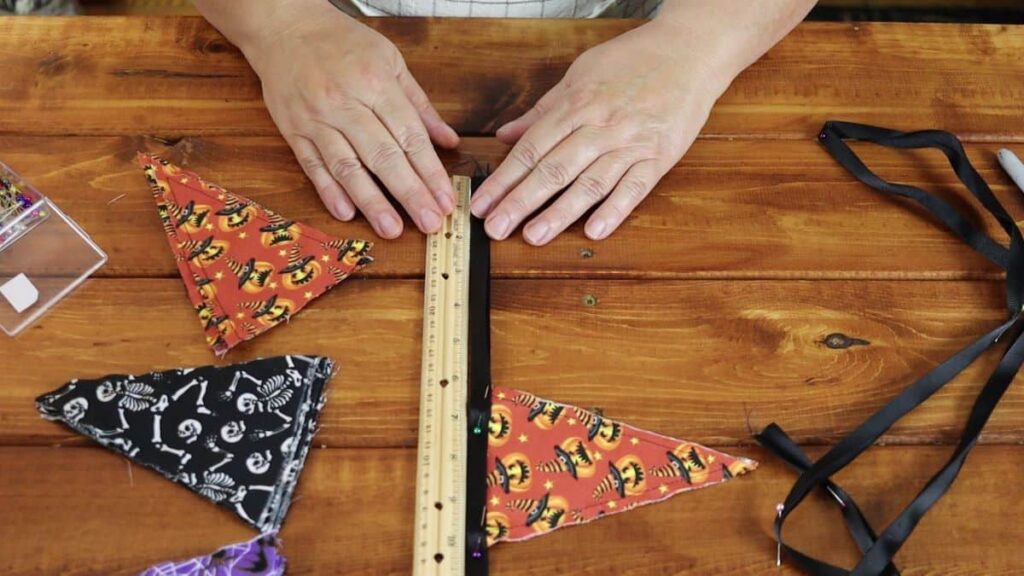
Step 7: Stitch along the open edge of the ribbon to secure the flags. Keep the seam straight and close to the edge for a neat finish.
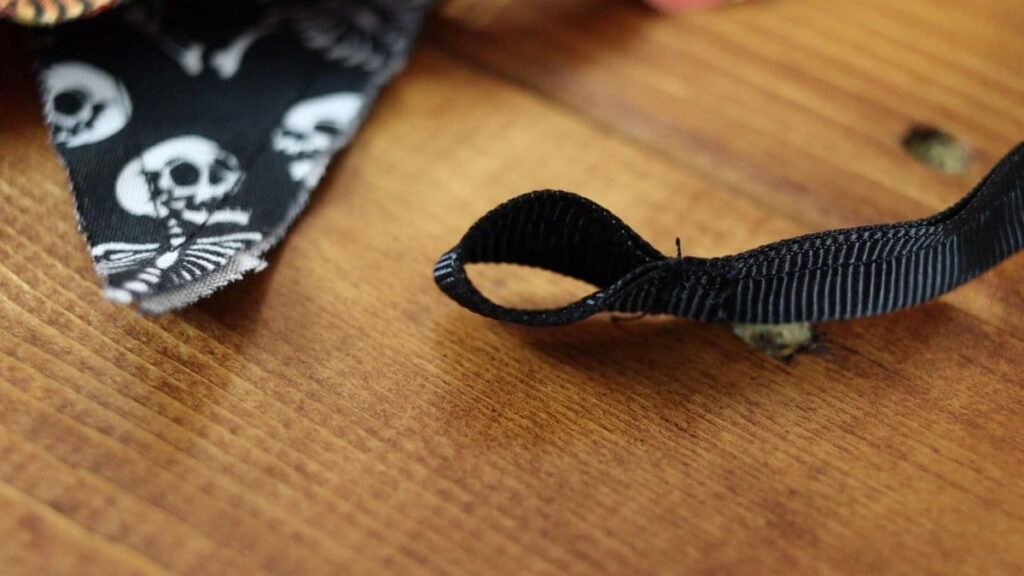
Step 8: Trim the ribbon ends so they’re even, then fold each end over ½” and sew to form a small loop. These loops make it easy to hang your finished banner.
Expert Tips
- Choose coordinating fabrics: Keeping patterns with images of similar scale helps the finished banner look balanced and intentional.
- Cut carefully: Precise edges make sewing faster and keep your flags even when they’re strung together.
- Press every step: Ironing as you go gives the finished piece a crisp finish.
- Pin before sewing: Securing each flag to the ribbon with pins before sewing prevents shifting and helps maintain straight seams.
- Rotate patterns: Alternating fabric designs adds visual interest and keeps the banner lively.
- Leave space at the ends: Extra ribbon makes it easier to hang your banner wherever you like.
- Finish the edges: Turning and sewing the edges gives a cleaner look if you prefer less fray.
- Store flat: Keeping the banner pressed and folded neatly ensures it’s ready to hang next season.
Other Projects You’ll Love


If you found this tutorial helpful, share it with someone you know will love it too.
Follow us on Pinterest, Instagram, Facebook, and YouTube for more helpful guides and tutorials.
Your support through shares, comments, and a 5-star rating means the world!

DIY Halloween Flag Banner
Equipment
- Ruler
- Marker
- Scissors
- Sewing machine
- Sewing pins
- Iron
Materials
- 3 pieces lightweight cotton halloween themed fabric 32"W x 7"H
- black thread
- 1 piece 7/8" black grosgrain ribbon 84" long
- 1 sheet 8 1/2" x 11" paper
Instructions
- Make the template: Cut the paper in half lengthwise. Fold one half to crease. Measure 6" down from one end of the crease and mark it. Draw diagonal lines from each upper corner to the mark to form a triangle. Cut out the triangle to create your flag template.
- Cut the flags: Fold one fabric piece in half widthwise. Use the template to cut 5 flags — alternating point-up and point-down. Repeat with the other two fabrics to make 15 total flags (5 per pattern).
- Prep the flags: Trim any loose threads, then iron each flag flat for easier sewing.
- Sew each flag: With right sides together, sew down one long edge of a flag using the foot’s right edge as a guide. Pivot at the point, sew up the other side, then remove. Repeat with the remaining flags.
- Prep the ribbon: Fold the grosgrain ribbon in half lengthwise and press to crease.
- Begin attaching flags: Sew 6" down one end of the ribbon, using the foot edge as a guide. Insert the top of a flag into the ribbon’s fold and sew it in place.
- Add alternating flags: Insert the next flag (different fabric) 1/2" from the first, sew it in place. Repeat with a third fabric for variety, then continue alternating the pattern.
- Finish the banner: Sew flags across the entire ribbon. Fold the finished banner in half and trim ribbon ends evenly.
- Secure ends: Fold each ribbon end over 1" to form a loop for hanging, tack securely with the machine, and trim any excess thread.
Video
Notes
- Alternate fabric patterns: Creates visual interest and a balanced design.
- Use pinking shears: Reduces fraying of material over time.
- Add stabilizer: Optional interfacing can give flags a sturdier finish.
- Store flat: Keeps flags crisp and ready for reuse next year.


This DIY Halloween flag banner is the perfect way to add some spooky charm to your decorations. It’s an easy and fun project to make your space festive for the season. If you give it a try, I’d love to hear how it turns out in the comments. Enjoy the crafting process!