Toxin Free Milk Paint || How To Make Toxin Free Paint

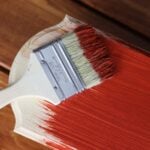
This toxin free milk paint tutorial will show you how to make an inexpensive, quick, and easy paint for all of your small woodworking projects. Milk paint is making a comeback, as more people are growing to understand the importance of an eco-friendly lifestyle.
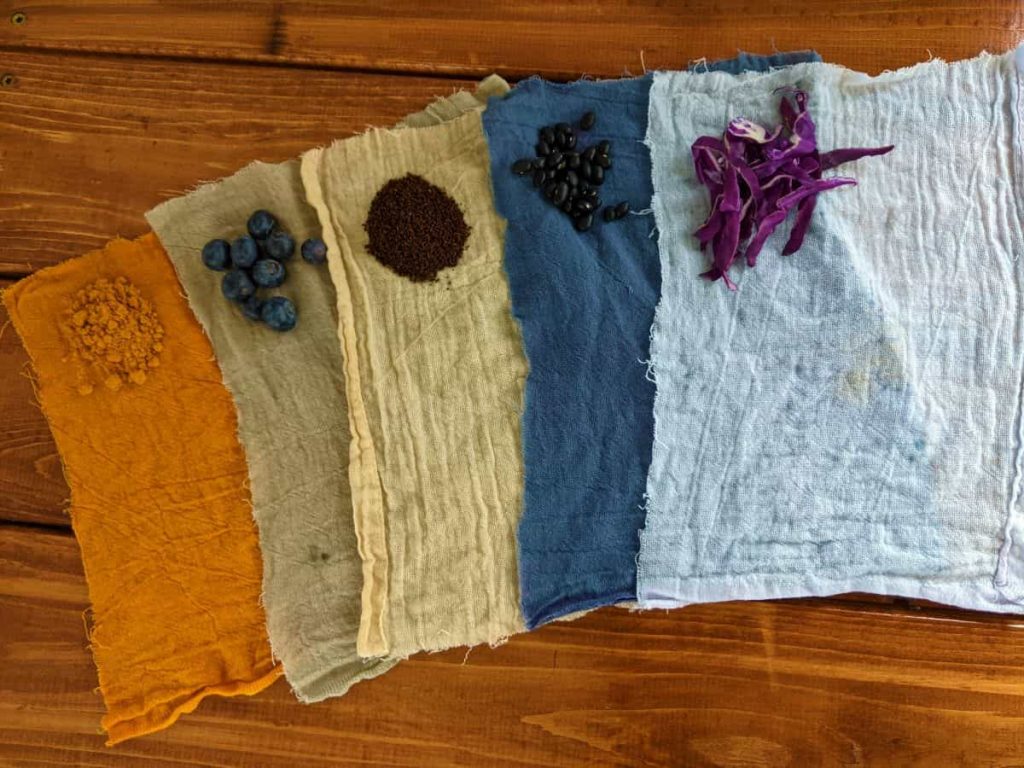
If you love handmade projects like this, you may also enjoy making dye made from food in your own kitchen, fabric scrap bowls, reversible bento bread bags, or beaded wooden spoons — all simple ways to bring more handmade charm into your home.
It is best used for small projects, such as furniture and shelving. Because of it’s short shelf life, it is less suitable for things like painting the walls of a room. However, with a little planning it can be done. I have not done it myself but I imagine that the results would be just stunning.
Remnants of this paint have been found throughout the world. Here in the United States, the Shakers commonly used it to paint furniture.
Personally, I recall it being a go-to for local farmer’s where I grew up in NEPA. They used it to paint the inside of their cattle stalls. I have just the hint of a memory surrounding painting interior barn walls with my uncles when I was very small.
Toxin free milk paint is not well-suited to the weather, so it wasn’t used to paint the exterior of the buildings.
What is milk paint?
Milk paint is a biodegradable, handmade paint primarily made of common household ingredients. It is much safer to be around than it’s commercially produced toxic counterparts. In many cases, it is even safer than other ‘green paints’.
It is a water-based paint made from milk protein and natural pigments. It often contains a small amount of borax or lime to act as a preservative.
You can purchase milk paint online from many different sources. I haven’t looked very closely at any of these products. But I did take a quick glance, and I’m seeing that some are premixed while others come in powder form.
I’m also seeing that they are pricey and have shelf lives of 2 weeks or more. All of these things indicate to me that they are quite likely not toxin free.
It is so easy and inexpensive to make your own toxin free milk paint at home that I’m not sure why you would entertain the thought of purchasing one of these products.
Is toxin free milk paint hard to make?
No. Milk paint is not hard to make. As a matter of fact, it’s really rather easy.

There is a full tutorial to walk you through the process at the end of this post. It is printable, so that you can physically have it on hand if you prefer.
I’ve also included a video I put together for all of you up above. It walks you step-by-step through my first experience making this amazing paint.
But here’s a very basic breakdown of the process to give you a general idea of what you’re getting into.
- You’ll have to curdle some milk, which will take 24 hours, so be sure you plan accordingly.
- Then you’ll drain the curds from the whey.
- Mix the curds with natural powdered pigment.
- And you are ready to paint!
It really is that easy! And it takes next to no time at all.
Would you like to save this post for later?
What does toxin free milk paint look like?
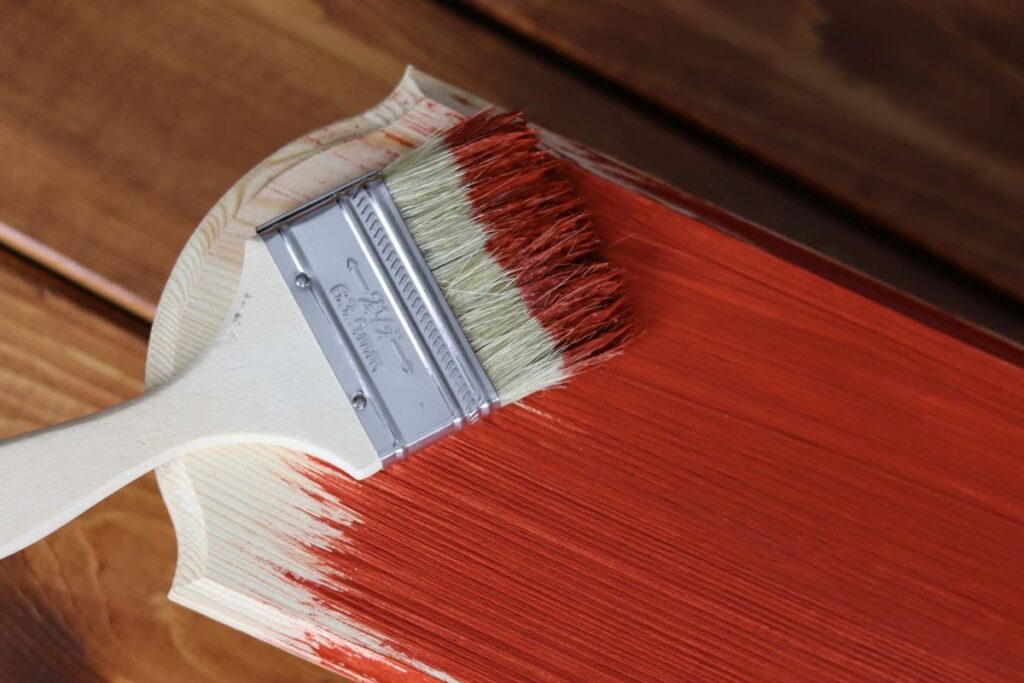
This paint is highly valued for it’s old-fashioned, muted, matte finish.
It is very versatile. One coat will give you a beautiful, shabby chic translucent finish. While two coats will produce a solid finish, with a notable depth of color.
The appearance of the final finish of toxin free milk paint is not determined solely by how many coats are used though. The porosity of the item being painted also plays a big part in what it looks like after is has been applied and allowed time to dry.
It works best with porous surfaces, such as; wood and terra cotta. If you want to use it on glass, metal, plastic, or a surface that has been painted before, you will likely need to add a bonding agent to it.
This paint is a great choice when trying to obtain a farmhouse, vintage, or distressed look. It is very often used in the restoration of old furniture. But shouldn’t be underestimated for it’s ability to make a new piece of furniture appear to be an antique.
What does milk paint smell like?
When milk paint is first made it smells like … well … sour milk. Which comes as no real surprise as it is, indeed, sour milk.

However, rest assured, after it has been applied to the piece you are painting and allowed to dry the smell will completely dissipate. You will not even know that it ever had an odor, unpleasant or otherwise, to begin with.
It takes between 2 and 4 hours for milk paint to completely dry after being applied to a surface. With non-porous surfaces taking much longer than their porous counterparts.
The dry time can also be affected by the level of humidity in the air. The higher the humidity levels are the longer it will take for your paint to dry.
How long does milk paint last?
The shelf life of this paint, before application, is just 24 hours. So, you must plan accordingly when you are painting a larger item. You will want to be certain that you mix enough product to complete the entirety of whatever you are painting. As, mixing up an additional batch to finish a piece may result in a variance of color.

You will also need to plan to put as many coats as you would like to apply within a 24 hour period. After that time the paint begins to loosen in consistency changing the way it looks when it is applied.
After the paint has been applied and allowed to dry it is quite durable. It is likely that it will maintain the quality of it’s final finish for many years to come.
Recommended For You …
If you try this project and love it, please give it 5 stars! It supports my work more than you may realize, and I appreciate that a great deal!
You can also show your support by tagging me on Facebook @sustainableslowliving and/or Instagram @slowlivingbydianegail when you post a pic of your finished project.
DIY Toxin Free Milk Paint
Equipment
- 2 Medium mixing bowls
- Kitchen strainer
- Flour sack towel or muslin
- 2′-3′ Length of string
- Spoon
- Fork or whisk
- Spatula
Materials
- 1 quart skim milk
- 1/2 cup white vinegar
- 4 tablespoons natural toxin free pigment color of your choice
Instructions
- Combine Milk and Vinegar: In a medium mixing bowl, pour 1 quart of skim milk and 1/2 cup of white vinegar. Stir well with a spoon until thoroughly mixed.
- Let the Milk Curdle: Allow the mixture to sit undisturbed for 24 hours. During this time, the milk will curdle, separating the milk curds from the whey.
- Strain the Mixture: Place a kitchen strainer inside another bowl and line it with flour sack towel or muslin. Slowly pour the curds and whey mixture into the strainer, letting the cloth catch the curds.
- Drain the Whey: Gather the corners of the cloth and tie them securely with the length of string. Hang the cloth over the bowl, allowing the whey to drain out. This may take a few hours, and you’ll know it’s done when the cloth no longer drips.
- Collect the Curds: After draining, remove the cloth from the string and place it into a mixing bowl. Use a spatula to scrape any remaining curds from the cloth.
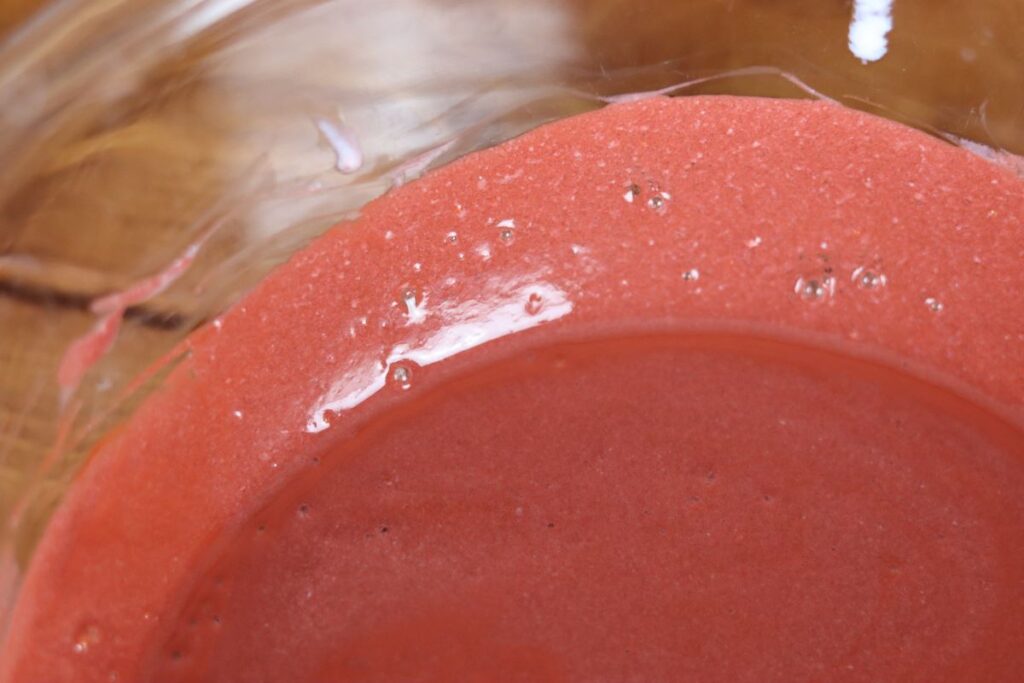
- Blend the Curds: Using a fork or whisk, blend the curds in the bowl until they are smooth and lump-free.
- Add Pigment: Gradually add your chosen pigment to the curds, stirring a little at a time. Mix well until you reach the desired color. Keep in mind that the paint will dry slightly darker than it appears when mixed.
- Start Painting: Once your paint is ready, apply it to your project using a brush. Allow the first coat to dry for 2 to 4 hours. If you'd like a more opaque finish, feel free to apply a second coat.
Video
Notes
- Use Fresh Milk: If possible, opt for fresh skim milk to get the best curdling results. Older milk may not separate as effectively.
- Test Pigment Gradually: Milk paint will dry darker, so start with a little pigment and add more as needed to achieve your perfect color.
- Consider the Surface: Milk paint works best on porous surfaces like wood or untreated furniture.


This is so interesting! I had no knowledge on this. I appreciate you sharing and really enjoyed your video. I really like learning more about options that are non-toxic, especially paints!
Thanks Lindsey! I’ve been interested in trying it for soooooo long. It feels great to have my first shot at it under my belt. I loved using the paint and I’m definitely going to use more of it in the future.
I’ve never made milk paint from scratch, but I have used Miss Mustardseed and Sweet Pickins, both. Even with a powdered paint, your rules about mixing just enough tend to apply, as two different batches from the mix can be different shades.
One thing that CAN be really nice about the powdered kind is the ability to mix colors.
Have you ever mixed your pigments to get specific shades?
I actually had my first hands on experience with handmade milk paint for this video. But I’ve been interested in it for years so I’ve learned a ton about it. I plan to mix some of my own shades in the future. I’m feeling obsessed with this paint so I expect to be using it quite a bit 😉
With little ones in the house this is the perfect DIY that is safe to do when they are around! Thank you for sharing it!
My pleasure! It is great for those who have little ones in the house 😉
Wow I had no idea this was a thing! Sounds so awesome and what a cool way to mix up some non-toxic paint! I love it. Thanks for sharing!
Of course! Thanks for being here Hollyn 😉
This toxin-free milk paint is a fantastic, eco-friendly way to refresh your furniture or decor with beautiful, natural colors. It’s an easy and safe alternative to traditional paints. If you try it out, I’d love to hear how it turns out in the comments. Enjoy painting!