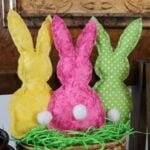
Free Stuffed Bunny Sewing Pattern || Easy To Make
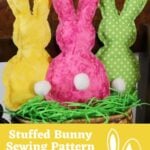
I’m pretty excited about this stuffed bunny sewing pattern that I have to share with all of you today. It’s so easy to make. I put one together in just 30 minutes last night.

At that rate you can pump out an easy bunny or two a night to give as gifts over the next few weeks, or as favors at your Easter celebration, if you’re so inclined. And I’m feeling like I just might be so inclined!
They are adorable and there are so many ways to make good use of them that it’s feeling like it’s going to be great fun to stitch a few dozen or so of them up.
Are These Stuffed Bunnies Just For Easter?
The stuffed bunnies that I made for this post are sort of Easter themed. Although, I suppose it would be easy enough to slip them into simple spring decor as well.
However, you can change up the look of these cute little guys and use them in other decor just by switching out the fabric you make them with. I’m picturing a very cute bunny made out of fabric the color of kraft paper as I type. And he’s looking awfully dapper. Great idea, right?!?!
List Of Tools Needed To Make This Project
You won’t need a lot of tools to make this simple bunny. I didn’t even use a sewing machine to make mine. You can use one if you like. It will help to keep the bunny from falling apart over time as the edges fray.
But, I REALLY LIKE the rustic look of hand sewing, so I went for it. Fraying be damned. I’ll just make more, LOL!
Anyway, here is a list of the tools you will need to make this bunny rabbit …
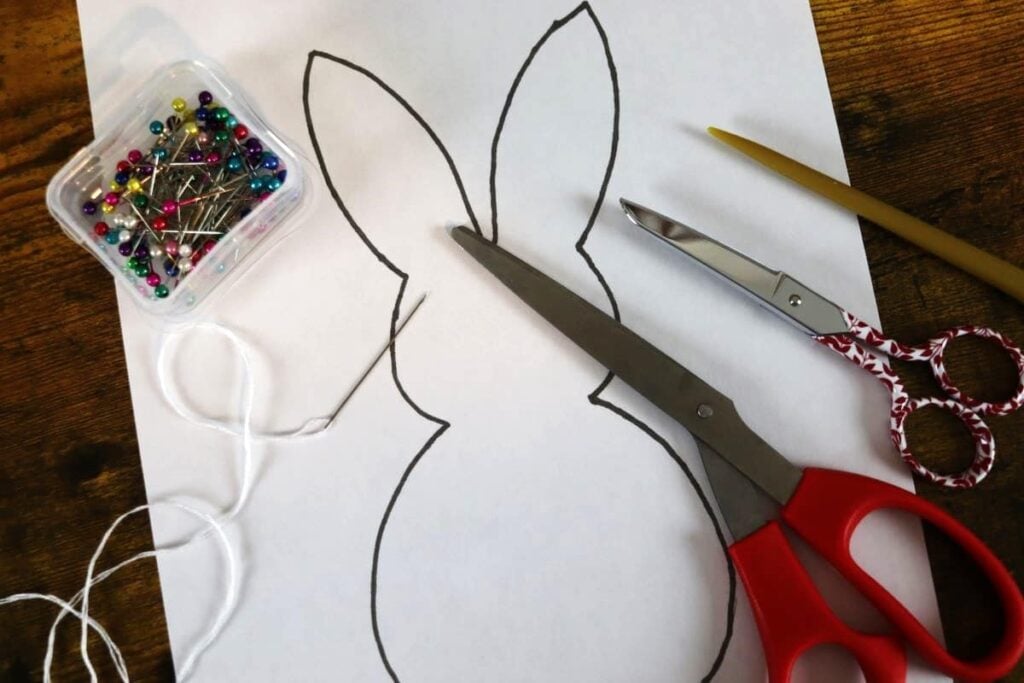
- PRINTED PATTERN – There is a free bunny pattern template in pdf format available for you further down in this post.
- SCISSORS – Craft scissors to cut the pattern and fabric scissors to cut the material (so you know, two different pairs).
- SEWING PINS – Use your favorites.
- SEWING NEEDLE – Again, use your favorite.
- WOODEN SKEWER – To maneuver the stuffing to fill the bunny evenly. I didn’t have one in the house. Weird for me. I used the end of an old comb. Anything with a point on it will work.
List Of Materials Needed To Make This Project
You’re not going to need a lot of materials to make this project either. You may even have everything you need in your craft/sewing stash.
Following is a list of the materials you’re going to need …
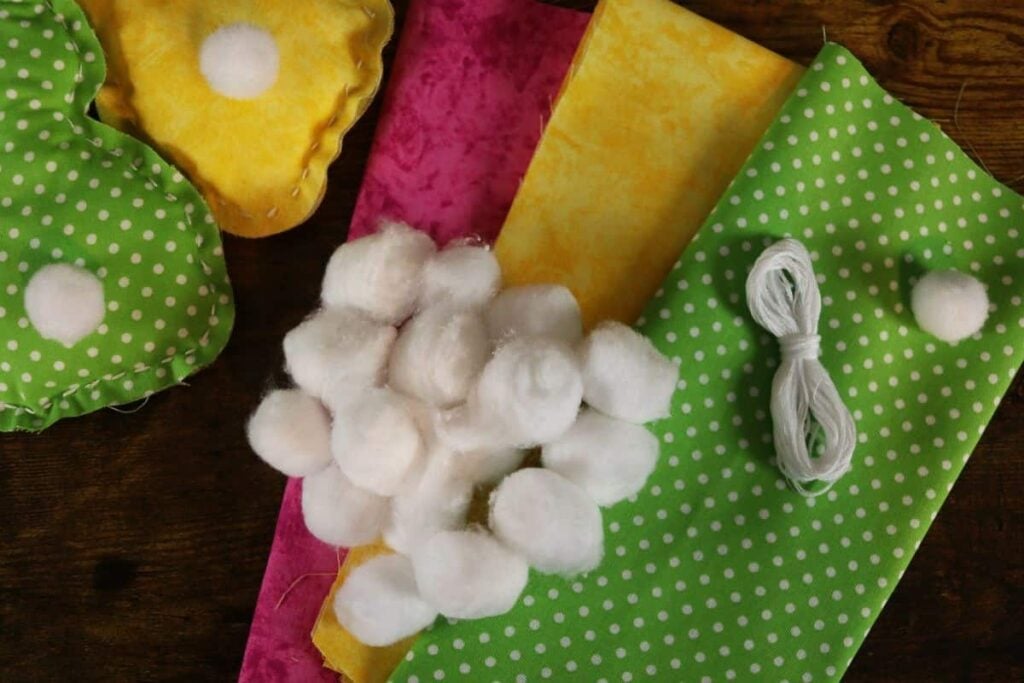
- COTTON FABRIC – In the print of your choice. If you want a few other fabric recommendations for this project, you can also make it with denim, flannel, or wool.
- EMBROIDERY THREAD – In a color that matches your fabric but will stand out and show itself off on the finished bunny.
- POM POMS – I suggest white or tan pom poms. You can use any color you like.
- COTTON BALLS – If you have poly-fil, or some other stuffing that you prefer to use, that’s fine. I used cotton balls because I had them in the house. And I thought that they would be a great way to stuff a cute Easter bunny plush without dropping any cash for a bag of polyfil.
Free Stuffed Bunny Sewing Pattern
I created a free pattern pdf file for you to print out and use to cut the fabric for your bunny. It’s a pretty basic design so if you want to draw it yourself you can do that too.

I adore the pattern just as it is. After all, I chose to make this particular style of bunny for this post. But if you draw your own pattern feel free to change a few of the features up if you prefer.
I think floppy ears would be a cute alternative to ears that stand straight up. Actually, just one floppy ear would do the trick if you were going that way.
You can add other features to the project too. My sister suggested a bunny face would be nice. I wanted my little guy to be simple. I feel like it gives him a basic country charm. So, I didn’t go that way.
However if you like, go ahead and add some button eyes, a triangular nose, some whiskers, or even a bow tie to your bunny. Just be sure to attach them to the fabric before you sew it together.
And don’t attach it to the same side as the tail. Do I have to say that?!?! Probably not, but you just never know!
How To Make A Simple Stuffed Bunny
As sewing projects go this bunny has a difficulty level of ‘silly easy’.
I will include printable, detailed step-by-step instructions for this great project at the bottom of this post. So that you can have a hard copy on hand if you want one.
But we’re going to cover the how-to of it all, with instructional photos, in this section of the post as well.
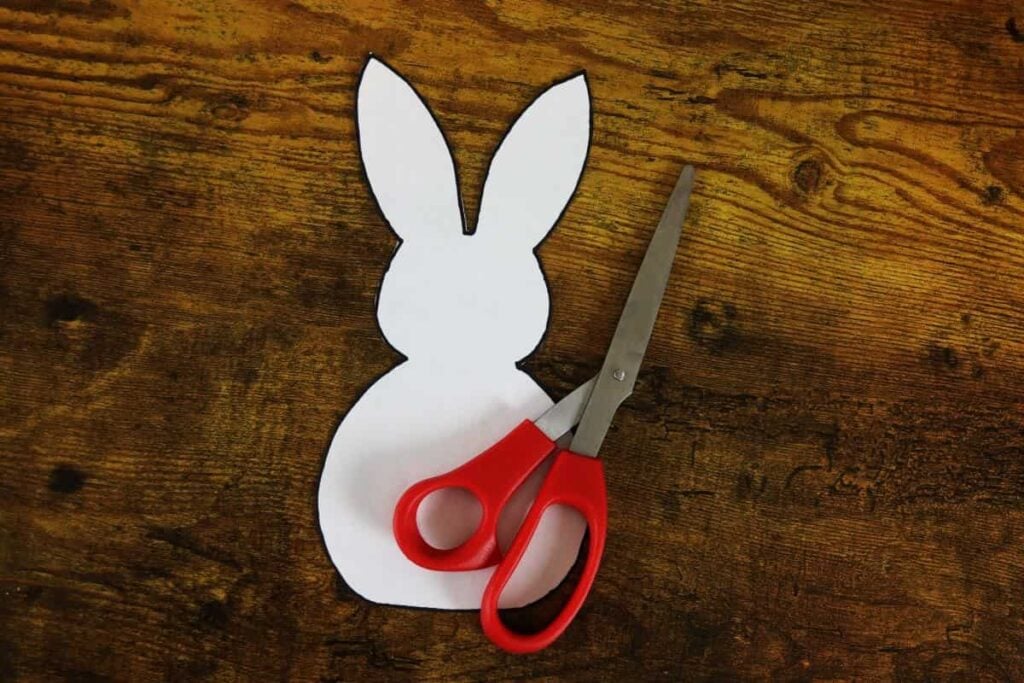
If you haven’t already printed out the free pdf pattern for the bunny do that now, and then cut it out.
Would you like to save this post for later?
Fold your fabric in half with wrong sides together and pin the pattern to the fabric.
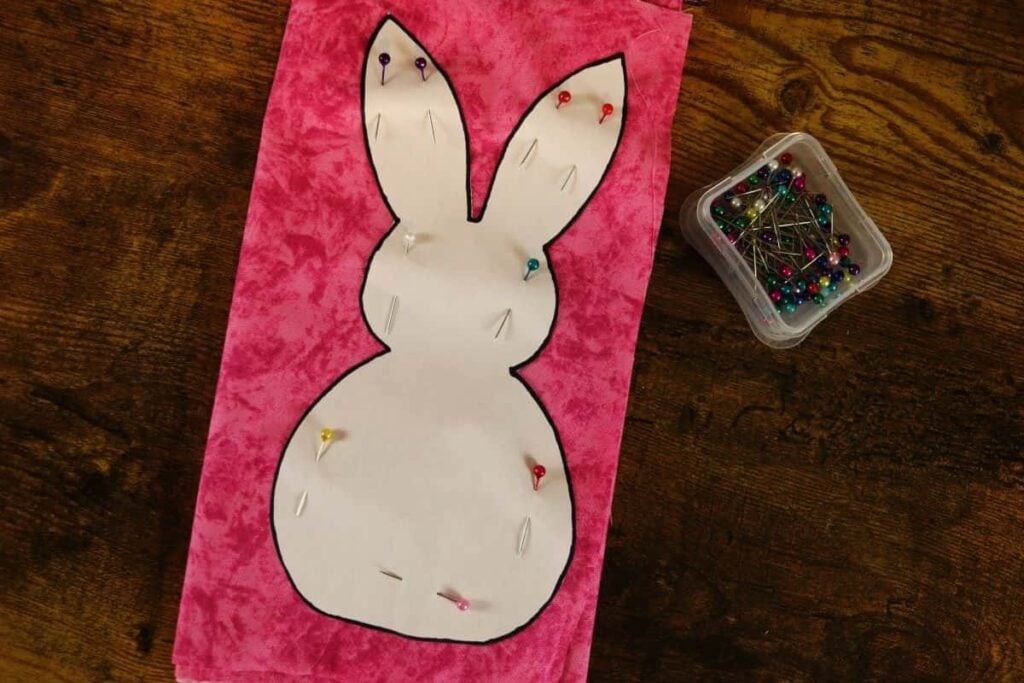
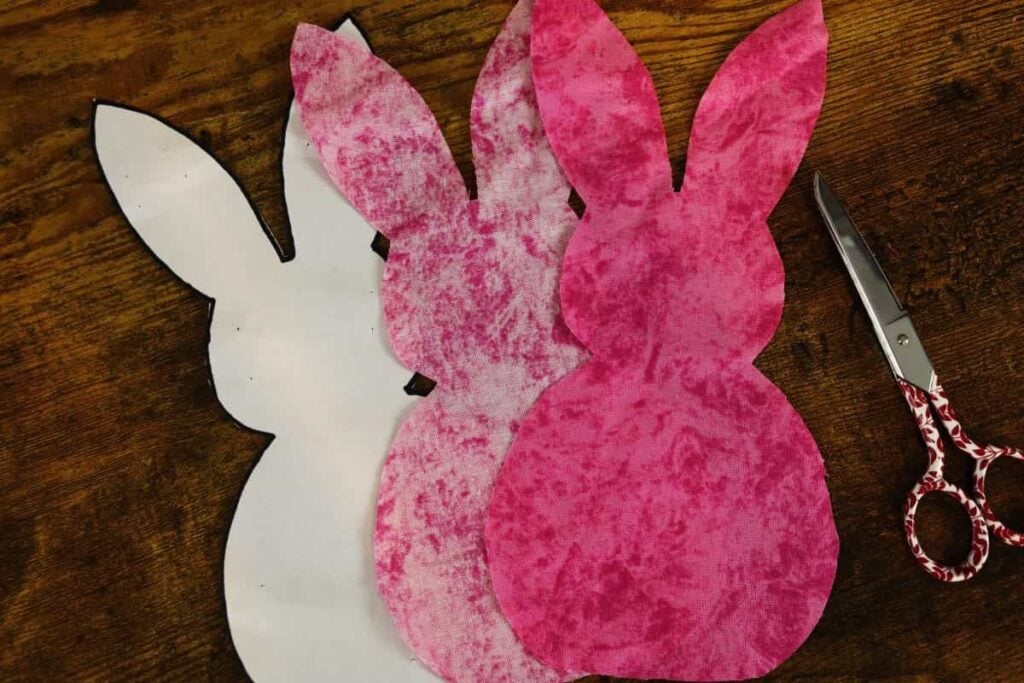
Cut along the edge of the pattern to create the two pieces of fabric to make your bunny.
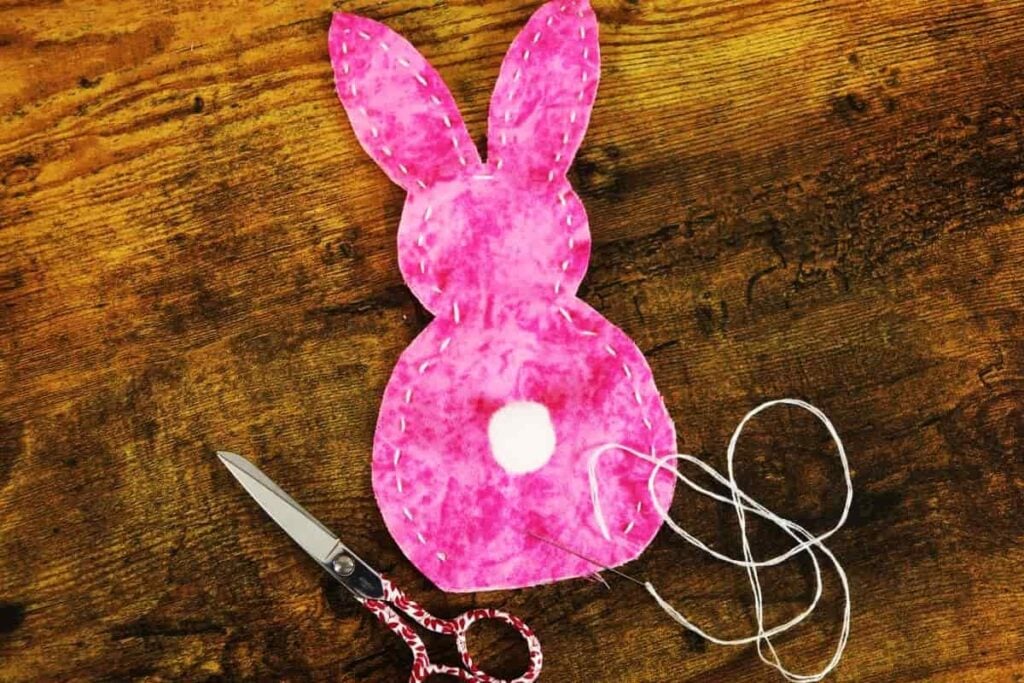
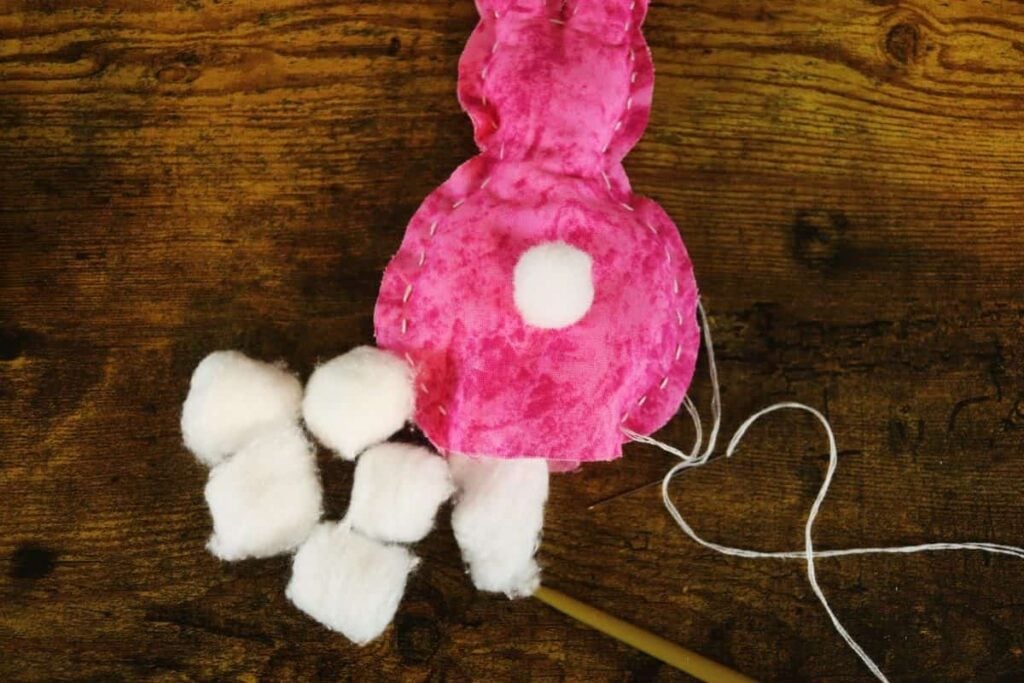
Attach the pom pom where you want the bunnies tail to sit on one of the fabric pieces. Be sure to keep the knots of the thread that you use to attach it on the wrong side of the fabric.

Pin the two pieces of fabric together with the wrong sides facing each other.

Stitch along the edge of the bunny with a 1/4″ seam allowance. Again, be sure that the knots from the thread you use are on the wrong side of the fabric.
Leave a gap in the stitching, at the bottom of the bunny, so that you have a place to insert the stuffing.
If you want to prevent the possibility of your bunny falling apart over time, due to it’s edges fraying, you can do one of two things; sew the bunny together with a sewing machine instead of by hand or cut the raw edges of the bunny with pinking shears before you sew it together.
As mentioned earlier, I like the look that the style I sewed my bunny in gives and so I am going to accept any fraying and unraveling with a grain of salt. Some fraying will actually give the little guy some character. And I can’t say for sure but I really don’t think it will ever amount to much, as my bunny will receive very light use.
If you’re making a bunny for small child, as a gift, or for some other reason that will cause it to receive heavier wear, you may want to sew the edges with that in mind.
Stuff the bunny with fill. Be sure to add just a bit at a time so that you can push it into the ears and the head as you go. You can use a wooden skewer, or any suitable object with a blunt point, to maneuver the fill into the places it needs to go. Be gentle, you don’t want to poke a hole in the fabric.
Once the bunny is as full as you want it to be, it’s time to finish sewing up the edges. I didn’t put a lot of stuffing in my bunny. I didn’t want a chubby bunny. But if want your bunny to be a little plump, go ahead and stuff in a little more fill.
As you can see this project is very easy to do. It is the perfect project to relax and put together while you’re unwinding at the end of the day. And it’s also a great way to spend some time with your favorite young people. If they are old enough to use scissors and a sewing needle than you’ll all have great fun.
What To Do With A Simple Stuffed Bunny
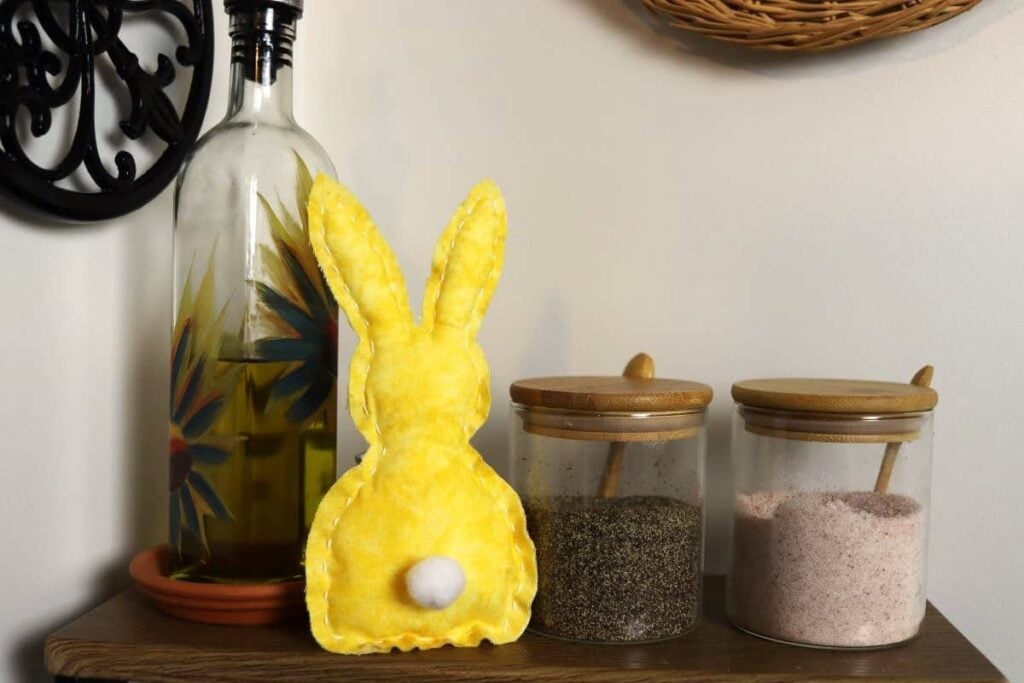
The most obvious use for a simple stuffed bunny is to use it to decorate at Easter time. They are absolutely adorable and fit right in with the theme of the holiday.

You can tuck them on a shelf, prop them on a window sill, or sit them just about anywhere in the house. They’ll add a little touch of festivity no matter where they land.
A basket of rich green moss adorned with these stuffed bunnies, Easter eggs, and candles sitting in an entryway or on a dining room table would be beautiful. Particularly if you made them in a neutral color and went with wooden eggs and beeswax candles. So dreamy!
They would make a great addition to a spring wreath. And they would look adorable hanging on an Easter tree. Just insert a jute twine loop in between the ears as you’re sewing them together and you can hang them anywhere.
But, my favorite thing to do with these sweet stuffed bunnies is to use them to make other people smile. Attach them to a hostess gift or put one in your little ones Easter basket. Pass them out to your best friends, your neighbors, your co-workers, and/or your family.
Who wouldn’t love to receive a simple, hand sewn bunny for the holiday season?!?! They just might be the perfect companion for the Easter season.
And these guys are inexpensive to make. You can even use fabric scraps for them if you have some in your sewing stash. And they are so quick to put together that they’re practically conducive to mass production; just kidding, sort of!
So, make a few, or a few dozen, and spread the bunny love this spring season.
Recommended For You
If you try this project and love it, please give it 5 stars! It supports my work more than you may realize, and I appreciate that a great deal!
You can also show your support by tagging me on Facebook @sustainableslowliving and/or Instagram @slowlivingbydianegail when you post a pic of your finished piece.
Stuffed Bunny Sewing Pattern
Equipment
- Printed pattern
- Craft scissors
- Fabric scissors
- Sewing pins
- Sewing needle
- Wooden skewer
Materials
- 12" x 12" cotton fabric
- embroidery thread
- pom pom for tail
- cotton balls for stuffing
Instructions
- Print and Cut PatternPrint the free pattern from this post and cut it out.
- Prepare FabricFold the fabric with wrong sides together. Pin the pattern to the fabric and cut around it.
- Attach Pom PomSew the pom pom to one piece of fabric for the bunny tail. Make sure the knot stays on the wrong side of the fabric.
- Pin and Sew FabricRepin the two fabric pieces together.Use a double strand of embroidery thread to sew around the edges, leaving a 1/4" seam allowance. Leave a small gap at the bottom for stuffing.
- Stuff the BunnyLoosen the cotton balls with your fingers before inserting.Use a wooden skewer or another blunt, pointy object to gently push the stuffing into the bunny.
- Close the GapSew the gap at the bottom closed and tie off securely.
- Enjoy Your Handmade Bunny!
Notes
- Add a Personalized Touch: Use different fabric patterns or colors to create bunnies for different occasions.
- Secure the Pom Pom: Double-stitch the pom pom to ensure it stays in place, especially if gifting to young children.
- Create a Lavender Sachet: Add dried lavender to the stuffing for a fragrant and calming bunny.


This stuffed bunny is such a sweet and simple project. It’s perfect for handmade gifting or adding a cozy, homemade touch to your spring season. If you give this pattern a try, I’d love to hear how it turned out for you. Feel free to share your thoughts or ask any questions in the comments — I’m always happy to help!