DIY Wooden Herb Box || Easy To Do In A Day

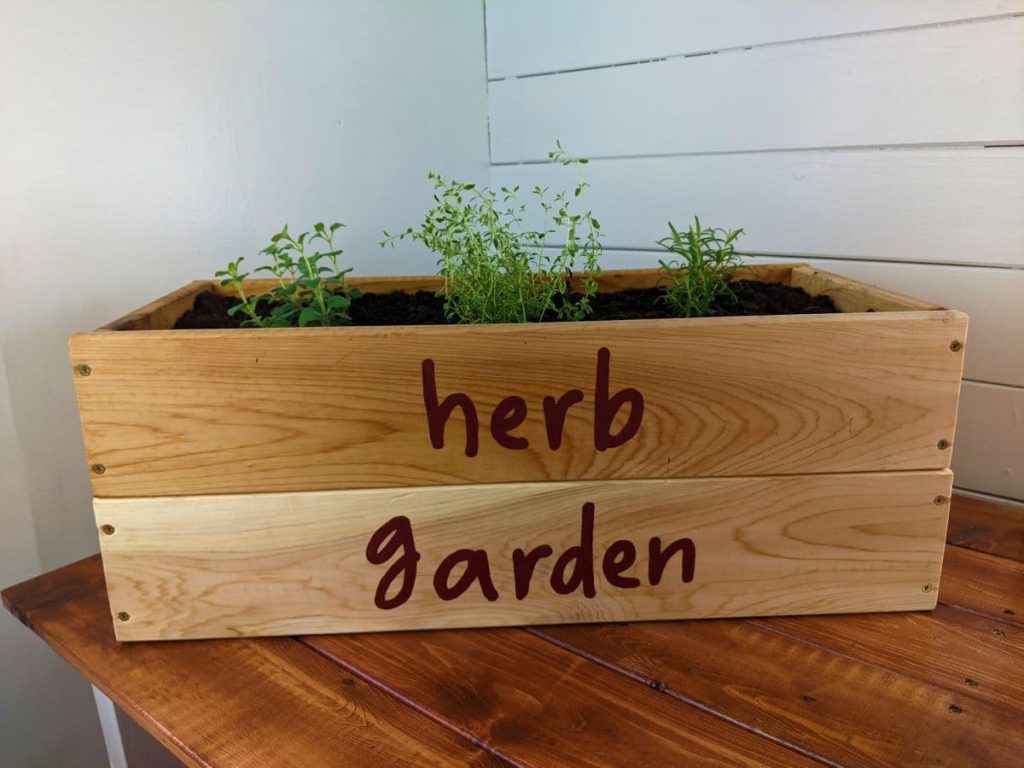
This DIY wooden herb box is easy to do in a day. The box itself can be assembled in just an hour, but it will take a bit more time than that to apply the finish to it.
You will find that the reward of owning an herb box far outwieghs the effort that it takes to build one.
There is nothing like fresh herbs, they make every dish better! You will find yourself cooking with them every day.
Fresh herbs are one of those things that can take time for people to adjust to using in their kitchen, but the effort is well worth the payoff. If you take the time to develop the skill of using fresh herbs in your dishes, you will NEVER want to go back to cooking with dried herbs again.
This handy little herb box will provide you with an abundant supply of up to 3 common kitchen herbs. And you can use it to grow lettuce, leafy greens, and microgreens as well.
With those two things, in mind you might want to consider doubling up on supplies when you go shopping so that you can build two boxes at once. That way you can have both herbs and greens growing in no time at all.
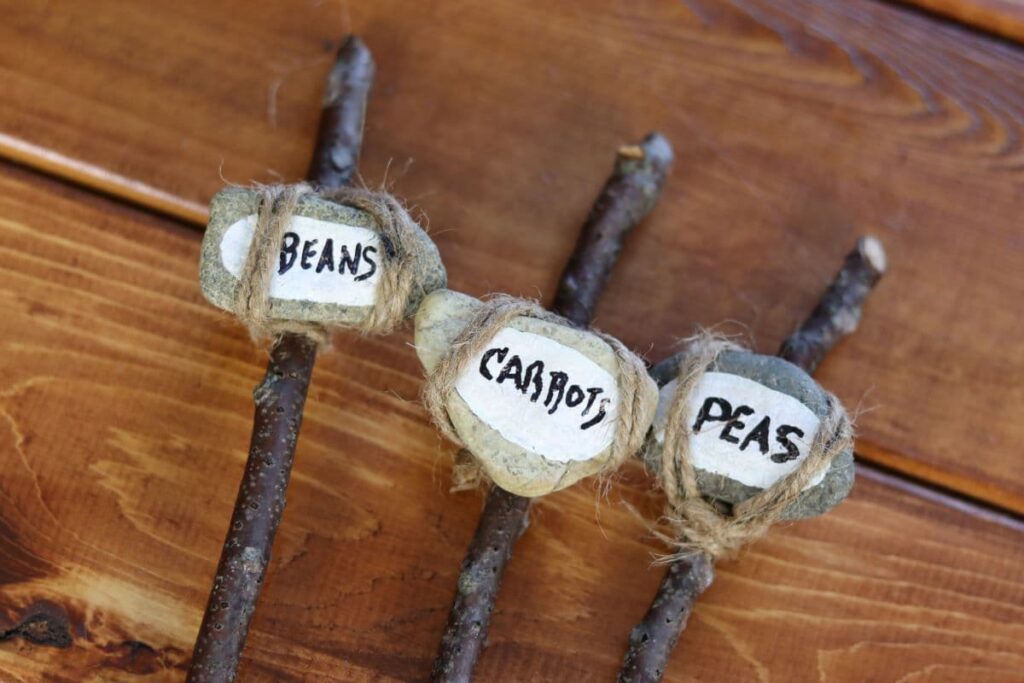
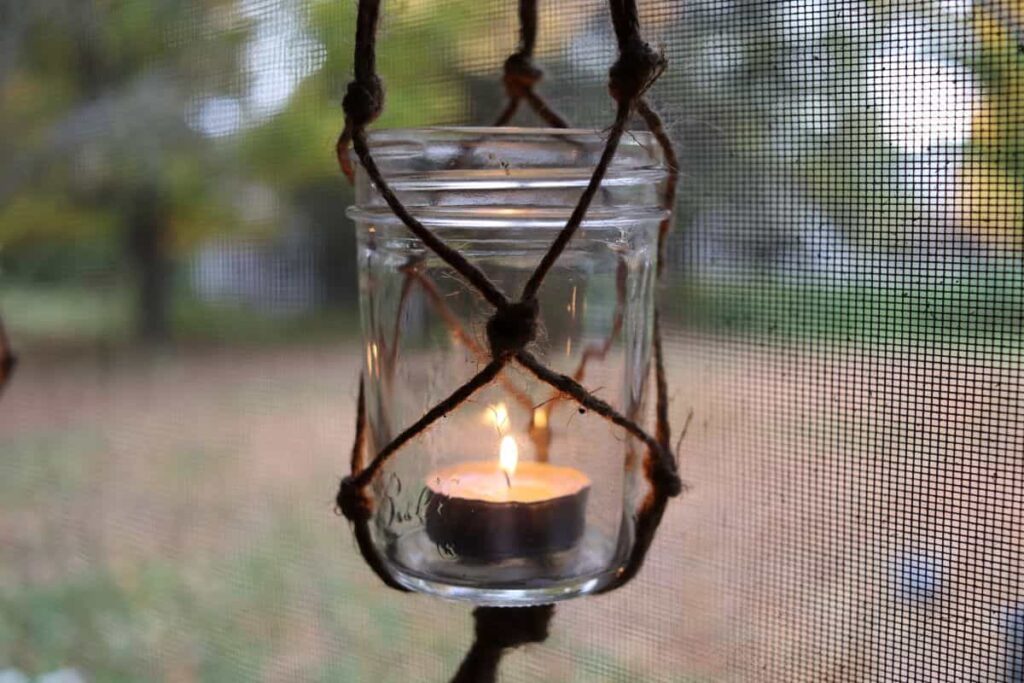
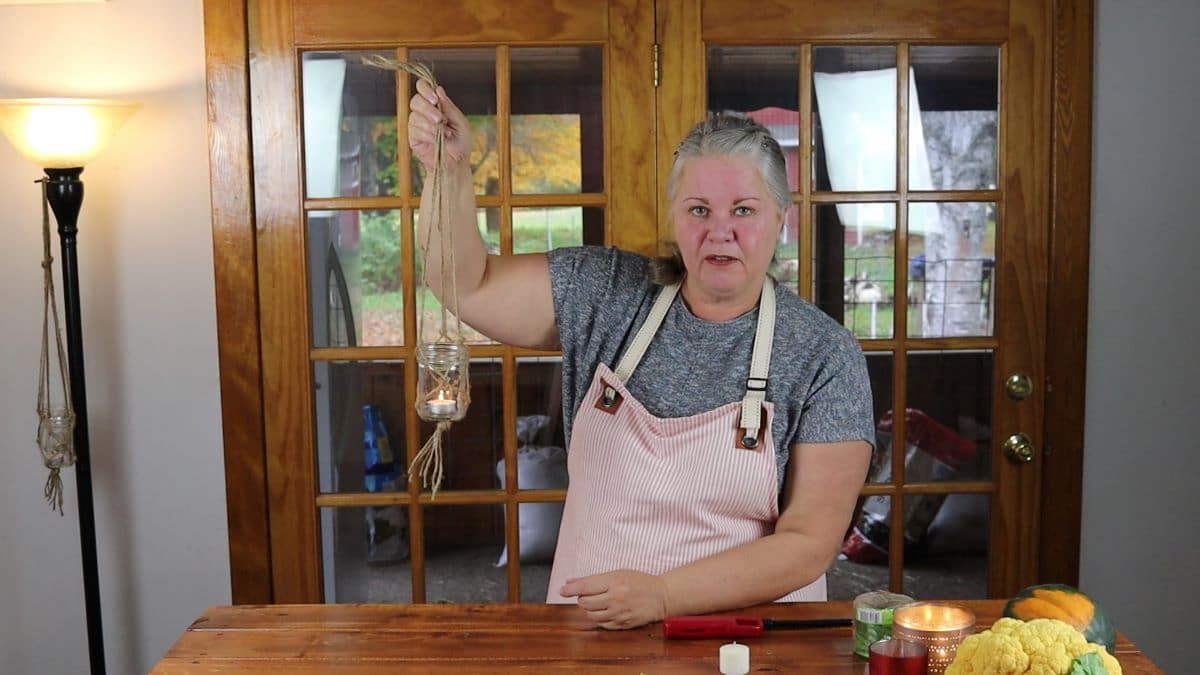
And choose another DIY project from the home project archives and grab the stuff to make that next while you’re shopping. Jute twine tea light holders, rustic plant markers, colorful fabric mache bowls, and simple bread bags are all great choices.
What supplies do I need to make a DIY wooden herb box?
All of the supplies needed to complete this DIY wooden herb box are readily available at your local hardware store.

If you make a list of those you don’t already have on hand, and head off to the store, you can pick them all up in one trip.
The following list of supplies will give you enough material to build one 9″ x 24″ x 10 1/2″ herb box. Building a box this size will provide you with the ideal environment to grow 3 healthy herb plants.
Tools needed:
- circular saw, table saw, or hand saw
- power drill and phillips head drill bit
- staple gun and 1/2″ staples
Supplies needed:
- 2 – 1″ x 5″ x 8′ boards, not treated, and cut to the following lengths …
- 2 – 22 1/2″
- 4 – 24″
- 4 – 9 1/2″
- 120 grit sandpaper
- 6 – 1/2″ x 2″ mending braces with screws
- 24 – 1 1/4″ phillips head wood screws
- landscape fabric
- gravel/stones
- potting soil
Optional supplies:
- 8 oz mineral oil
- soft, lint free cloth
- letter stencils
- craft paint (your choice of color)
- small artists paint brush
- plant markers
How to make a DIY wooden herb box
The size of your box matters
The box in this tutorial measures 9″ high x 24″ wide x 10 1/2″ deep when completed. This size box will provide an environment that allows ample room for your herb plants to thrive. And healthy herb plants mean abundant harvests.

There are many tutorials available online that provide instructions for building boxes which are not as deep or as wide as this one. Building a box with smaller dimensions will stunt the growth of your herbs and should be avoided.
You should only plant a maximum of 3 herbs in one box. And make sure that the plants you choose to plant in it grow well together.
Be certain that you are not choosing herbs which do not thrive in a container environment. There are several herbs which are much too large to thrive in a container this small. Dill is the perfect example of this.
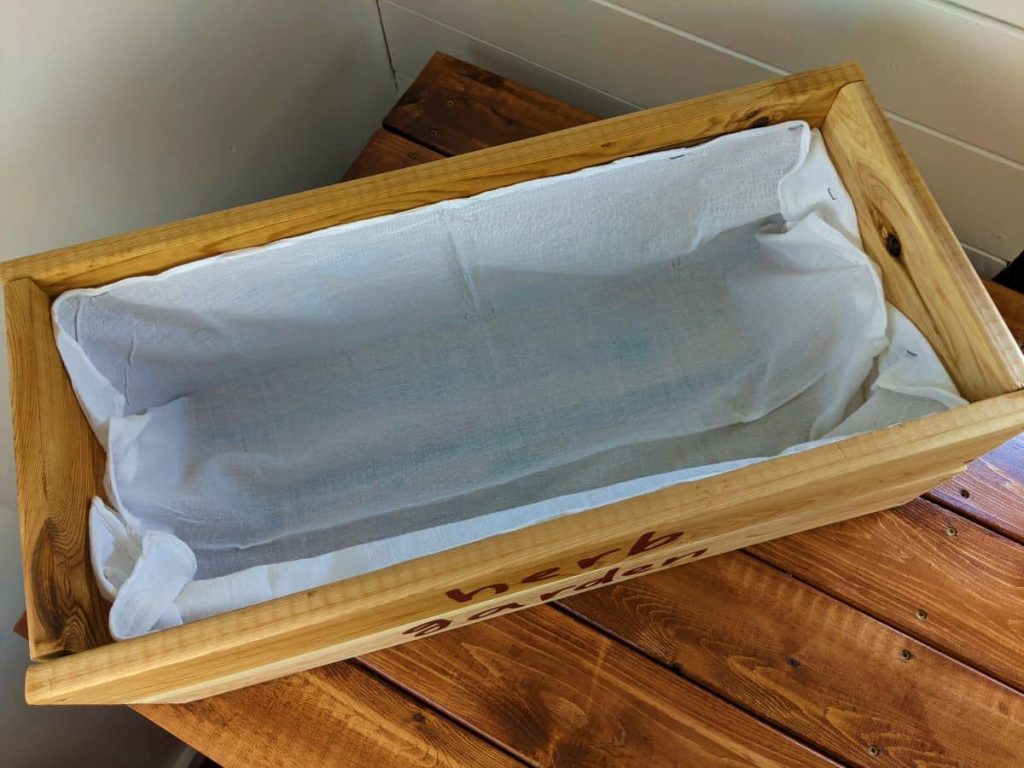
Choosing a liner for your herb box
Plastic is likely the least expensive way to line your herb box, and this makes it a very tempting choice. However, using plastic will make your herbs very unhappy because they do not like wet feet, and it will hold moisture in.
It is best to use a landscape material to line your herb box. This will promote good drainage and keep the dirt from falling through the bottom of the box. However, it is difficult to purchase landscape fabric in small quantities so you can substitute a different material if it works better for you.
Cotton, muslin, or linen cloth are all good choices for lining your wooden planter. I used a white muslin cloth.
Basic outline of steps to build a DIY wooden herb box
There is a full, ready to print tutorial on how to make a wooden herb box available at the end of this post. It is nice to have a print copy on hand when you are working.
In the interest of sharing just how easy it is to do, the following 13 steps sum it up quite nicely …
- Cut wood to size
- Sand the ends of each individual board
- Stencil the front boards of the box, if desired
- Apply mineral oil to each of the wood pieces and allow to sit for 24 hours
- Remove excess oil from the boards
- Brace the sides and ends of the box with mending plates
- Screw the end boards to the bottom boards
- Screw the front and back panels to the end boards
- Line the box with landscape fabric
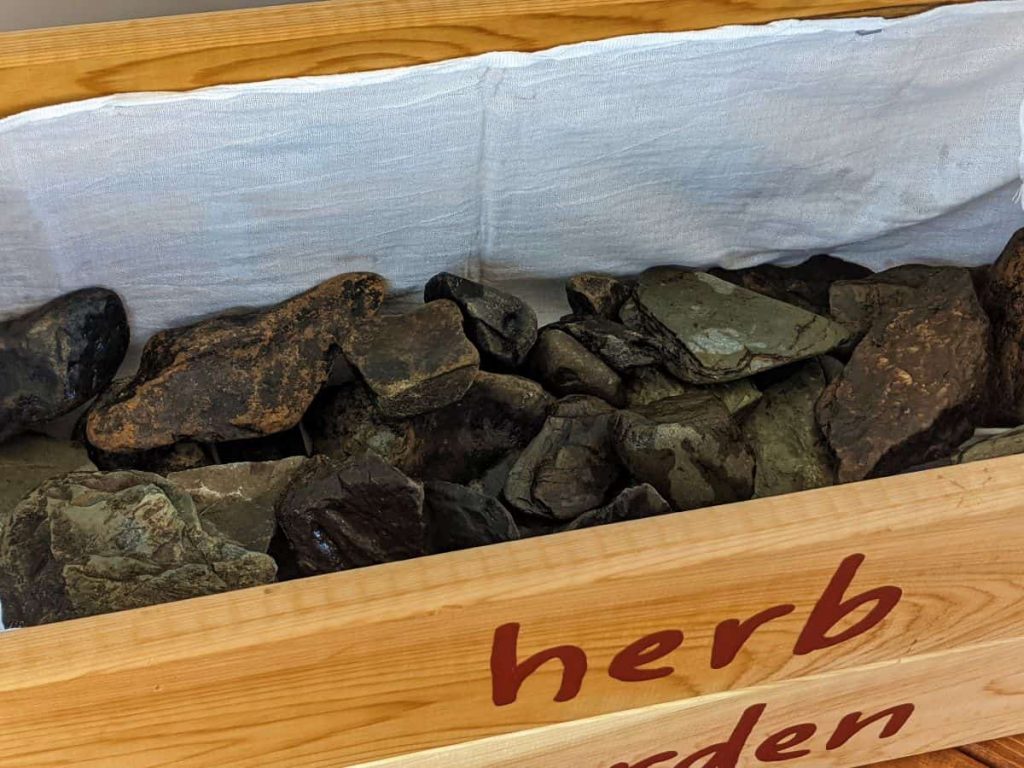
- Fill the bottom of the box with gravel/stone
- Fill the remainder of the box with potting soil
- Plant herbs in the box
- Insert plant markers next to each herb plant, if desired
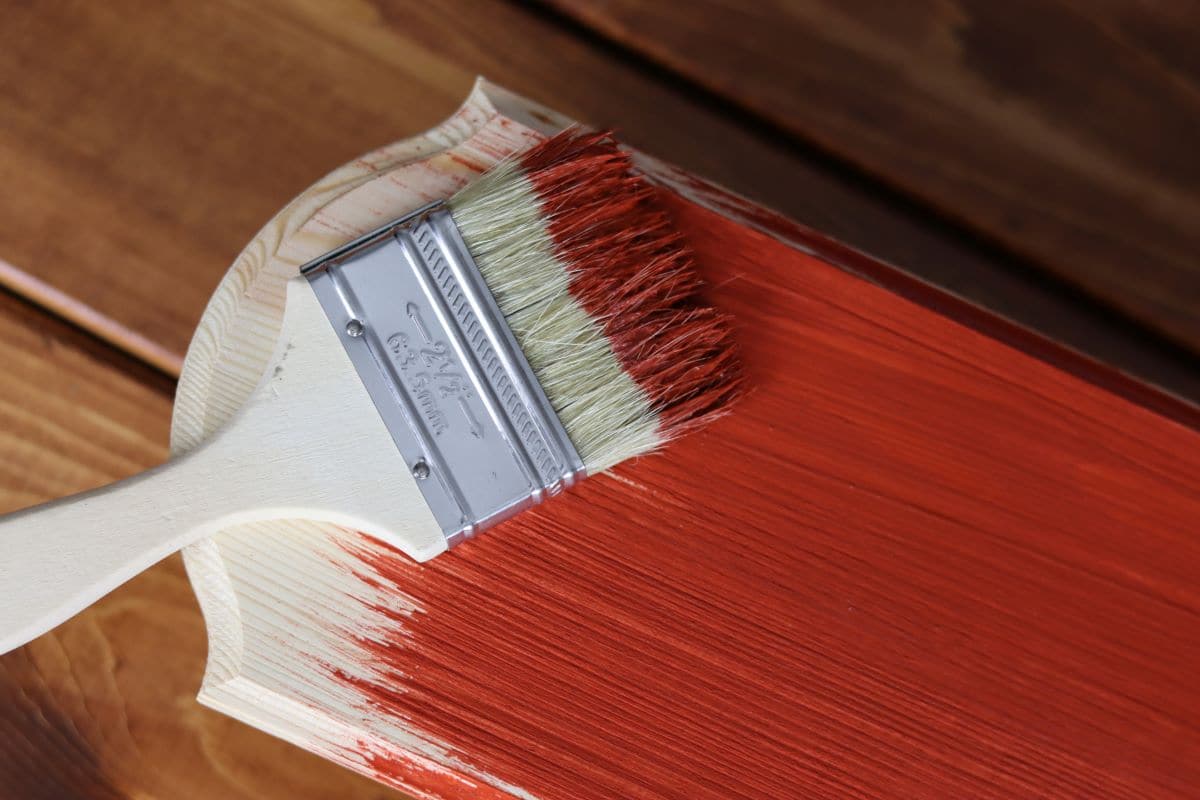
Putting a finish on your DIY wooden herb box
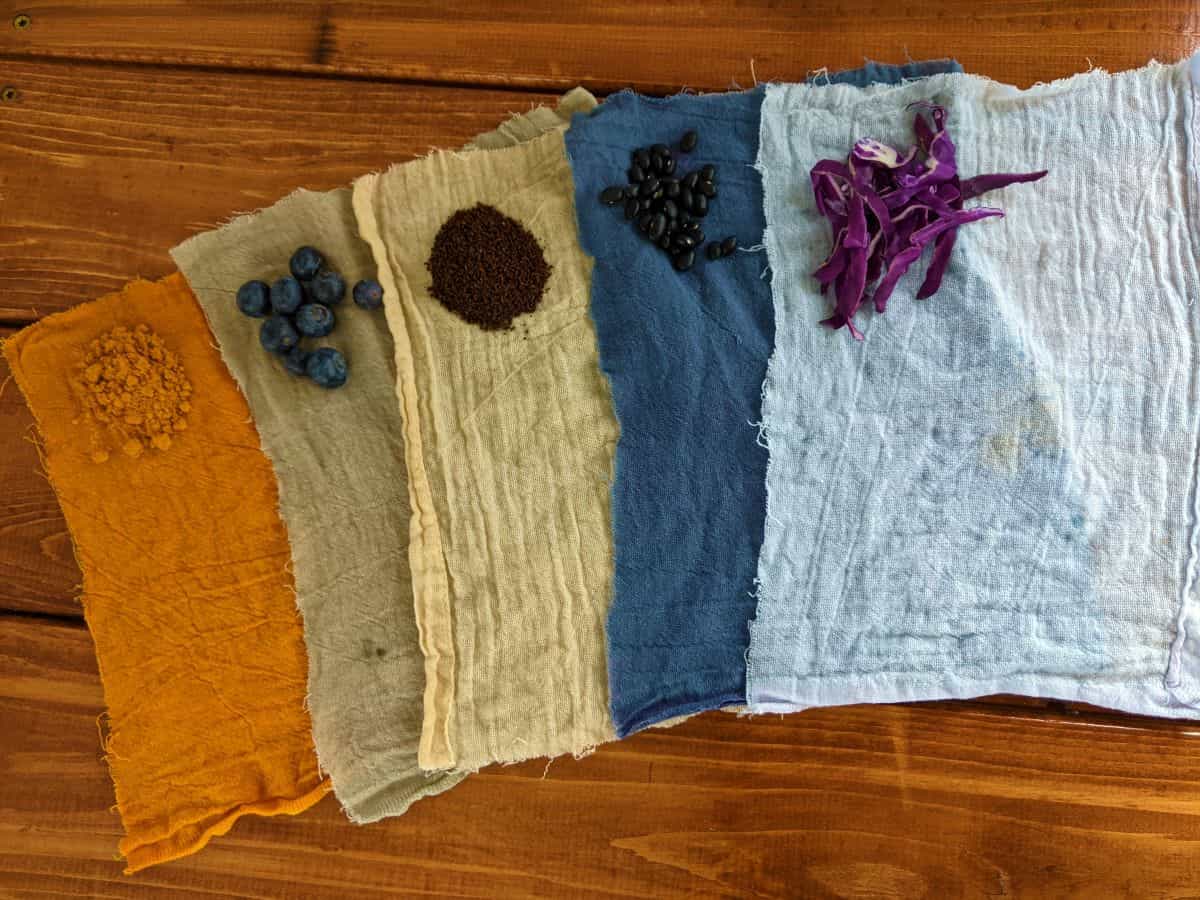
Avoid choosing toxic materials, such as paint, varnish, and stain when deciding on a finish for the exterior of your herb box. These materials contain high levels of toxins which are unhealthy for humans, animals, and the environment, including your herbs of course.
Would you like to save this post for later?
These toxins will seep into the soil inside the box, where they will contaminate it. Thereby resulting in contamination of the plants themselves.
This can effect the health of your plants and, because you will be consuming them, your own health as well. Consuming food products which carry toxins can cause the human body to suffer from a large variety of health issues.
You can safely extend the life of your herb box by treating it with mineral oil. This is a food safe oil often used to treat cutting boards and butcher block tables.
You can opt to use raw linseed oil or 100% pure tung oil to finish your herb box as well. These options can take quite some time to apply and they are a bit more expensive. The finish they provide has more depth which makes them more aesthetically pleasing choices, if you are willing to invest the time and money in them.
Planting your DIY wooden herb box
After you have built your herb box and lined it with landscape fabric, you can start planting your herbs.
Place a 3-4 inch layer of gravel/stone in the bottom of the box.
Choosing gravel/stone for your box:
If you have access to a clean woodland or a river bed, where you can harvest small stones for your herb box, this would be the least expensive way to obtain this material.
It is important to note that the material you harvest may be contaminated or carry undesirable bio matter on it. If you are not willing to risk this it is best to visit your local garden center and speak with someone there about what they have that will suit your needs.
I chose to gather my stone from a local river bed. I did wash it well and I soaked it in some hydrogen peroxide. But I know this doesn’t completely eliminate the risks of contamination.
Choosing soil for your box:
The next step to planting your herb box is to add the potting soil. There are a variety of ready made, organic options available at most local garden centers.
Avoid purchasing the cheapest product available and do not purchase plain top soil. Both of these choices will be much too dense to provide the environment that herbs need to thrive.
Herbs like a light loomy soil and they are not heavy feeders. Choose a soil with additives such as sand, vermiculite, or peat moss. And avoid super soils, which are heavily laden with nutrients intended to feed a plant for an entire season.
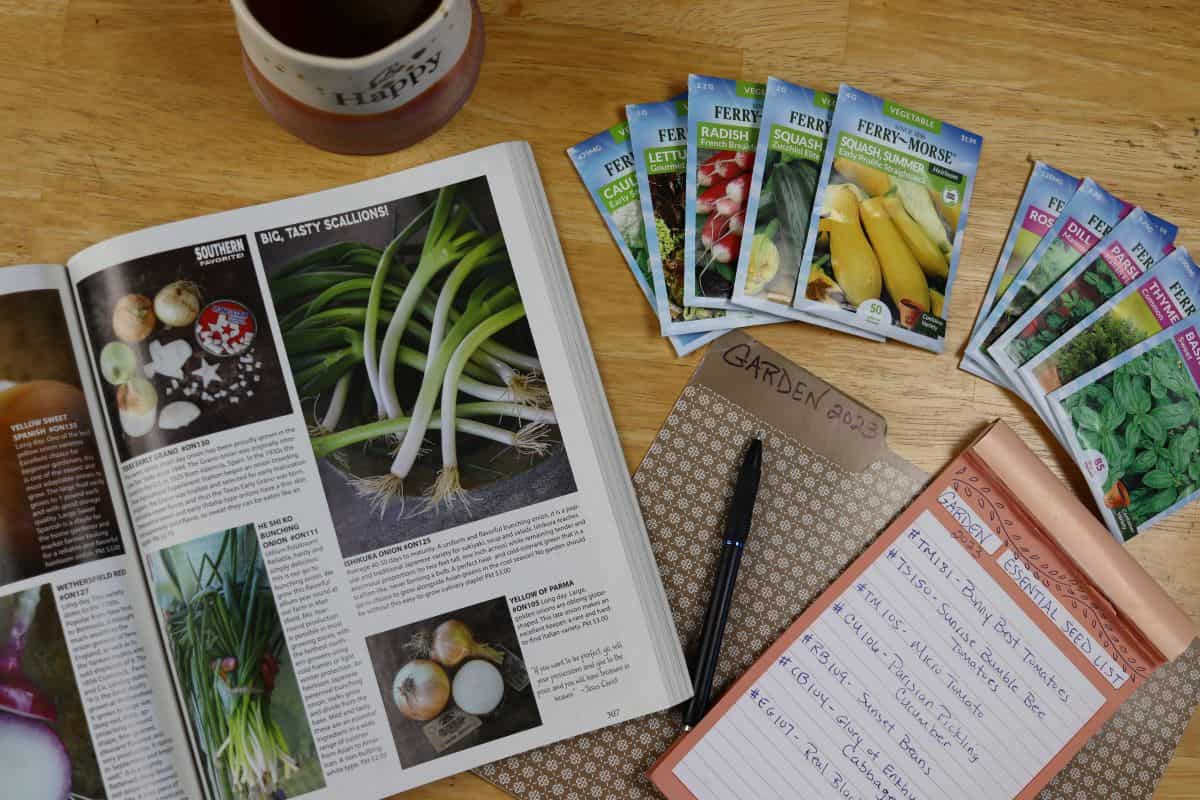
After you’ve topped off the box with potting soil. you will be ready to plant your herbs. Pick up a few different kinds of seeds or grab a few small plant starts at your garden center and place them in the box.
Your herbs are going to LOVE the home you’ve created for them. They will have ample room, appropriately airy soil, and dry feet. These are all of the things an herb craves most in life!
The only thing left for you to do is water them regularly and perhaps offer them a light food source a few times a year.
Labeling your herb box
Labeling the plants in your herb box can be done as simply or as elegantly as you choose.
You can pick up a few fancy plant markers online or at your local garden center. You can make a very nice plant marker yourself if you are crafty, or you can simply write the name of your herbs on an old popsicle stick and push it into the dirt next to your plant.

PRO TIP:
Plant rosemary, oregano, and thyme in your herb box and you will have the perfect spice blend to make an amazing red sauce for pasta! YUMMY!
Use that red sauce to top a fresh batch of handmade pan fried gnocchi and you’re in for a real treat!
PRO TIP II:
Bring your DIY wooden herb box indoors for the winter and you will have fresh herbs all year long. Can you just imagine clipping fresh herbs for your dinner on a cold, snowy January day?
It’s truly delightful. It really is!
Recommended For You …

If you try this project and love it, please give it 5 stars! It supports my work more than you may realize, and I appreciate that a great deal!
You can also show your support by tagging me on Facebook @sustainableslowliving and/or Instagram @slowlivingbydianegail when you post a pic of your finished piece.

DIY Wooden Herb Box
Equipment
- Circular saw, table saw, or hand saw
- power drill and phillips head drill bit
- Philips head drill bit
- Staple gun
- Alphabet stencils (optional)
- Small artists paint brush (if using alphabet stencils)
Materials
- 2 1" x 5" x 8' boards not treated
- 120 grit sandpaper
- 6 1/2" x 2" mending braces with screws
- 24 1 1/4" phillips head wood screws
- Landscape fabric
- 1/2" staples
- Mineral oil (optional)
- Soft, lint free cloth (if using mineral oil)
- Craft paint (if using alphabet stencils)
Instructions
- Cut the Boards: Using your 1" x 5" x 8' boards, cut the following pieces:4 pieces at 24" (for the front and back panels)2 pieces at 22 ½" (for the bottom boards)4 pieces at 9 ½" (for the end panels)
- Sand the Edges: Sand the ends of each board to smooth any rough edges. If necessary, lightly sand the entire surface of the boards for a clean finish.
- Stencil the Front Panel (Optional): If you’d like to personalize your herb box, stencil the front of 2 of the 24" boards. Center your stencils and apply craft paint using a small artist’s brush. Allow the paint to dry completely before proceeding.
- Apply Mineral Oil (Optional): Using a soft, lint-free cloth, apply a generous coat of mineral oil to all sides of the boards. Allow the oil to soak in for 24 hours, then wipe off any excess before assembly.
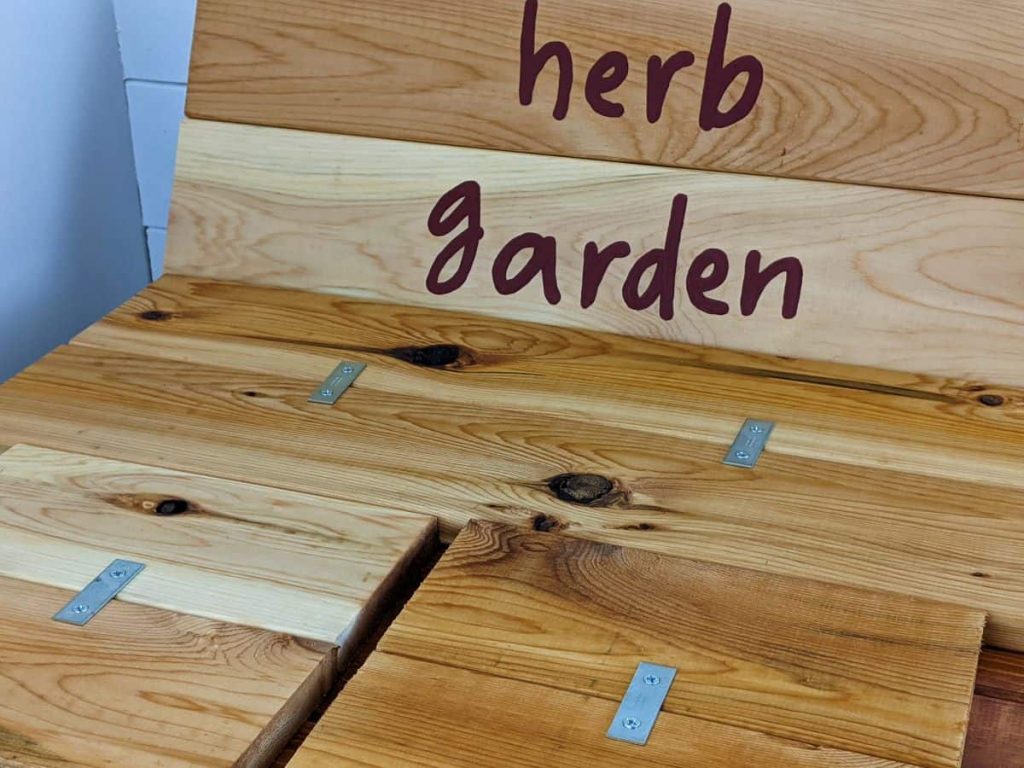
- Brace the End Panels: Brace the 9 ½" end panels together in pairs by attaching one mending brace in the center of each set.
- Brace the Side Panels: Brace the 24" side panels together in pairs using two mending braces per set. Place each brace about 7 ½" from the ends. If you’ve stenciled the boards, ensure they are properly aligned before bracing.
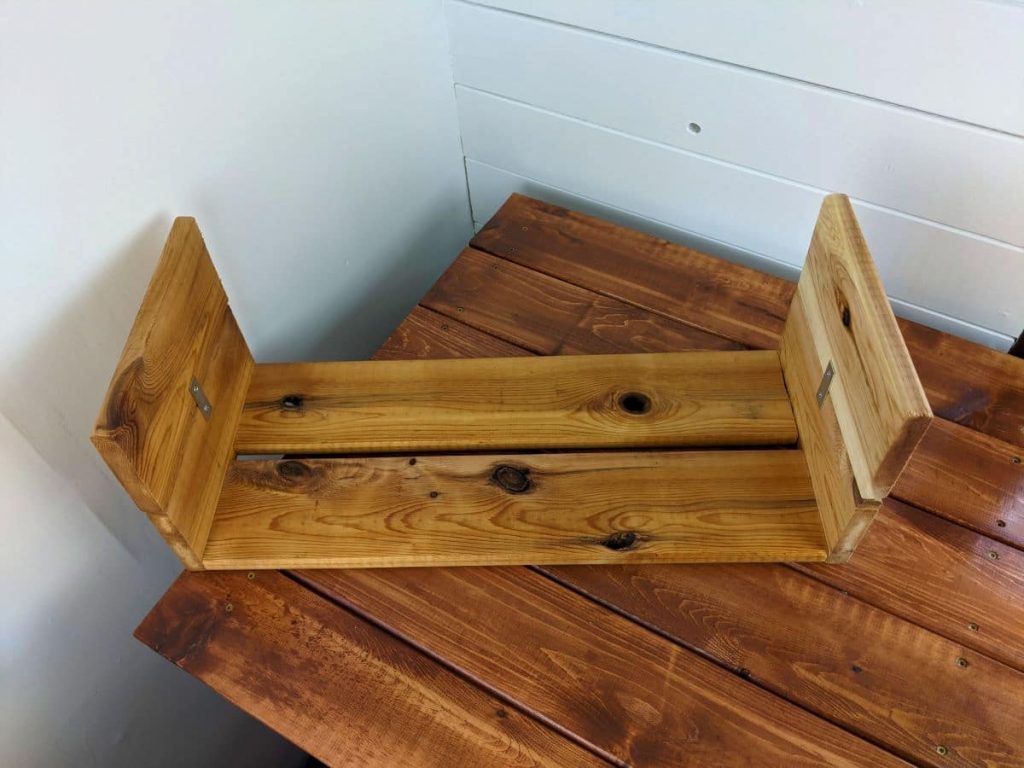
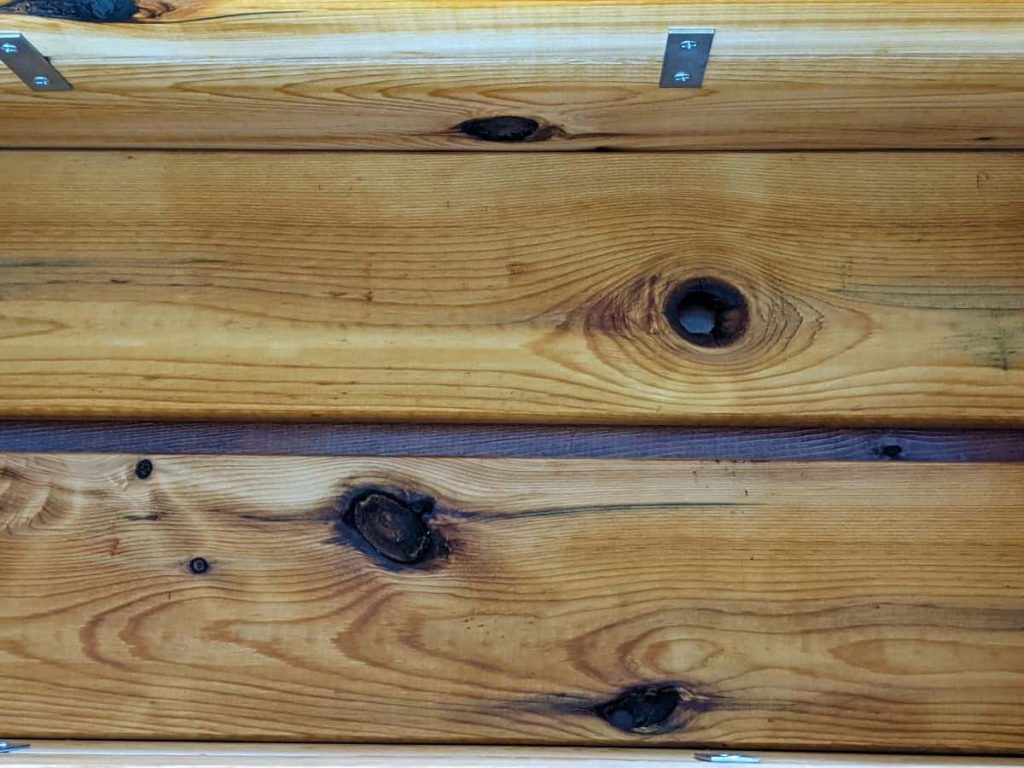
- Assemble the Box Base: Attach the end panels to the bottom boards by screwing the boards into place. Align the bottom boards with the outer edges of the end panels, leaving a small gap between them for drainage.
- Attach Front and Back Panels: Secure the front and back panels to the end boards using screws.
- Line with Landscape Fabric: Line the interior of the box with landscape fabric to promote drainage and prevent soil from escaping. Use a staple gun to secure the fabric along the upper edge of the box.
- Final Touches: Ensure all screws are tight and the box is secure. Your wooden herb box is now ready to be filled with soil and your favorite herbs!
Notes
- Choose Durable Wood: Opt for weather-resistant wood like cedar or redwood if you plan to keep your herb box outdoors. These woods naturally resist rot and decay.
- Ensure Proper Drainage: Leave small gaps between the bottom boards to allow excess water to drain. This helps prevent root rot and keeps your herbs healthy.
- Secure Fabric Well: When lining the box with landscape fabric, make sure it’s stapled securely along the top edge to prevent it from shifting as you add soil.
- Customize with Stencils: If using stencils, apply thin layers of craft paint to prevent bleeding. Allow ample drying time between coats for a crisp design.
- Reapply Mineral Oil: If you used mineral oil for protection, reapply it every few months, especially if your herb box is exposed to outdoor elements. This helps maintain the wood’s durability and appearance.
I absolutely love this! What a neat idea and seems like such a great tutorial to follow!
I grow sage, several varieties of mint and balms, thyme, parsley, but think I’ll be adding more this year as I use so many others in cooking and teas 🙂
This would be the perfect piece to house your new additions 😉
These are so cute!!
Thanks Sharon! I really had fun making it 😉
What a cute idea… Love these! I’d love to grow some chives, mint and sage like this! Pinning for later this month when I’ll be planting!! Thank you!
So welcome! I hope you get time to put one together. I really love mine 😉
This wooden herb box is a perfect way to organize and display your favorite herbs while adding a touch of rustic charm to your space. It’s easy to customize and makes a beautiful addition to any kitchen or garden. If you give it a try, I’d love to hear how it turns out in the comments. Happy building!