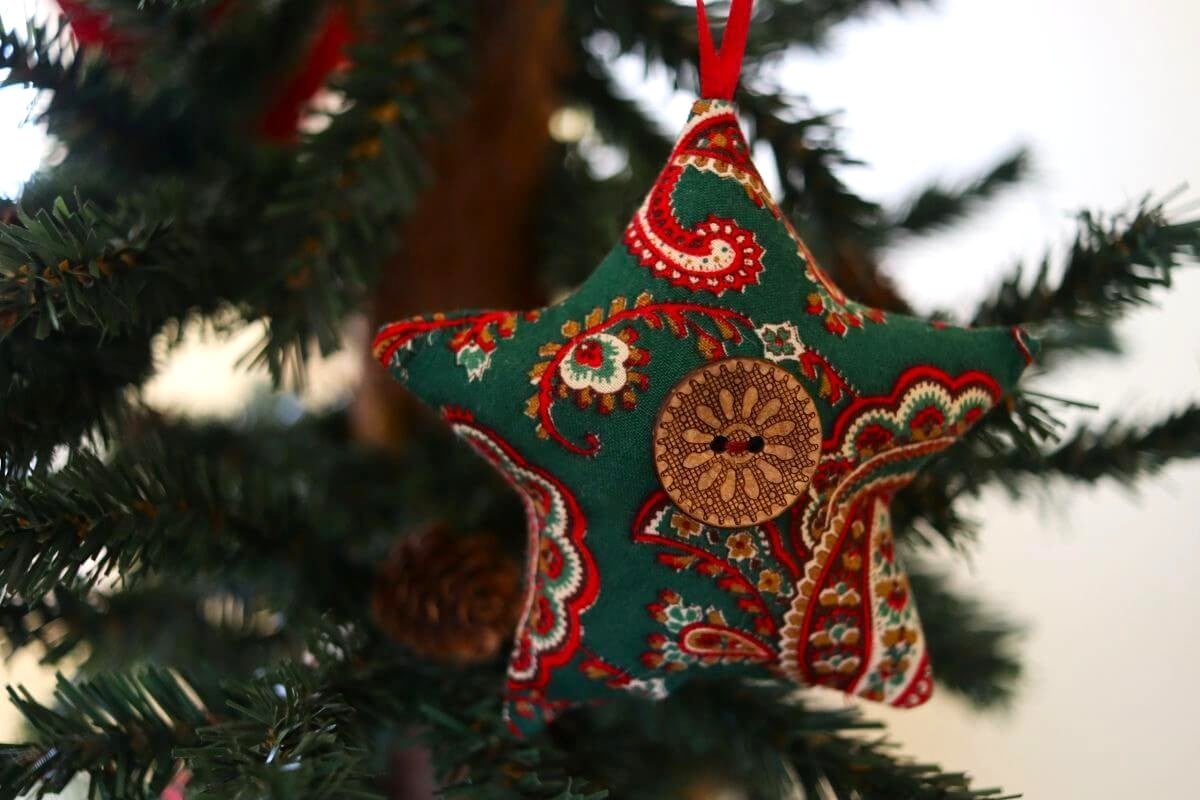
DIY Fabric Star Ornament

Bring a handmade touch to your tree this year with this DIY fabric star ornament that’s simple to make and full of rustic charm. These little stars look beautiful wherever they land — whether you’re decorating your home, adorning your tree, or topping a gift. It’s one of those projects that instantly brings a personal touch to the holiday.
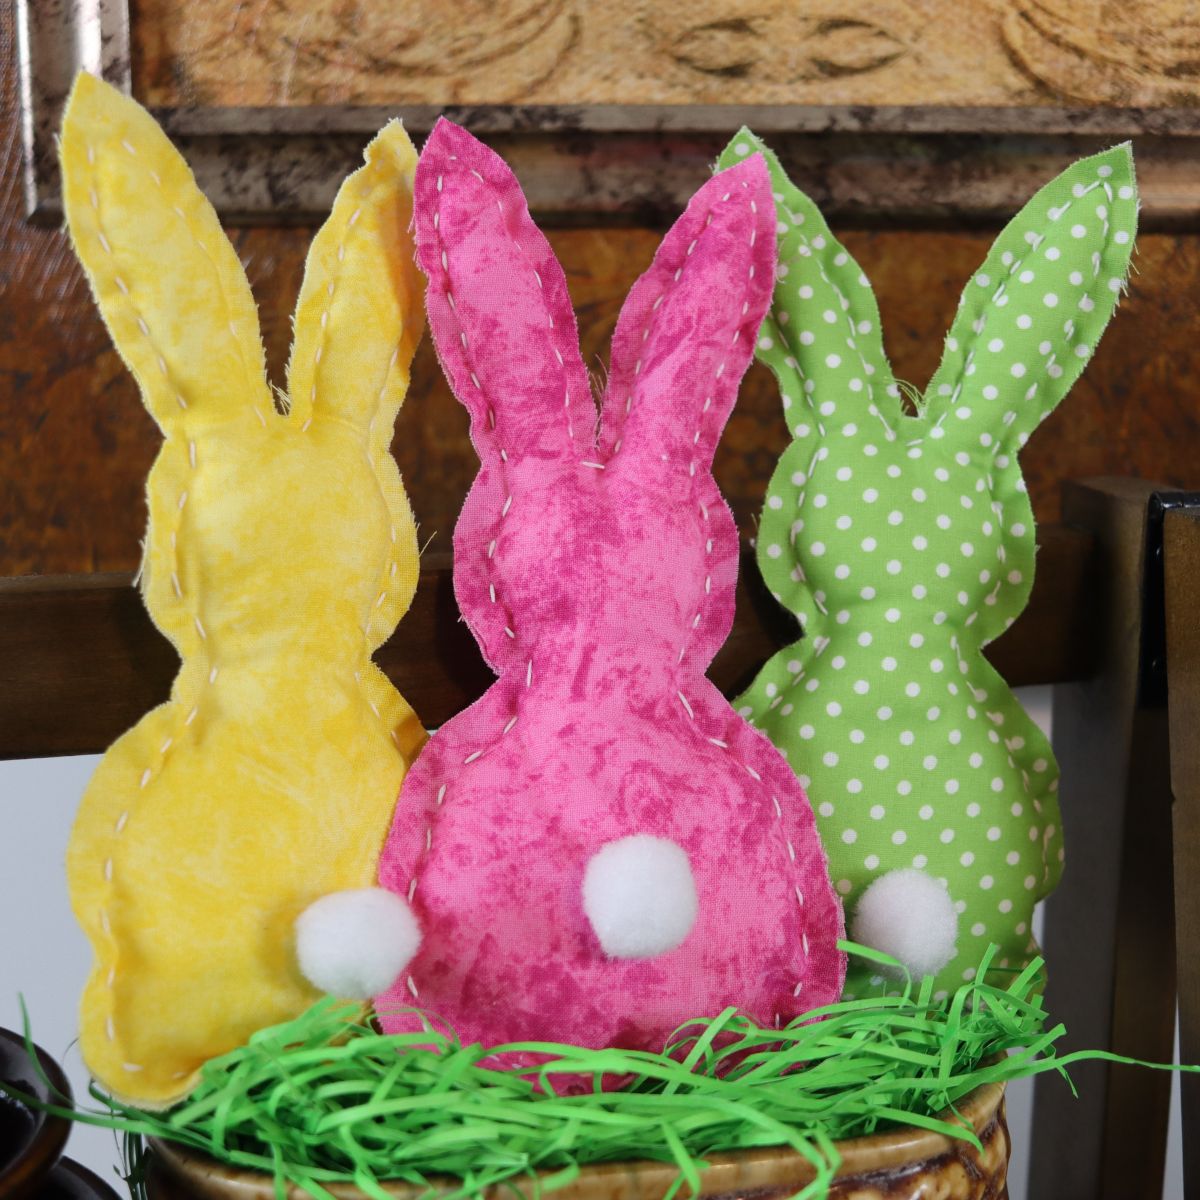
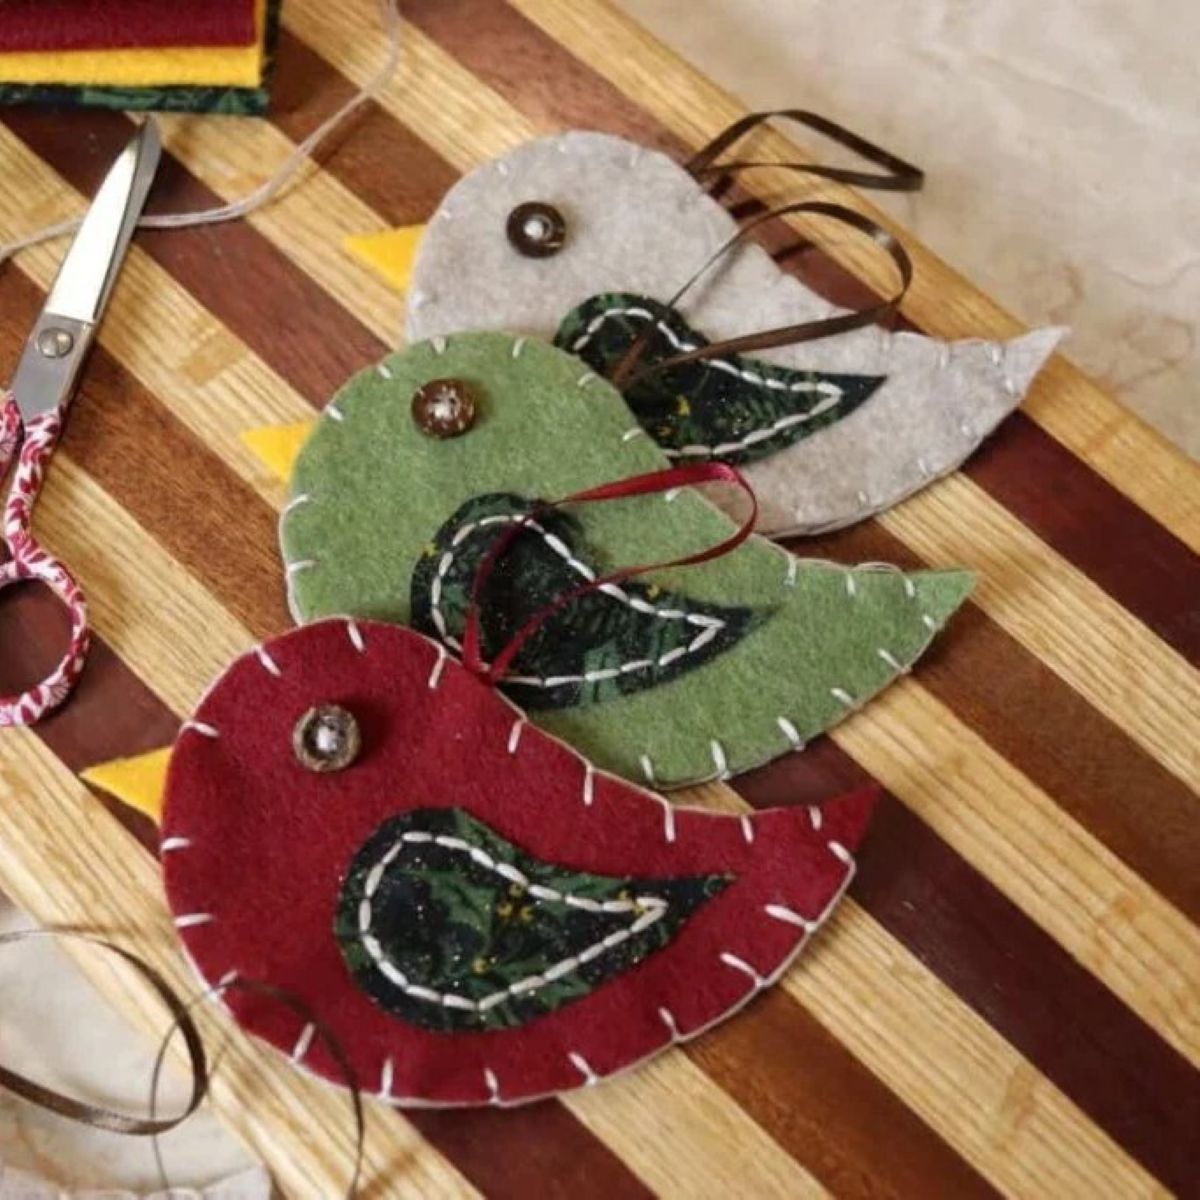
If you’re building a handmade collection for your tree this year, make my gingerbread man ornaments and my felt bird ornaments next.

Let’s talk about this project
This is my first Christmas in my new home, and I wanted to make something handmade to mark the occasion. While organizing my sewing supplies, I came across the paisley fabric used to make some of the stars you’ll see in this post. The moment I found it tucked away in my fabric collection, I knew it was destined to become a star. And with so little free time, between settling in and the holidays, I needed a project that wouldn’t demand too much from me, this one fit perfectly.
I’m thrilled with how these stars turned out, and I wanted to share the project with you so you can make a few of these charming little stars for your home too. They bring so much warmth to any holiday space, and their simplicity make them an ideal slow living Christmas project. They’re incredibly adaptable as well — using any fabric that reflects your own personal holiday style, whether it’s modern, rustic, vintage, or completely whimsical. And if you’d like a few more handmade ornament ideas, that fit into even the busiest holiday schedule, my tree-shaped ornament, wrapped star ornament, and snowflake cookie cutter ornament are just what you’re looking for.
Materials you’ll need
- FREE pattern: Download and print my FREE fabric star pattern; it includes two sizes and will make it easy for you to create a perfectly symmetrical star ornament.
- Cotton fabric: Choose a cotton fabric in a solid color, or a printed pattern, that you love. Quilting cotton works beautifully — because it holds its shape, presses well, and the points turn crisply, without puckering. Avoid stretchy or slippery fabrics unless you have advanced sewing skills, as they make shaping the star much harder.
- Button: Adding a button to your ornament is optional, but it does make a simple, charming addition. Choose one that complements your fabric and sits snugly against it so it doesn’t flop around once the star is stuffed.
- Ribbon: Use a sturdy ribbon that doesn’t fray easily when cut. Narrow widths (⅛–¼ inch) work especially well for this project, since they sit neatly at the narrow top point of the star.
- Scotch tape: This tiny addition makes a huge difference. Tape holds the ribbon loop securely in place between the panels so it doesn’t shift while sewing the star — a common mistake that leads to crooked hanging loops.
- Thread: Use a thread that blends into your fabric. Good-quality thread makes stitching smoother and prevents skipped stitches, especially when you’re sewing through layers.
- Fiber fill: Polyester fiber fill works best for stuffed ornaments because it fluffs easily, fills the points well, and holds its shape without clumping over time.

Equipment you’ll need
- Sewing pins: Sharp, fine pins keep the layers aligned, and prevent shifting, while stitching — especially around the narrow points of the star, where accuracy matters most.
- Craft scissors: Use these for cutting out the paper pattern so you don’t dull your fabric scissors — keeping both tools working at their best.
- Fabric scissors: Use well-sharpened fabric scissors to make clean cuts on your fabric and ribbon. Clean edges help the star turn smoothly and prevent bulking of the seams in the finished piece.
- Sewing needle: A hand-sewing needle is essential for securely stitching the opening used to stuff the ornament closed. Choose a needle that glides easily through your fabric without pulling or distorting the seam.
- Sewing machine: A standard machine with a straight stitch is all you need. Sewing the points slowly and pivoting at each corner helps the star shape stay crisp and well-defined.
How to make a DIY fabric star ornament
This is a simple rewarding project you can finish in an hour or two. Take your time with the small details — they make all the difference in how crisp and polished the finished star looks.


Step 1: Print and cut out the pattern, pin it to your fabric, and cut two matching star panels.
Step 2: Sew a button onto the center of the right side of one of the fabric panels, keeping the button flush with the fabric.
Would you like to save this post for later?


Step 3: Shape a loop from a 7-inch ribbon, place it on the right side of the second panel, setting the ends ¼ inch above the top point, and tape it in place.
Step 4: Place both fabric panels right sides together, matching the points carefully, and pin them to prevent shifting while sewing.


Step 5: Sew around the star’s edges using your presser foot as a seam allowance guide, leaving an opening in the “crotch” area of the star, and be sure to tack both sides of the opening.
Step 6: Trim the seam allowance close to the stitching around the entire star except the opening, being careful not to trim the exposed ribbon ends.


Step 7: Turn the star right side out and gently push out the points using a blunt object, like a wooden skewer or a turning tool, without pushing through the seam.
Step 8: Fold the seam allowance at the opening inward and press it flat with an iron to prepare for hand-stitching.


Step 9: Stuff the star with fiber fill, working the stuffing into each point before filling the center, and pin the opening closed.
Step 10: Blind stitch the opening closed with small, neat stitches that blend into the seam.
Diane Gail’s tips for success
- Keep patterns upright: If your fabric has a directional print, check both panels carefully before sewing them together so the pattern doesn’t end up upside down on your finished ornament — an easy oversight when working with patterned fabric.
- Secure the loop correctly: Tape the ribbon loop down, before sewing the panels together, so it stays centered in the point. The ribbon can shift easily between the fabric layers, and this simple step saves time and frustration later.
- Trim seam allowances properly: Trim close to the stitching on every point, except the opening. This reduces bulk inside the star and sharp and clean points once it is turned right side out.
- Press before hand-sewing: Ironing the seam allowance at the opening creates a crisp fold that makes blind stitching neater and helps the stitches disappear into the seam.
- Stuff patiently: Add fiber fill in small amounts, packing the points first. Over-stuffing quickly causes lumps. Work slowly allowing the star to take shape from the points inward.


DIY Fabric Star Ornament
Equipment
- Sewing pins
- Craft scissors
- Fabric scissors
- Sewing needle
- Sewing machine
Materials
- FREE fabric star pattern linked in instructions below
- cotton fabric solid or patterned
- button optional
- 7" ribbon to match fabric
- scotch tape
- thread to match fabric
- fiber fill
Instructions
- Cut the panels: Print and cut the FREE fabric star ornament pattern, then pin it to your fabric and cut two matching star shapes.
- Sew on the button: Stitch a button to the center of the right side of one fabric panel, if using.
- Prepare the hanging loop: Shape a loop from the ribbon and place it on the right side of the other fabric panel, with the ends sitting ¼ inch above the top point of the panel.
- Join the panels: Place both panels right sides together and pin around the edges to keep the points aligned while sewing.
- Sew the star: Stitch around the edges using your machine’s presser foot as a seam guide, leave an opening in the “crotch” of the star for stuffing, and be sure to tack both sides of the opening.
- Trim the seam allowance: Trim close to the stitching all the way around the star, except at the opening, being careful not to trim the ribbon ends.
- Turn right side out: Turn the star right side out and gently push out each point using a turning tool.
- Press the opening: Fold the seam allowance at the opening inward and press it flat to create a clean edge for hand-stitching later.
- Stuff the star: Add fiber fill a little at a time, packing the points first so the ornament holds its shape evenly.
- Close the seam: Blind stitch the opening closed using small, neat stitches so the seam blends into the fabric.
Notes
- Check fabric direction: Keep printed or directional fabrics upright on both panels so the finished star hangs correctly and looks intentional.
- Secure the loop firmly: Tape the ribbon loop in place before sewing so it stays centered at the top point and doesn’t shift inside the seam.
- Trim for sharp points: Trim seam allowances closely on every point except the opening to prevent bulk and help the tips turn out crisp when turned right side out.
- Press before stitching: Iron the folded edges of the opening so blind stitching is easier, cleaner, and nearly invisible from the front.
- Stuff slowly: Add fiber fill in small amounts, shaping each point first, to avoid lumps and maintain a smooth, well-defined star shape.


Making these stars for my first Christmas here in my new home was such a lovely way to settle in. They’re simple, but they’ve added so much heart to my holiday. I hope they do the same for your home if you make a few.
~ Diane Gail