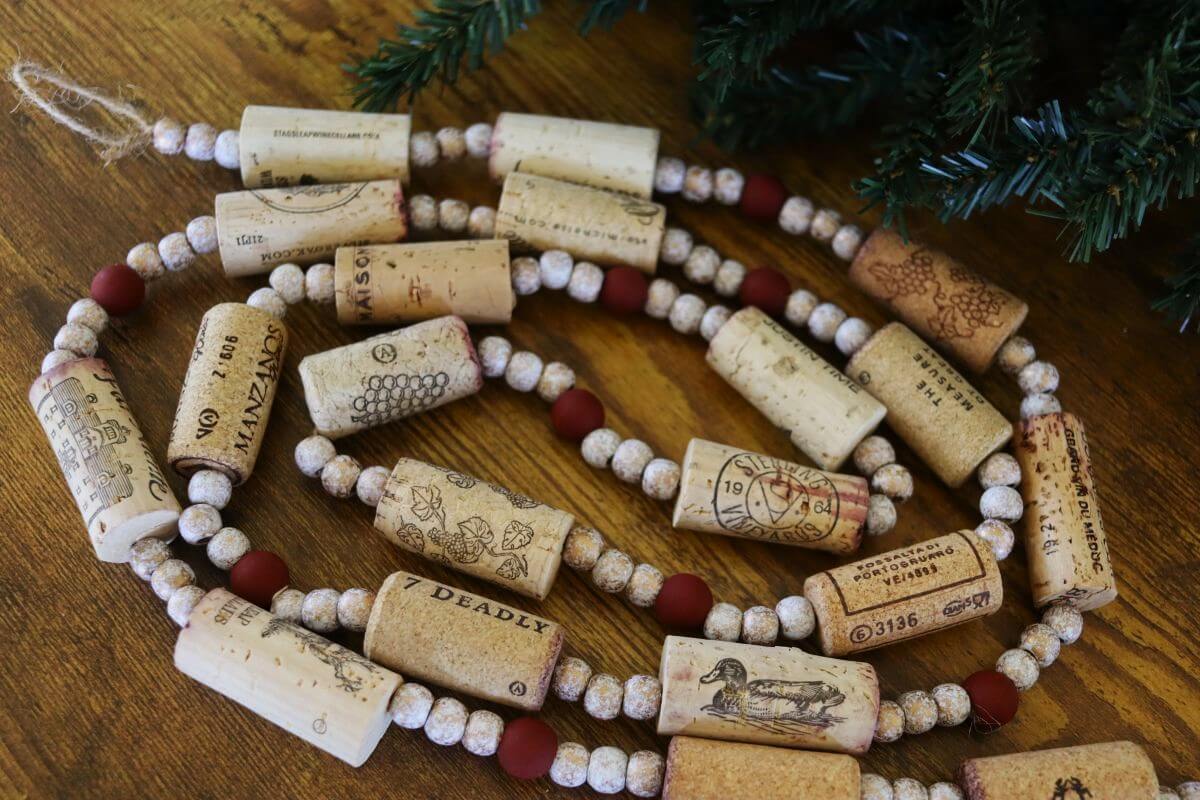
DIY Upcycled Wine Cork Garland

Bring a little nod to vino into your home décor with this DIY upcycled wine cork garland. Whether you want something with rustic charm for your everyday décor or a personal detail for gathering and entertaining spaces, this upcycled craft will bring a little unique personal touch. It’s easy, earth-friendly, and just plain fun to make.
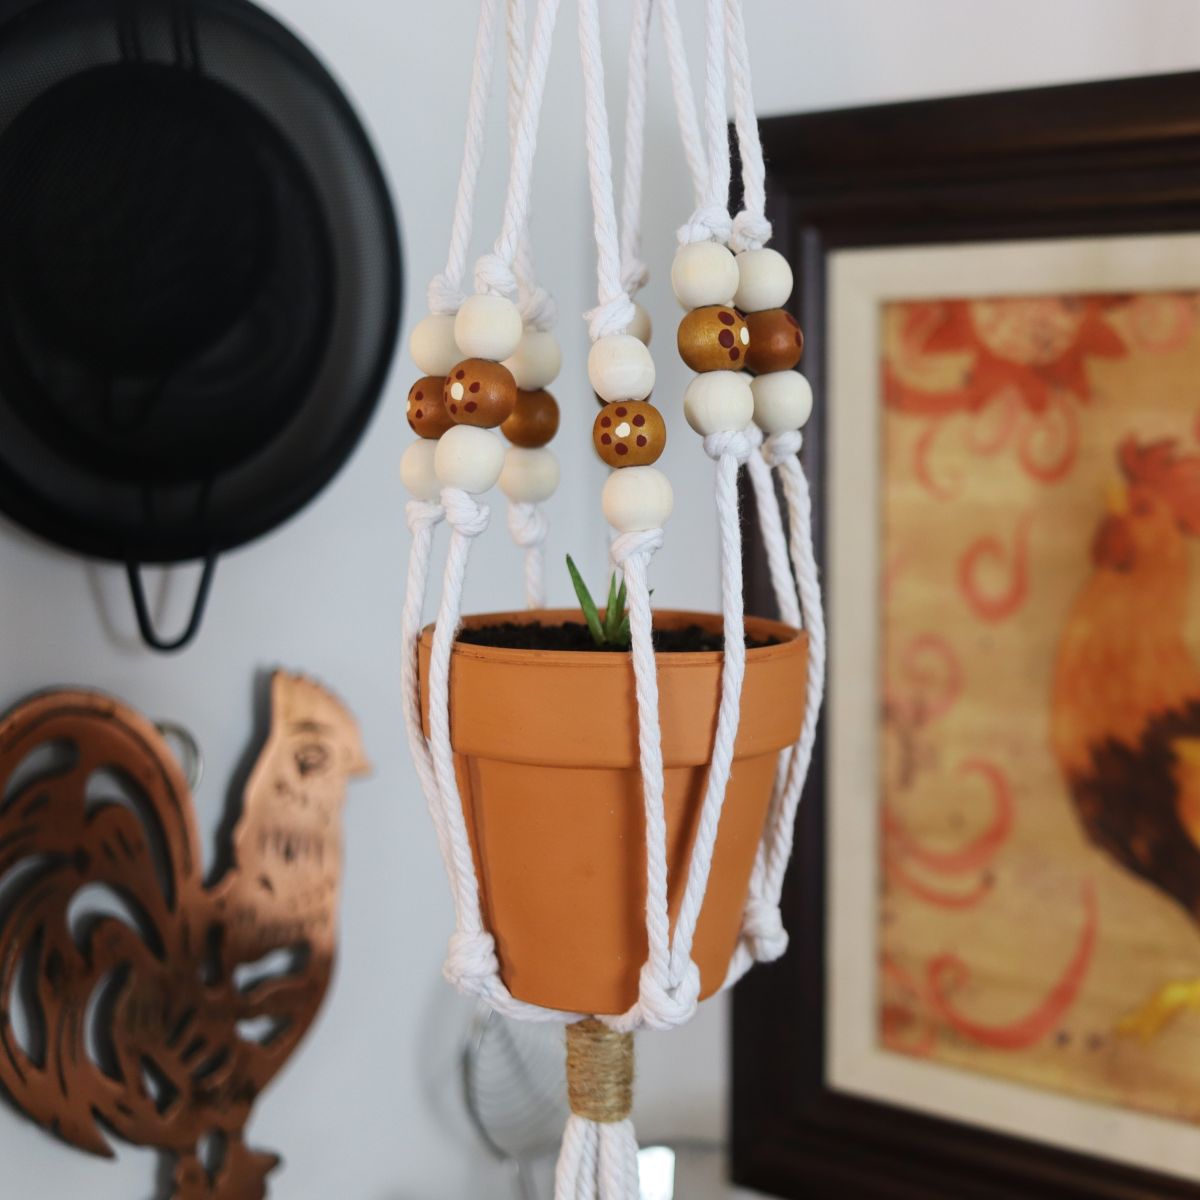
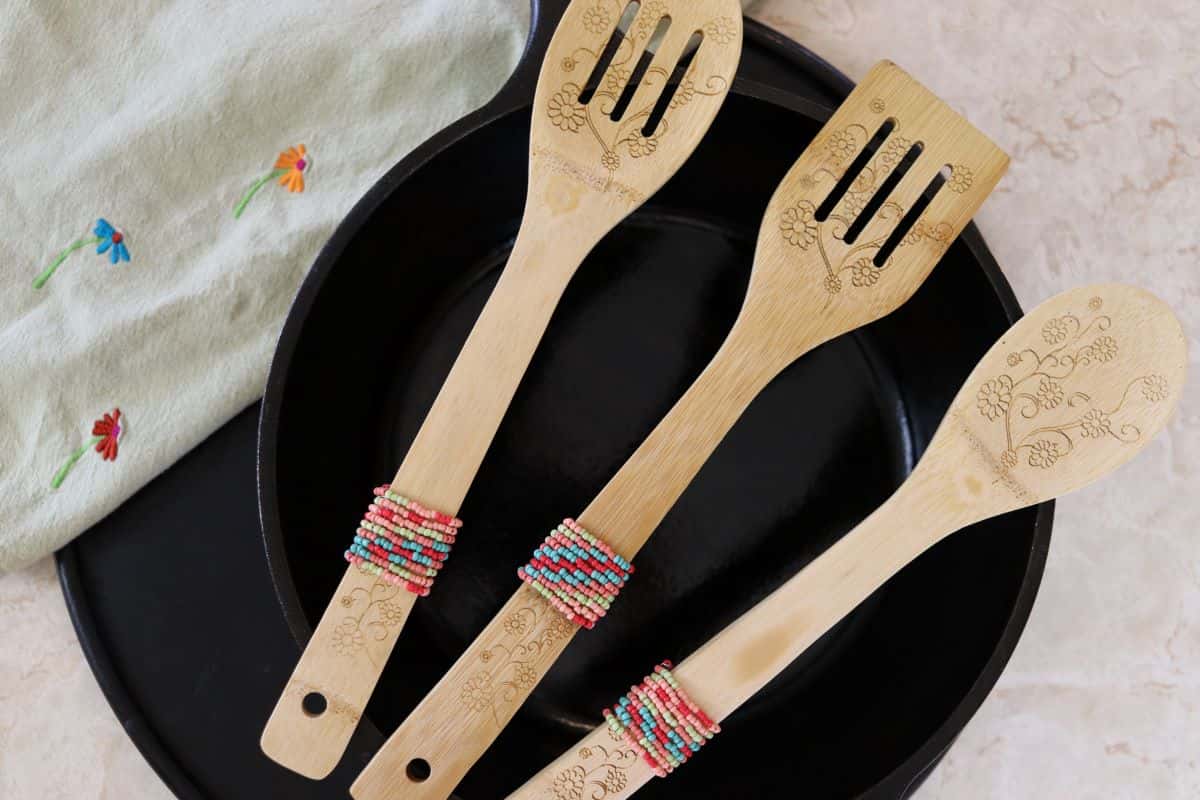
If you love adding handmade touches to your space, make a reversible bento bread bag, fabric scrap mache bowl, or seed bead wooden spoon project next.
Let’s talk about this project
I love to upcycle, and after so many years working in bars and restaurants — where I always had access to an endless supply of used wine corks — I finally put some of them to good use in this simple garland. It’s funny how I’ve always been drawn to their aesthetic. I’m not much of a wine drinker, but I love the way they look and the atmosphere they bring to a space. There’s something celebratory about them — and honestly, life is just better when you live in a steady vibe of celebration.
I’m so happy with how this project turned out. It takes less than an hour to make, and you can use it in so many different ways — drape it over a bar cart, hang it across a window, layer it into a shelf display, or work it into a serving table arrangement. It has an earthy, warm charm that adds real character to any space. My simple hanging tea light holders, basic wooden garden box, and primitive handmade garden markers bring that same kind of personality to your outdoor spaces, and are just as easy to make.
Materials you’ll need
- Wine corks: Used wine corks are incredibly easy to come by — save your own, get your friends on board, or ask a local bartender to set a few aside for you. Their subtle variations in color and texture give this garland a warmly worn look.
- Jute twine: A sturdy, rustic twine works beautifully for threading the corks and beads. It’s strong enough to hold weight, easily knots securely, and adds a natural texture that pairs well with the cork aesthetic.
- Wire: A short piece of craft wire makes threading easy. Bend it in half and use it as a hook to pull the twine through each cork without unraveling the fibers.
- Beads of your choice: I used wooden beads for a warm, rustic feel, but this is your moment to add your own personal touch. Glass, metallic, or painted beads all work too — choose a style that reflects your seasonal décor or your everyday aesthetic.
- Wood scrap: Use any small, flat piece of wood that you don’t mind drilling into. It stabilizes the corks as you drill through them, and prevents damage to your work surface.
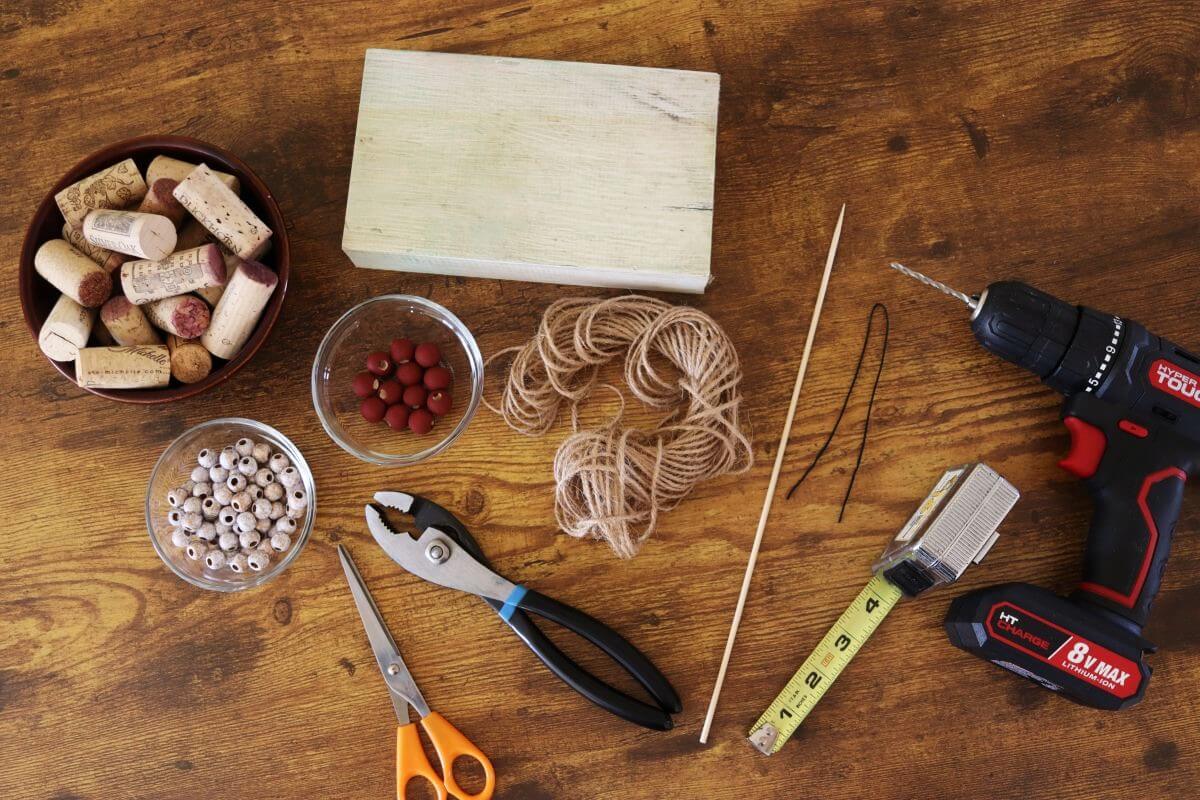
Equipment you’ll need
- Measuring tape: Helps you measure the twine accurately so your finished garland is the length you want it to be.
- Craft scissors: Used to cut the twine cleanly.
- Pliers: Holds each cork firmly in place while drilling the hole through the center. They keep your fingers a safe distance from the drill bit and ensure that the cork stays upright.
- Drill: A basic handheld drill works perfectly for this project. You’ll use it to make a clean, straight channel for the twine to run through each cork.
- Drill bit: Choose a drill bit just slightly wider than your twine so the twine threads through the corks smoothly while still allowing them to sit snugly on it.
- Skewer: Running a skewer through the drilled hole helps clear any remaining cork debris, making threading the corks on the twine much smoother.
How to make a DIY upcycled wine cork garland
This is a simple, satisfying project that comes together quickly. Take your time with the drilling and threading — those small details help the garland look polished and intentional.
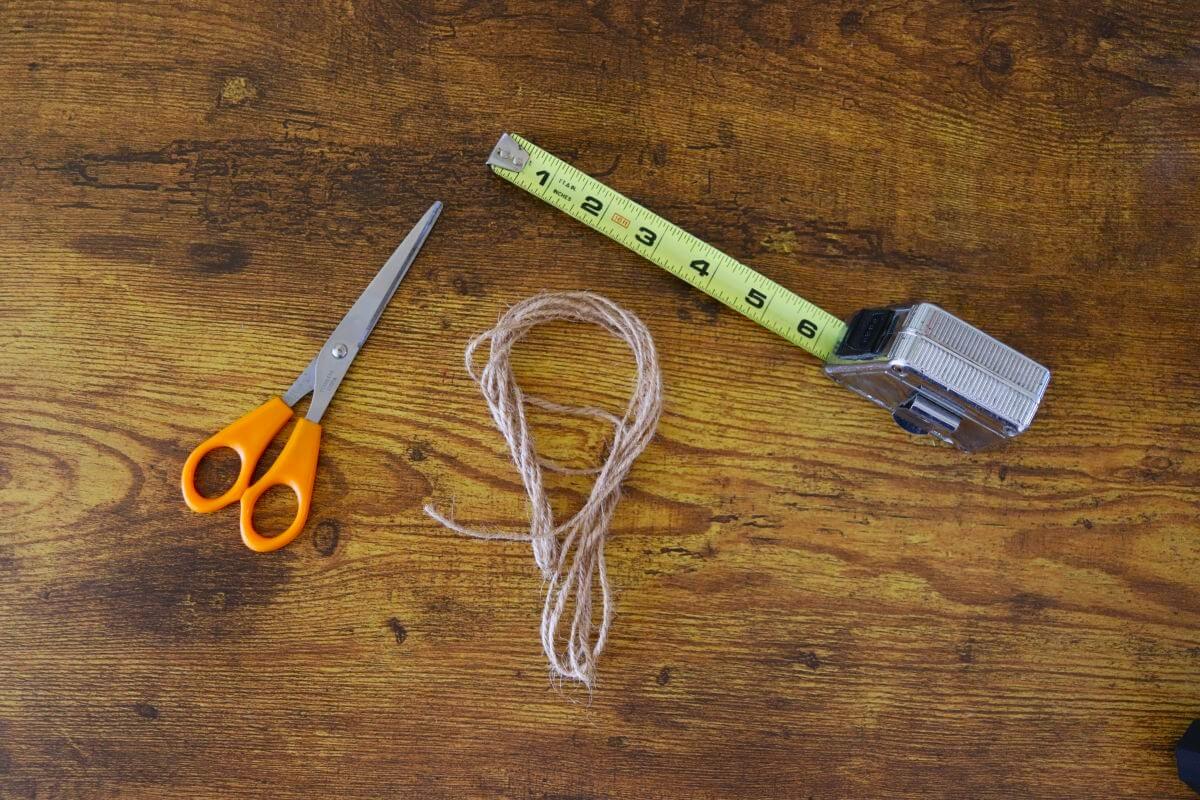

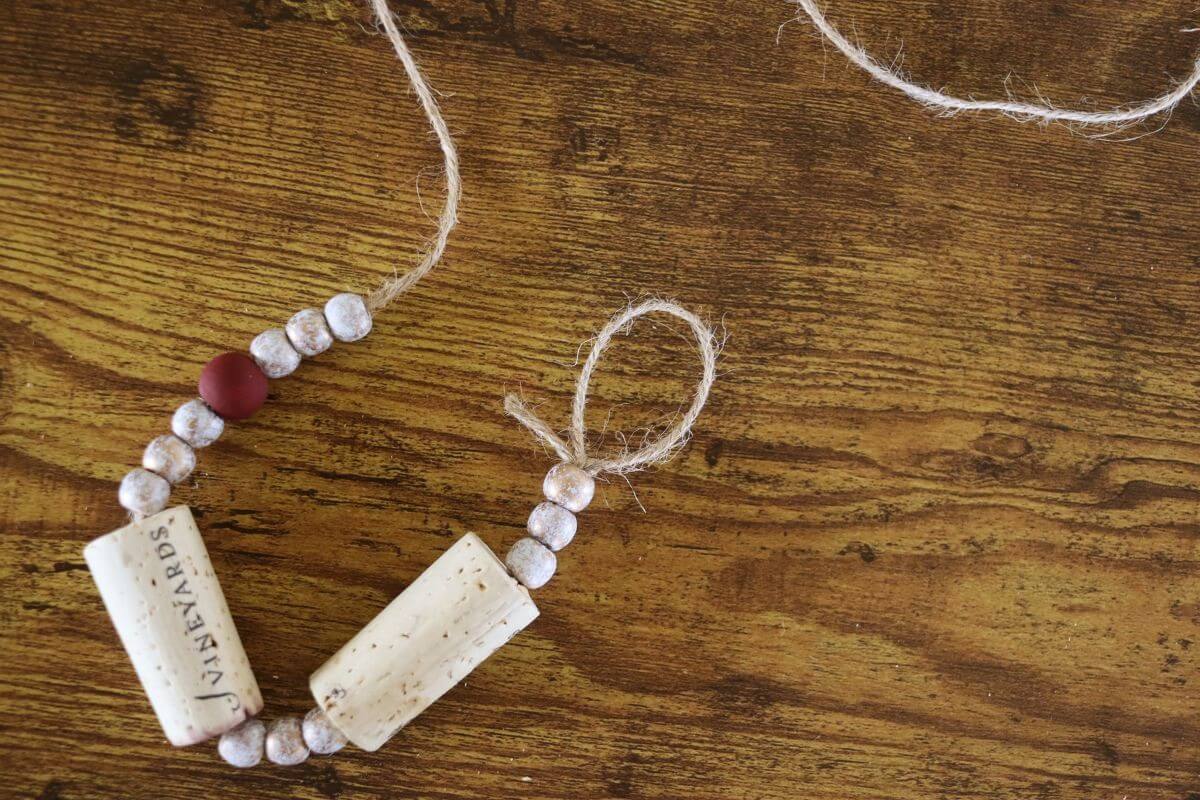
Step 1: Cut the jute twine to your desired finished length, adding 12 extra inches to allow for tying loops at both ends.
Step 2: Use pliers to hold each cork upright on the wood scrap and drill through it’s center from end to end. Drill all the way through, and back out, three times to remove as much debris from the hole as possible.
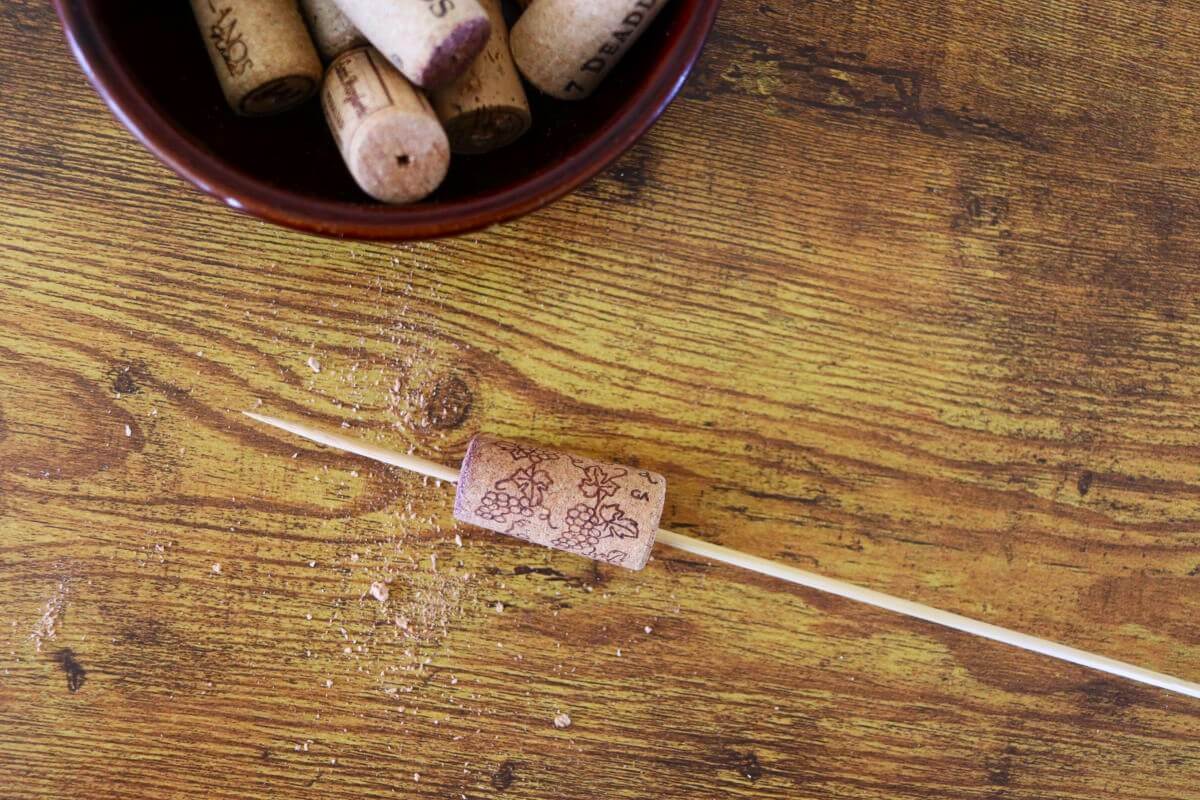
Step 3: Clear any debris remaining in the hole by running a skewer through it, first from one end and then from the other.
Step 4: Tie a loop at one end of the jute twine.
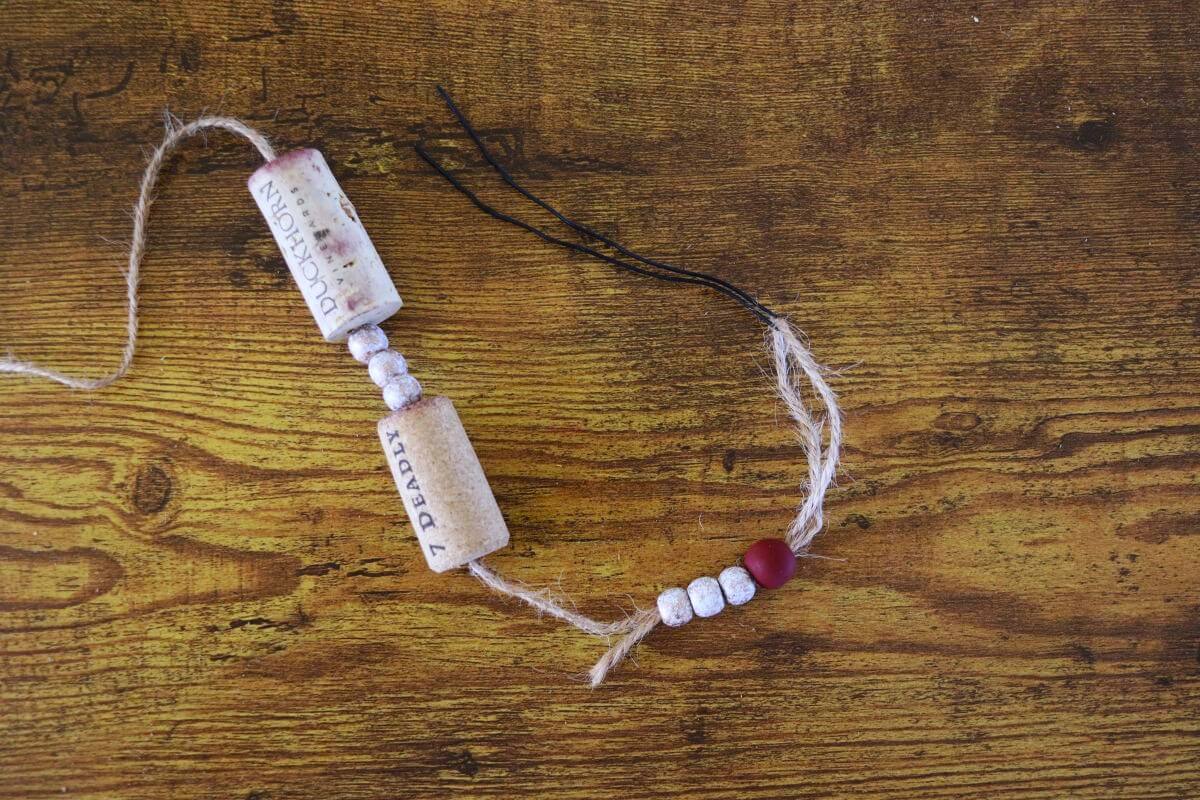

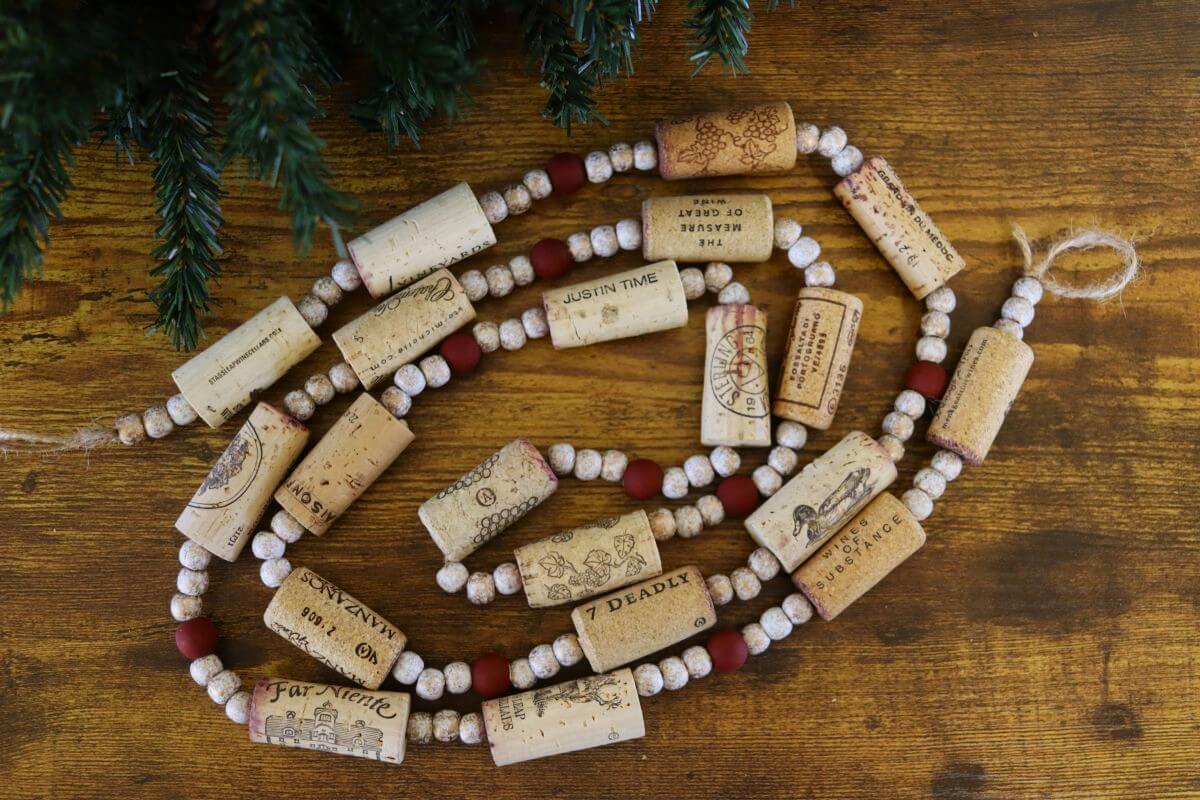
Step 5: Thread beads and corks onto the twine, using the wire as a hook to pull the twine through each cork. Follow the same pattern from one end of the garland to the other.
Step 6: Tie a loop at the opposite end when finished.
Would you like to save this post for later?
Diane Gail’s tips for success
- Measure your pattern first: Lay out one full bead-and-cork sequence, measure it, and divide that measurement into your total garland length to determine how many repeats you’ll need.
- Adjust the ends thoughtfully: If the numbers don’t divide evenly, add or remove beads at each end of the garland to bring it to the perfect length without disrupting your overall pattern.
- Drill slowly for straight holes: A slow, steady drill keeps the bit moving straight through the cork — an important detail, since used corks are especially prone to developing a crooked channel.
- Keep the twine straight: As you thread, pull the twine through fully after each cork to prevent twisting or tangling in the final garland.
- Choose beads that balance the look: Lighter beads create a soft, easy-going look, while darker beads bring a grounded, more substantial feel to the design. Either option works beautifully — it all depends on the mood you want to create.

DIY Upcycled Wine Cork Garland
Equipment
- Measuring tape
- Craft scissors
- pliers
- drill
- drill bit
- skewer
Materials
- wine corks used
- jute twine
- wire
- beads your choice
- scrap wood block
Instructions
- Cut the twine: Measure and cut your jute twine 12 inches longer than your desired finished garland length so you have room to knot loops on both ends.
- Drill the corks: Stand each cork upright on the scrap wood, hold it with pliers, and drill straight through the center. Run the bit through several times to help prevent debris from clogging the channel.
- Clean the holes: Push a skewer through each drilled cork to clear remaining debris so the twine threads easily.
- Tie the first loop: Make a small loop at one end of the twine and knot it securely to form the garland’s hanging point.
- Thread the garland: Use the wire as a hook to pull the twine through each cork and bead, repeating your chosen pattern until you reach the end. Tie a second loop to finish.
Notes
- Plan your pattern: Lay out one repeat of your bead-and-cork sequence, measure it, and calculate how many repeats you need for your full garland length.
- Drill with steady pressure: A slow, even speed helps keep the bit straight and reduces the chance of crooked channels in used corks.
- Match bead weight to style: Lighter beads create an airy, delicate look, while darker tones give a warmer, cozier feel—choose what fits your space.
- Keep twine twist-free: Straighten the twine as you thread to prevent gaps or uneven spacing in the finished garland.
- Tighten loops securely: Knot both end loops firmly so the garland hangs well and holds up over time.

I had so much fun putting this little garland together. It came together quickly, and I’ve already moved it around the house twice because it looks good everywhere I try it. It’s such a simple way to bring a cozy, handmade touch into a space. I hope you make one too — and that it brings the same bit of rustic vino charm to your home that it’s brought to mine.
~ Diane Gail