DIY Mini Macrame Plant Hanger for Small Pots | Easy Tutorial

Macrame projects have been growing in popularity for a reason! They really add a great boho vibe to any room.

If you’re a plant lover looking for a cute way to display your mini plants in a smaller pot, a mini macrame plant hanger is a great option.
And today, I’m going to show you how to make one with an easy step-by-step tutorial.
With just a few basic supplies and tools, that can easily be picked up in any craft store, you’ll have a beautiful holder for your mini indoor plants to hang in your space in no time.
This simple DIY macrame plant hanger is an easy craft for beginners, and it’s a perfect first project for anyone, especially plant lovers, looking to dive into the world of macrame.
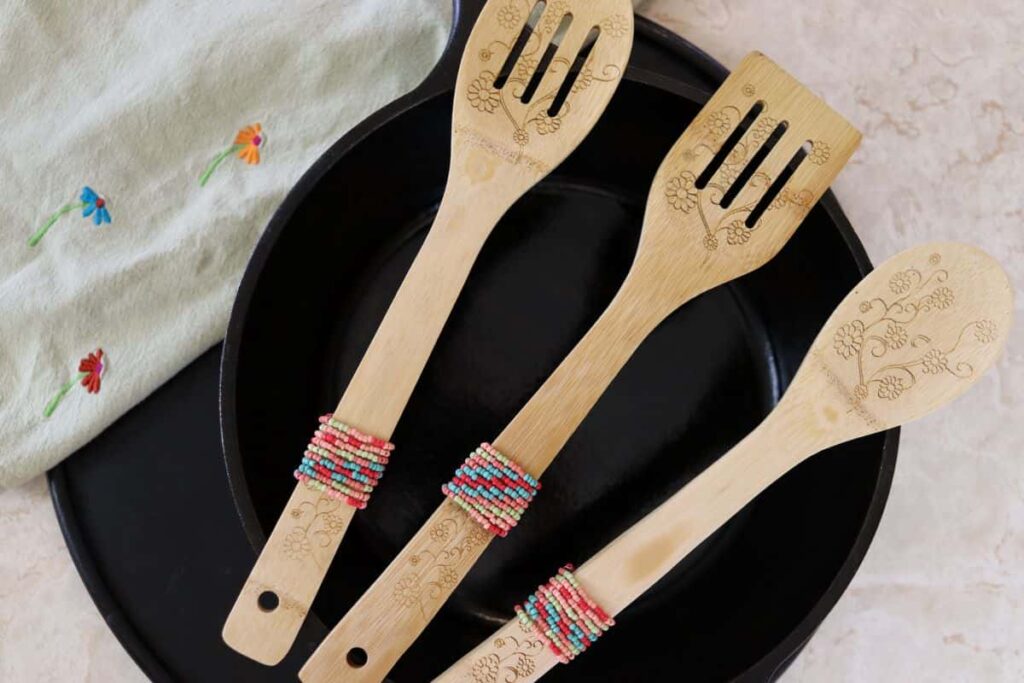
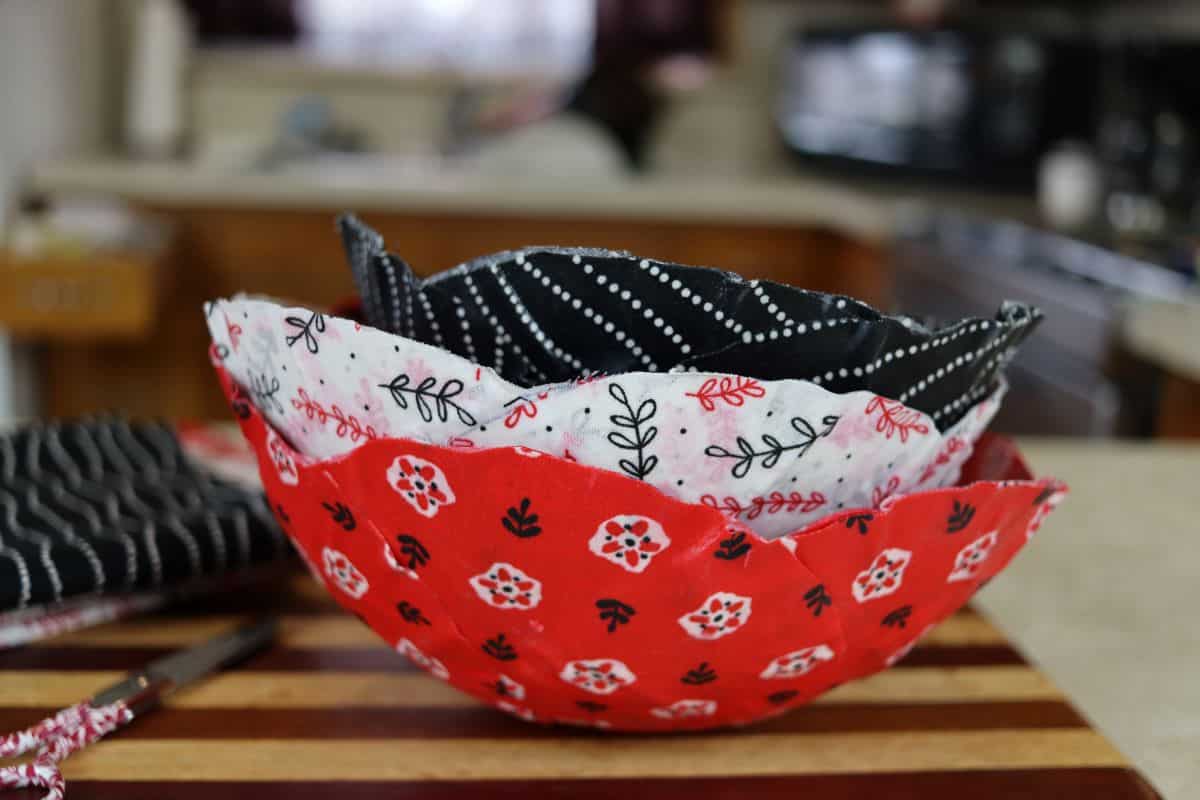
If you’re looking for other really easy projects for beginners, give my beaded wooden spoons, easy fabric mache bowls, basic tea light hangers, wine cork garland, or simple wooden herb box projects a try too.
Why Choose A Mini Macrame Plant Hanger?
Macrame is an enjoyable and rewarding craft that offers endless possibilities for creating unique pieces like plant hangers, wall hangings, and more.

This simple project is an excellent way to get started on your macrame journey. It will allow you to add the first piece of macrame decor to your home quickly.
And there will be no overwhelm while creating it.
If you’re not a beginner in the macrame arena, this craft is still a great option for you too. It’s so easy to do. You’ll be able to make several for friends and family in just a few hours.
And this cute little piece is a great way to display small plant pots. These pots often get lost when placed on shelves with other decor.
Hanging them in these mini macrame plant holders will make them stand out.
These hangers also work great for small candles and mason jars; giving yet another way to organize your space with style.
No costly material or tools are required to make this DIY project. You will find everything you need at your local craft stores.
So, get the materials and tools that are listed in the following sections together and learn a few basic macrame skills while making this great project.
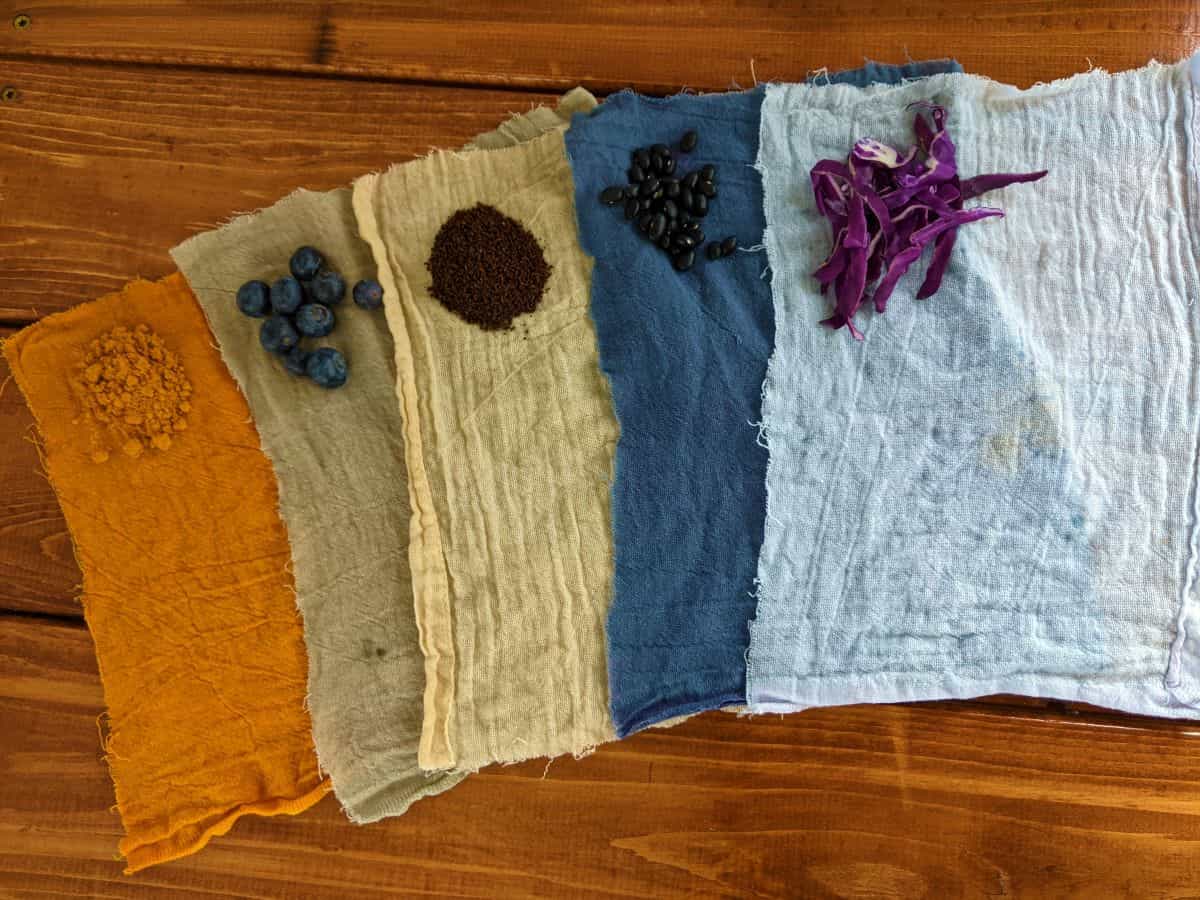
And if you want to give dying your plant hanger naturally using food from your very own kitchen you can learn to do that in my all-natural kitchen dyes post.
Materials You’ll Need For Your DIY Project
Before starting, gather these essential materials:

- Macrame cord – for the main structure of the planter hanger
- Jute twine – optional, adds contrast and texture
- Metal ring – for hanging the plant hanger
- Wood beads – optional, for decorative accents
- Tape – to help run cords through beads
- Craft paint – optional, for painting beads
Additionally, if you don’t already have a place to hang your your mini macrame plant hanger, you’ll want to make sure you have a ceiling hook or wall-mounted plant hook to hang it once it’s complete.
Tools You’ll Need For Your DIY Project
Make sure that you have these tools on hand before you get started:

- Measuring tape – for cord measurements
- Scissors – for cutting macrame cord and jute twine
- Paint brush – if you’re adding a painted design to your beads
Step-By-Step Instructions For The DIY Mini Macrame Plant Hanger
This mini macrame plant hanger is a simple DIY macrame project, using very basic macrame knots. Here’s how to make it:
Cut the macrame cord – Cut 4 pieces of macrame cord, each 6 feet long (adjust length based on your desired hanger size).
Cut the jute twine – Cut 2 pieces of jute twine, each 2 1/2 feet long.
Secure the cords to the metal ring – Fold each piece of macrame cord in half and attach them to the metal ring using a gathering knot.
For the gathering knot -gather all of the cords together just under the metal ring. Make a loop with the jute twine and lay it vertically on top of the gathered cords. Wrap the remainder of the jute twine around the loop and the cords, leaving one end of the string sticking out of the top of the wrap. And the closed end of the loop sticking out of the bottom of the wrap.

Thread the remaining end of the jute twine through the loop. Tighten the gathering knot by pulling the string sticking out of the top of the wrap. Trim the excess ends of the jute twine.
Would you like to save this post for later?

Create your pattern – Lay the metal ring with the cords hanging from it on a tabletop, ensuring they don’t cross. Separate the cords into adjacent pairs.

Tie a knot 10 inches down from metal ring on each pair of cords.

Tie a knot 2 1/2 inches below the first knots on each individual cord. Thread 3 wooden beads onto each cord (light colored, natural colored, light colored), then tie knots under each bead set.

Create another set of knot pairs – Take a strand of beaded cord from one pair of cords and knot it together with a strand of beaded cord from the pair of cords next to it. Don’t allow cords to cross over one another.

Finish the hanger – Use the second piece of jute twine to make another gathering knot, 1 1/2 inches down from the last knots tied on the cording. Trim the ends of the macrame cord to desired length.

Paint the beads – Use the craft paint to decorate some, or all, of the beads on the mini plant hanger.

Place your plant – Slide your plant pot into the cradle of the mini macrame plant holder, created by the cording just above the bottom gathering knot. Adjust the cording to sit evenly around the pot.
Tips For Customizing Your DIY Plant Hanger
You can experiment with different materials to make this project reflect your own personal style. Any type of cord that holds a knot will work well.

Try using jute twine, cotton cord, hemp cord, or even cotton rope when making your macrame hanger. You can use fabric strips or yarn if you want to give that a try.
It’s easy enough to adjust the length of the cord for this project too. If you need to use a long cord to fit the planter into the space you have in mind for it, just follow the pattern for the piece to extend the design a bit further.
It’s also simple enough to switch out the style of beads that you use when making this project. I picked up simple wood beads at my local craft store and then painted a basic design on them for my piece.
I like the way they look with the macrame cord. But, there are literally endless possibilities out there where the style of the beads used in this project are concerned.
Personalize this mini macrame plant hanger according to your own personal tastes. And you’ll not only have a piece that fits perfectly with your decor style, but you’ll have a piece that makes you smile every time you look at it.
Where To Hang Your Mini Macrame Plant Hanger
Once you’ve completed your simple DIY macrame plant hanger, it’s time to find the perfect spot to display it!

Whether you want to hang it from a ceiling hook or a wall hook, these small plant hangers look great just about anywhere you hang them.
They are perfect for adding a decorative touch to the corner of the room.
They’re a really cute way to add some greenery to your home. They look great next to windows and placing them there will ensure that your plants get plenty of sunlight.
There are just so many ways to display them. Let your imagination run wild. And don’t limit yourself to plants.
Use them for candles too. These beautiful macrame plant hangers are both functional and stylish.
Other Projects You’ll Love


If you found this tutorial helpful, share it with someone you know will love it too.
Follow us on Pinterest, Instagram, Facebook, and YouTube for more helpful guides and tutorials.
Your support through shares, comments, and a 5-star rating means the world!

DIY Mini Macrame Plant Hanger
Equipment
- Measuring tape
- Scissors
- paint brush – if you’re adding a painted design to your beads optional, for bead decorating
Materials
- 4 lengths 6' long macrame cord
- 2 lengths 2 1/2' jute twine optional
- 1 metal ring
- 24 wood beads optional
- tape for threading beads
- craft paint optional, for bead decorating
Instructions
- Attach cords to the ring: Fold each macrame cord in half and attach to the metal ring using a gathering knot.
- Make a gathering knot: Lay one piece of jute twine vertically over the grouped cords, forming a loop at the bottom. Wrap the twine around the cords and the loop several times. Tuck the end through the loop, then pull the top string to tighten. Trim excess.
- Separate cords into pairs: Lay the ring flat with cords hanging straight. Divide cords into adjacent pairs.
- Tie the first row of knots: Measure 10 inches down from the ring and tie a knot on each cord pair.
- Add beads and knots: Measure 2.5 inches below the first row. Tie a knot on each individual cord. Thread three wooden beads on each cord (light, natural, light) and tie a knot below each bead set.
- Form connecting knots: Take one beaded strand from a pair and tie it with one beaded strand from the neighboring pair. Keep cords straight without overlapping.
- Finish with a gathering knot: Use the second jute twine to make a gathering knot 1.5 inches below the last row of knots. Trim the ends of the cords to your desired length.
- Paint the beads: Use craft paint to add custom designs to any or all beads, if desired.
- Insert your plant: Gently slide a small plant pot into the hanger so it sits just above the bottom knot. Adjust cords evenly around the pot.
Notes
- Secure before working: Use masking tape to hold the metal ring in place while tying knots.
- Pre-thread beads: Wrap tape around cord ends to help slide beads on easily.
- Customize your look: Swap beads for charms or use jute for a more rustic finish.
- Display it safely: Hang from a hook or peg that can support the weight of your pot and plant.

This mini macrame plant hanger is such a fun and creative way to display your plants! It’s simple to make and adds a touch of boho charm to any room. If you try it out, I’d love to hear how it goes in the comments. Happy crafting!