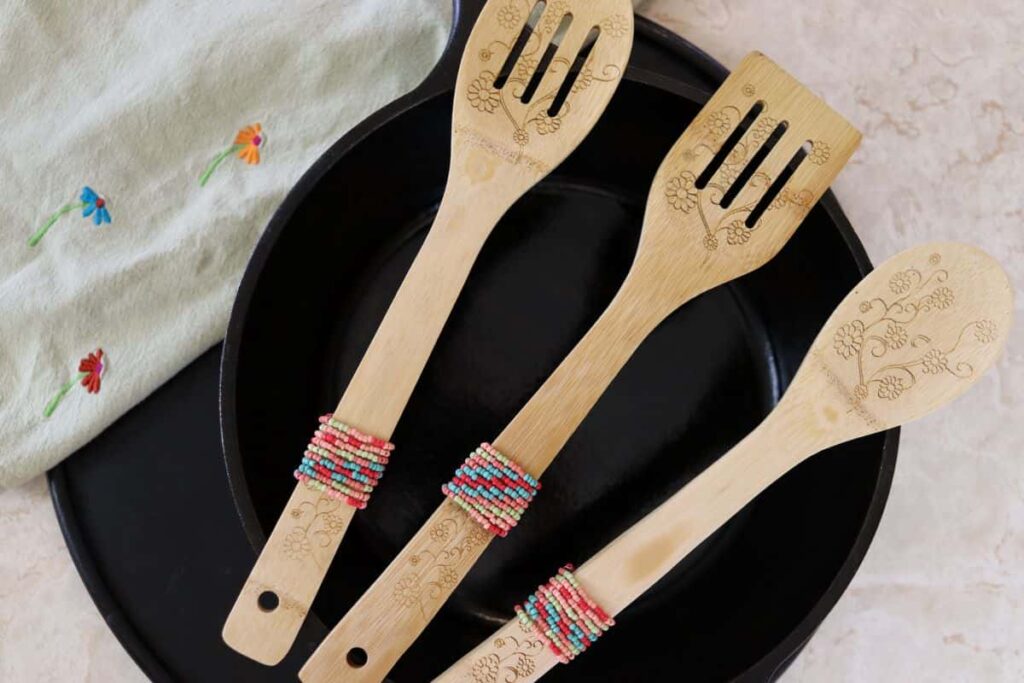
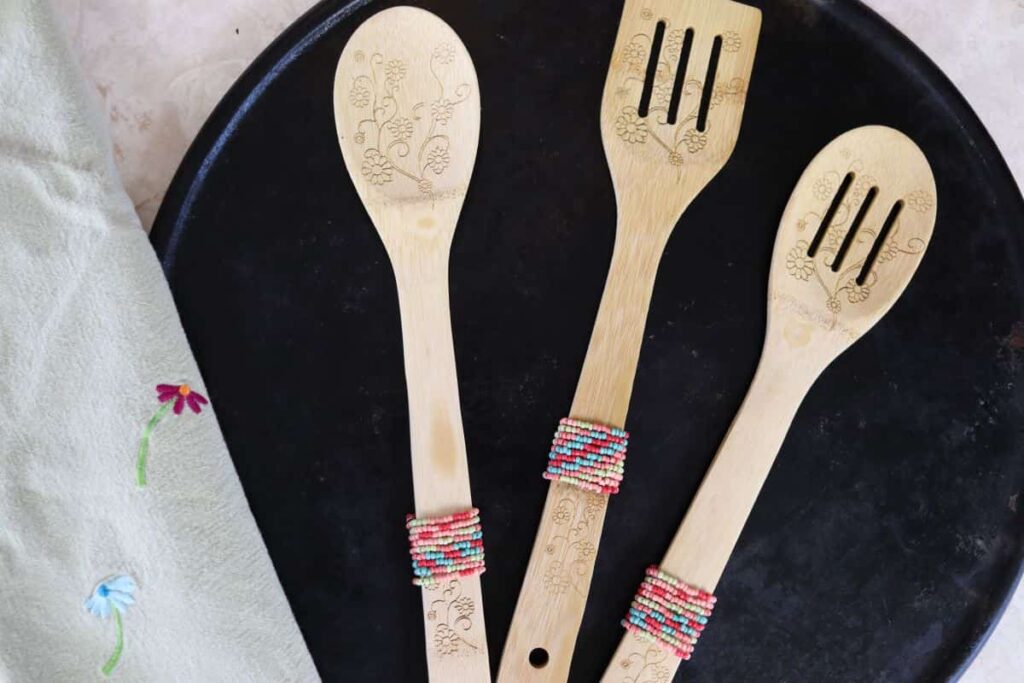
A DIY Beaded Wooden Spoon Is Going To Be Your New Favorite Kitchen Utensil || Make One In 30 Minutes

A diy beaded wooden spoon is a great way to add a decorative touch to the buffet table at your next gathering.
Because you make them yourself, they lend a bit of your very own personal touch to your food presentation. And who doesn’t want that?!?! I know I do!
Your guests will adore them. They make a very nice conversation piece, which is always a plus at a get together.
And you can even make a few extra and hand them out as party favors, if you like.
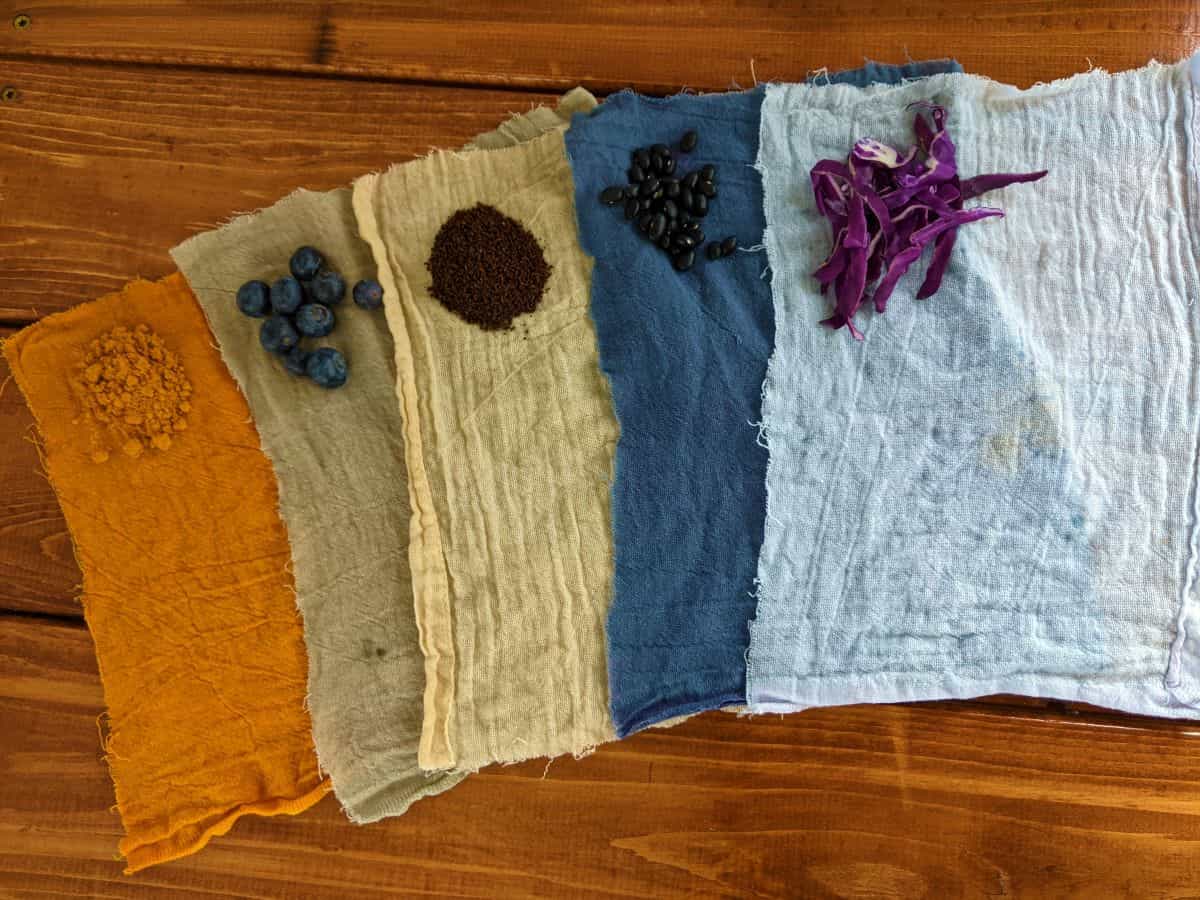
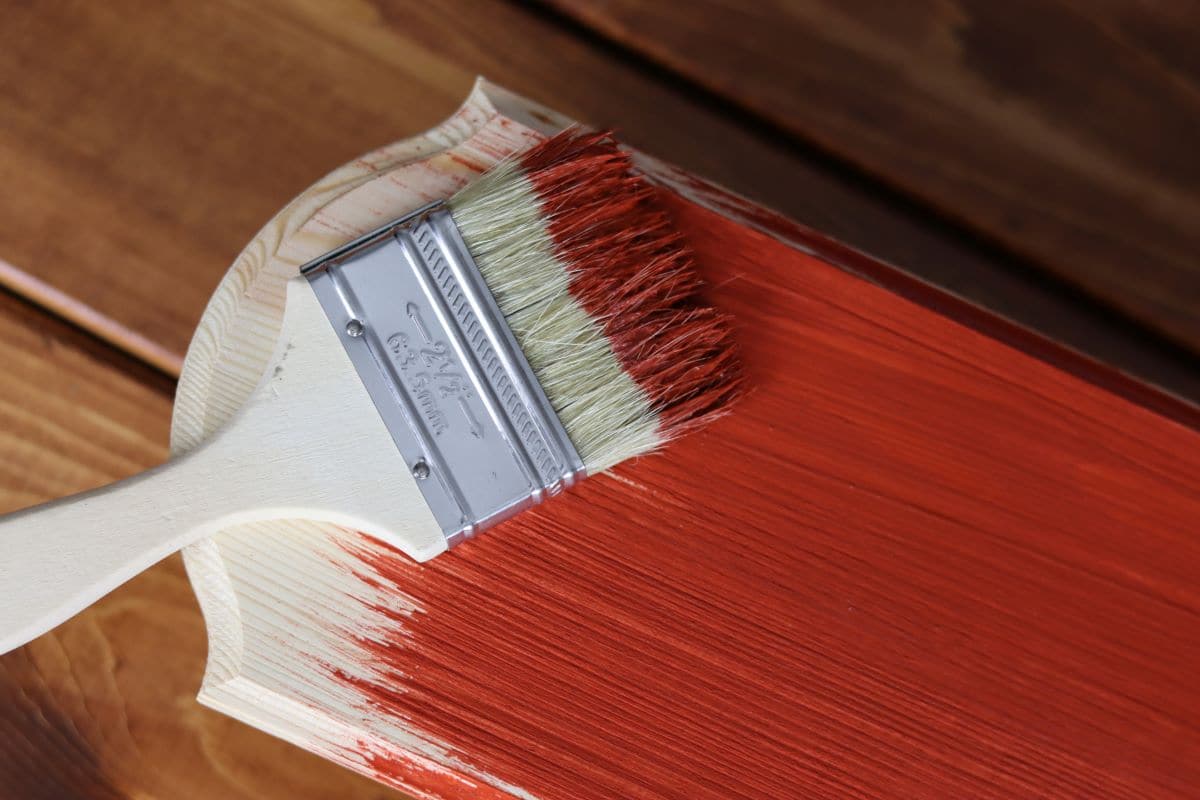
If you want to add handmade touches to other areas of your home try making a mini-macrame plant hanger or rustic plant markers. Or give something a new look with a coat of non-toxic milk paint or a color refresh with some all-natural kitchen scraps dye.
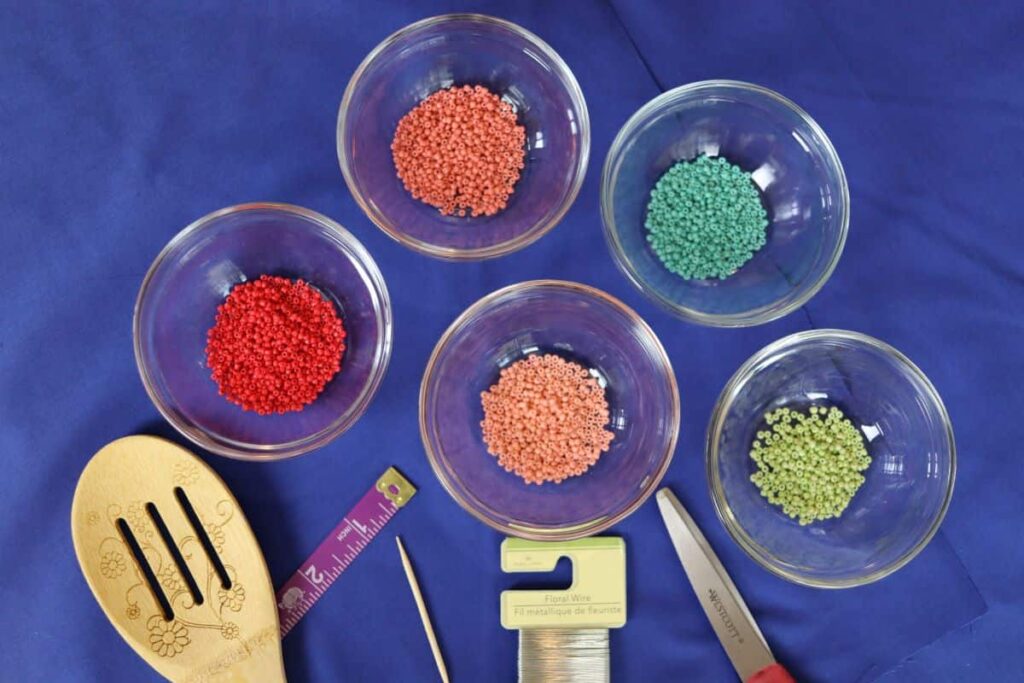
TOOLS AND SUPPLIES NEEDED TO MAKE THIS PROJECT
This project takes very few supplies to make. And the supplies you do need are really very inexpensive and even better … they’re easy to find!
The tools you need to have are basic household items. You’re sure to have them on hand already.
Here’s a list of what you’ll need …
- WOODEN SPOON – Any wooden spoon will work for this project. As a matter of fact, you can decorate any wooden utensil this way. They’re all fair game.
- MEASURING TAPE – You will need a measuring tape to make this project. A ruler will work just as well.
- FLORAL WIRE – I used 26 guage floral wire for this project. It should be available at your local dollar store.
- CRAFT SCISSORS – You will be cutting the floral wire with the scissors you use for this project. So, you will want to use an old pair of craft scissors.
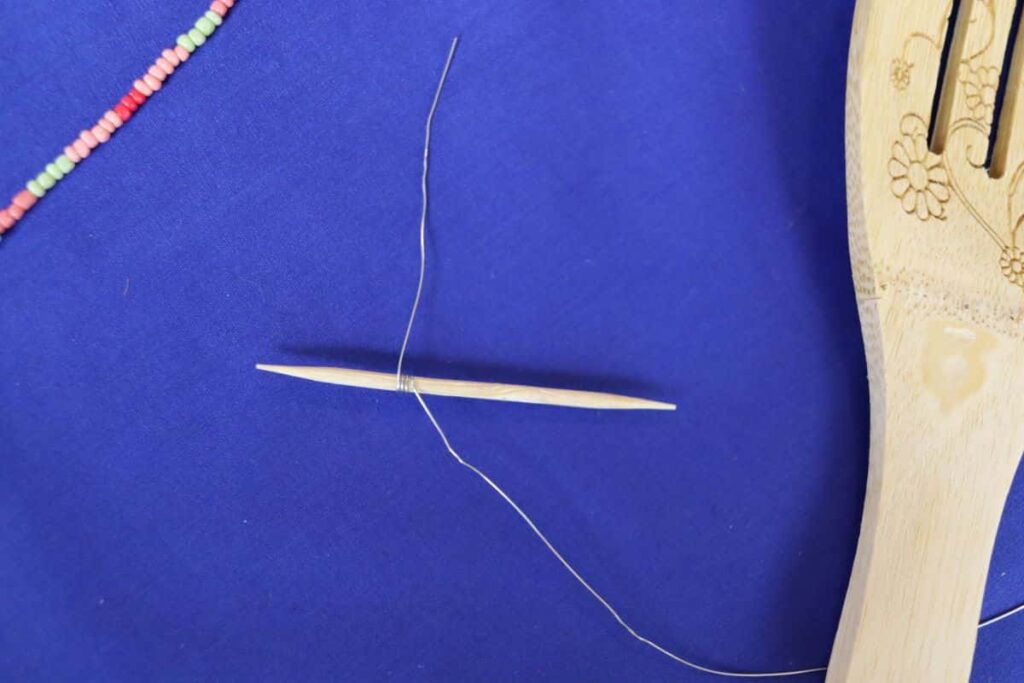
- TOOTHPICK – I used a toothpick to create a loop in the floral wire for this project. If you don’t have one, any item that you can find around the house that is the same size as a toothpick will work nicely.
- SEED BEADS – Basic seeds beads in the color(s) of your choice will be needed to complete this project.
- PLIERS – You’ll need a pair of pliers for this project. Needle nose pliers would be the best choice, if you have them. If not a regular pair of pliers will do the job.
HOW TO MAKE THIS PROJECT
A diy beaded wooded spoon can be made in under an hour. If you’re proficient at stringing the beads you can have it done in just 30 minutes.
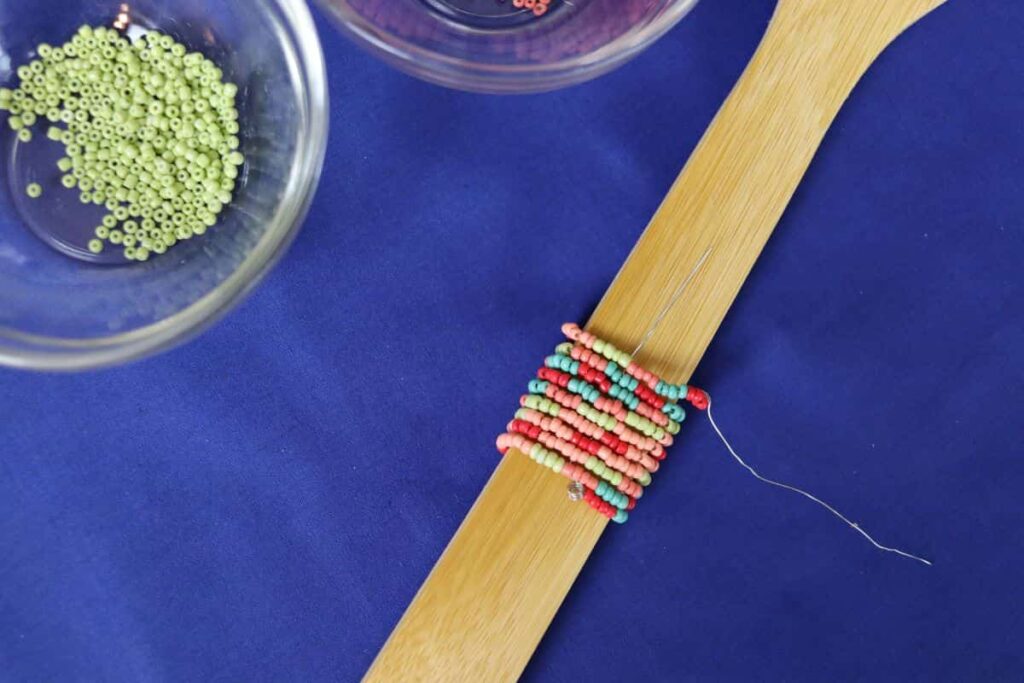
You start by creating a pattern to use to string the beads. Simply take a small piece of wire and string the beads on it in the order you want them to go in your final design.
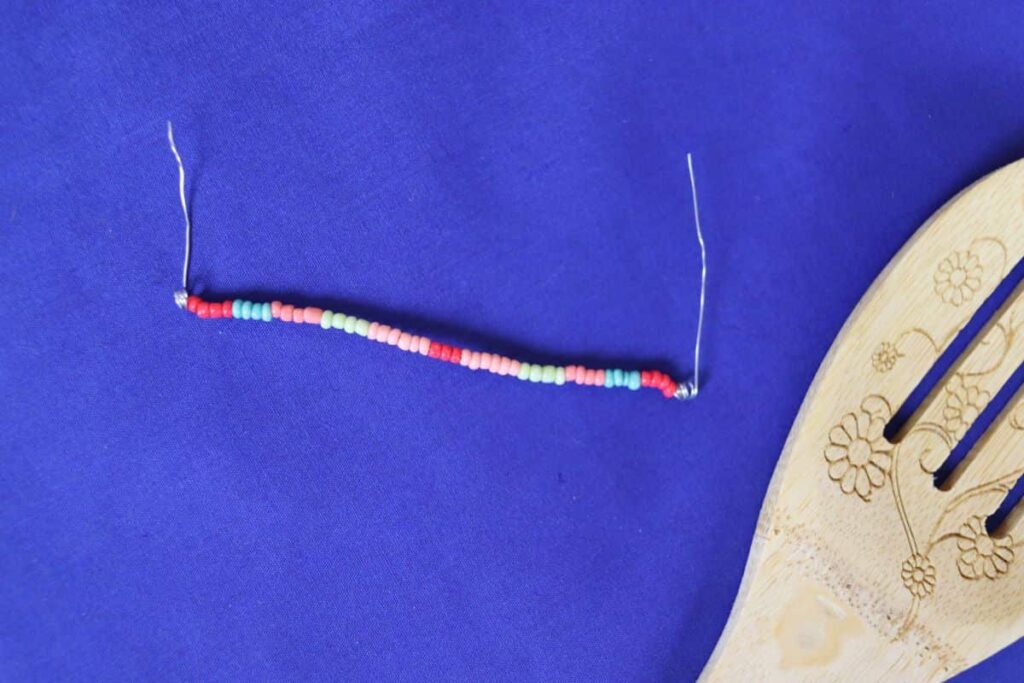
Cut a 30″ piece of floral wire. 2 1/2 inches from the end of the wire create a loop by wrapping the wire around a toothpick 4 times.
String beads onto the wire from the other end, using the pattern as a guide, until you are just about the same distance from the other end of the wire.
Create a loop on that end in the same manner as you did the other side.

Lay the end of the beaded wire along the back of the spoon, placing the loop toward the bottom of the spoon. Wrap the beaded wire around the spoon snuggly.
Take the wire that is left at the end of the wrap and slide it under the beads so that you can securely attach it to the loop at the bottom of them.
Then attach the wire at the top of the beads to the loop there as well.
Push the ends of the wire, that are hanging out on both sides of the beaded design. under the beads. You can use the toothpick to do this. Hide the wire the best you can. It can take a little patience to get this done.
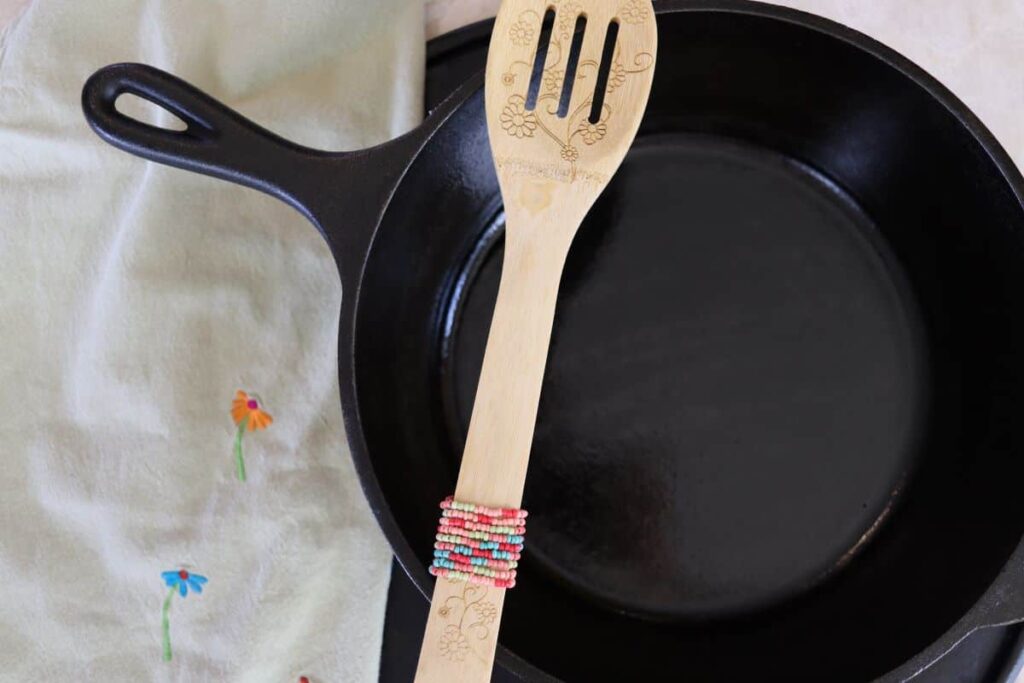
Gently manipulate the beaded design toward the larger end of the spoon handle, so that it fits as snuggly as possible.
HOW TO CARE FOR A BEADED WOODEN SPOON
You will have to wash your diy beaded wooden spoon by hand. Wash it as promptly as you can after using it.
Would you like to save this post for later?
Be gentle when washing the handle of the spoon, as you don’t want the beaded string to fall off the spoon.
Do not allow the beaded part of the handle to soak in water. If you have to soak the spoon for a few minutes to remove any food residue that is on it, than stand it up in a glass of water to do that.
This spoon is not dishwasher or microwave safe.
WHAT TO DO WITH A BEADED WOODEN SPOON
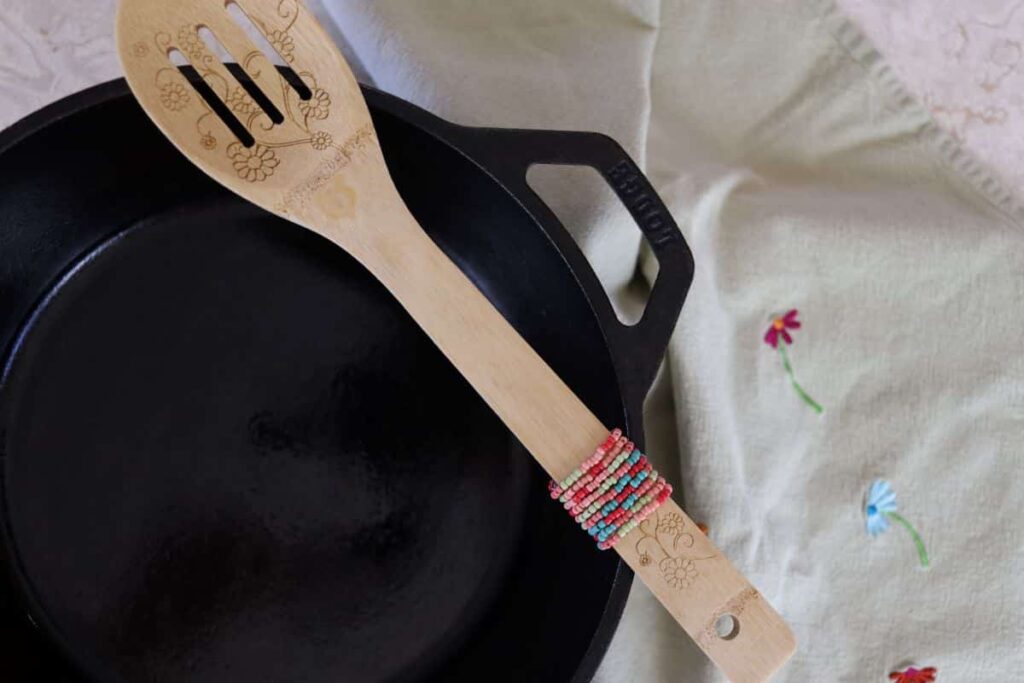
A diy beaded wooden spoon is best used as a serving spoon. Even if you create this sweet little design on a small wooden utensil, it is not really suited for everyday use. It is simply not that durable.
BUT … it is so much fun to make and use these spoons as serving utensils. I adore that the color scheme can be created to fit any occasion. And they are inexpensive enough to put together that you can literally make them for every season/holiday.
Use them to serve food at gatherings. And use them to serve food to yourself and your family even when there is no special occasion. Because, truth is, life is a special occasion.
WAYS TO GIFT A BEADED WOODEN SPOON
You can also give a diy beaded wooden spoon as a gift. They make particularly great hostess gifts. Pair them with a few handwritten recipes or a mason jar layered with ingredients to make a favorite dish.
Tuck them in a kitchen themed gift basket. Or gift them with a cute serving dish, that compliments their design.
They also make really great party favors. They are perfect for get togethers with the girls. So, give them away to your friends the next time you all get together for lunch, dinner, drinks, or to batch cook.
THEME YOUR PROJECT FOR THE HOLIDAYS
It is so easy to theme a diy beaded wooden spoon for holidays and special occasions. All you have to do is change the color scheme of the seed beads you use to make them.
Red, white, and green make the perfect serving utensils for Christmas. Orange, black, and cream are great for Halloween. And pretty pastels of any shade spruce up an Easter table nicely.
There are of course many other holiday themes you can go with. But it seems silly to list them all here, you get the idea.
You can also choose color schemes that compliment the theme of, or the party decorations for, any occasion.
Black, gold, and cream is a great way to go for a graduation party. Or maybe you want to make a spoon with a pastel colored scheme for a children’s birthday party that has a unicorn theme.
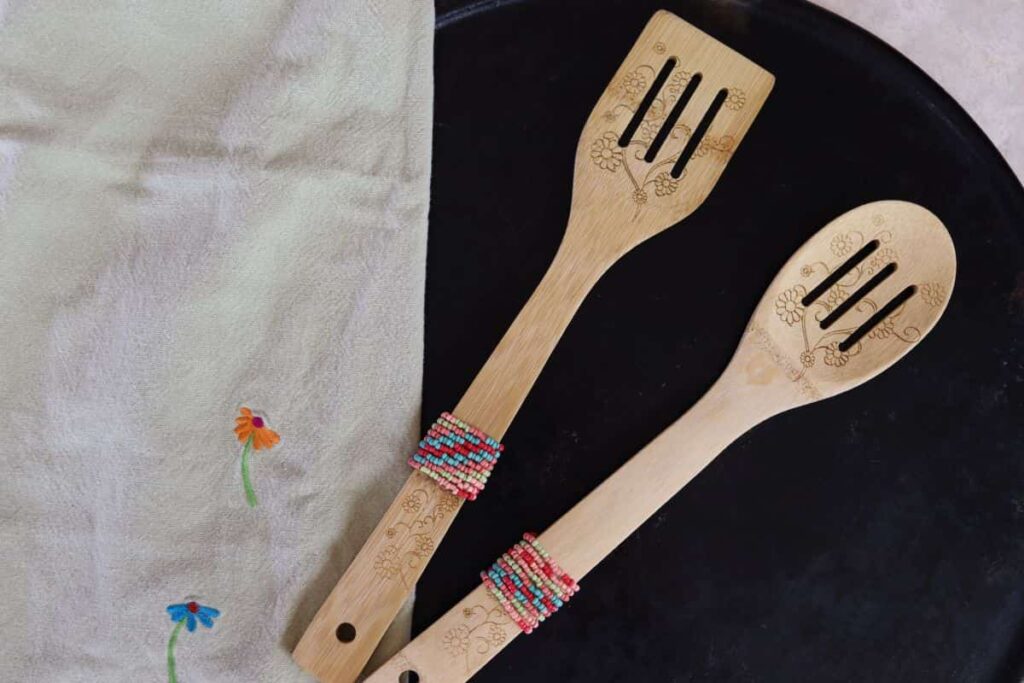
Again, many possibilities, too many to list. But you get the idea. The beads I chose, for the spoons I made for this post, are meant to represent the colors of the spring and summer seasons.
These serving utensils can be designed to fit any occasion. Have fun with it … they’re great to have around!
Recommended For You


If you try this project and love it, please give it 5 stars! It supports my work more than you may realize, and I appreciate that a great deal!
You can also show your support by tagging me on Facebook @sustainableslowliving and/or Instagram @slowlivingbydianegail when you post a pic of your finished project.
DIY Beaded Wooden Spoon
Equipment
- tape measure
- Craft scissors
- pliers
Materials
- wooden spoon
- toothpick
- 30 inch length of 26 gauge floral wire
- seed beads
Instructions
- Cut floral wire: Measure and cut a 30" piece of floral wire for wrapping the spoon.
- Make a loop: Position a toothpick about 2½" from one end of the wire and wrap the wire around it 4 times to form a loop. Remove the toothpick.
- Add beads: String seed beads onto the wire in your chosen pattern, leaving about 2½" of wire at the opposite end.
- Loop other end: Use the toothpick to form a matching loop at the other end of the wire.
- Position on spoon: Place the beaded strand on the back of the spoon with one loop at the bottom. The wire should run up the back of the handle.
- Wrap beads around handle: Wrap the beaded wire snugly around the spoon handle, working upward and securing it as you go.
- Secure the top loop: Run the loose top wire through the upper loop, fold it back, and press to secure.
- Secure the bottom loop: Repeat the process with the lower loop and loose wire end, folding and pressing to fasten.
- Tuck wires and adjust: Use the toothpick to push any exposed wire beneath the beads, then slide the beads gently toward the base for a snug fit.
Video
Notes
- Pick your palette: Use seasonal or themed colors for holiday tables, weddings, or kitchen gifting.
- Try wooden ladles: This project works well with larger spoons or ladles for centerpiece-style gifts.
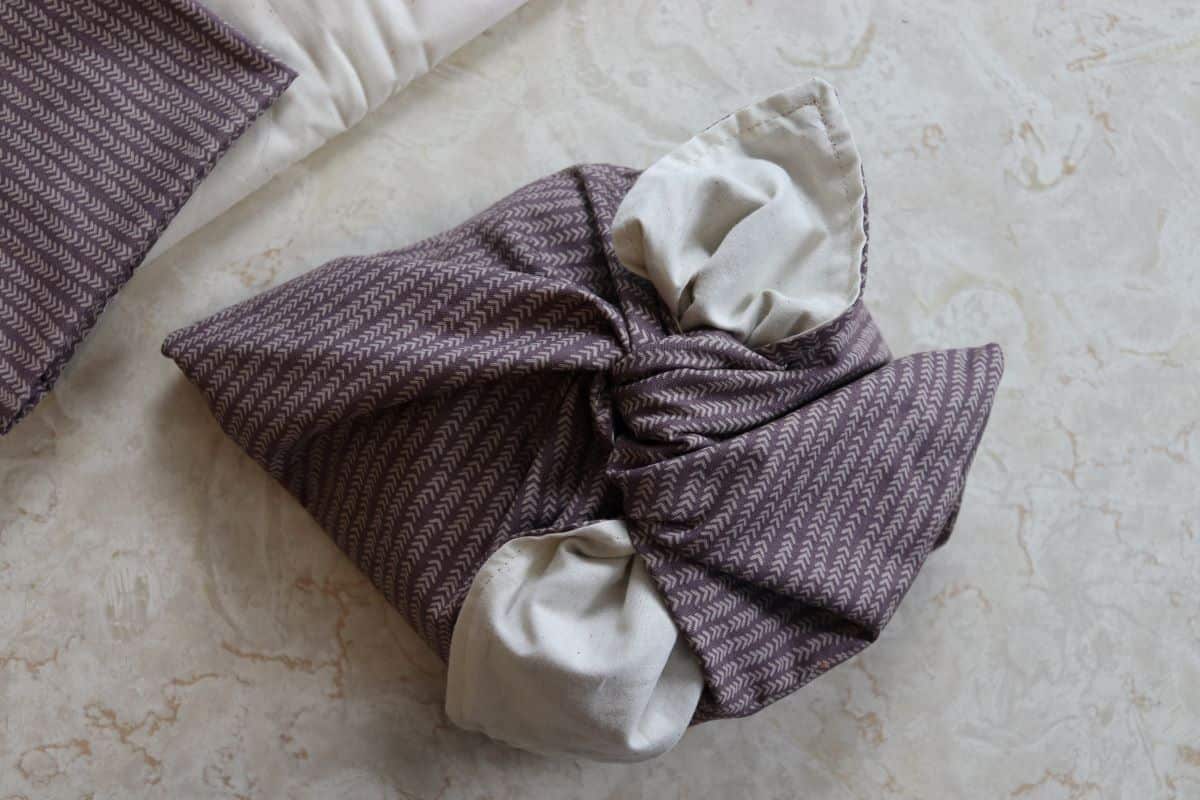
- Pair for gifting: Wrap with a linen tea towel or homemade soup mix for a cozy, thoughtful present.

This beaded wooden spoon is a wonderful way to add a personal touch to your kitchen and make cooking a bit more fun. It’s an easy project with a beautiful, practical result. If you give it a try, I’d love to hear how it turns out in the comments. Looking forward to hearing about your creations!