Soft White Sandwich Bread Recipe

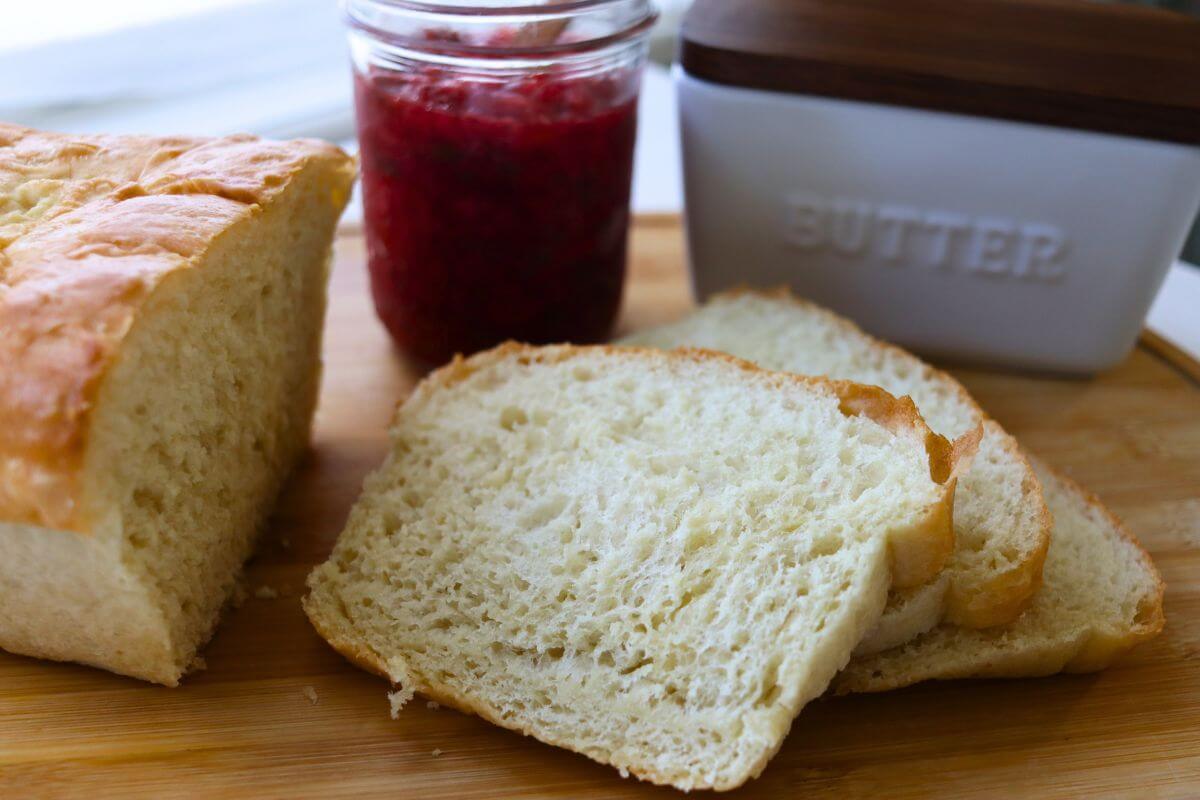
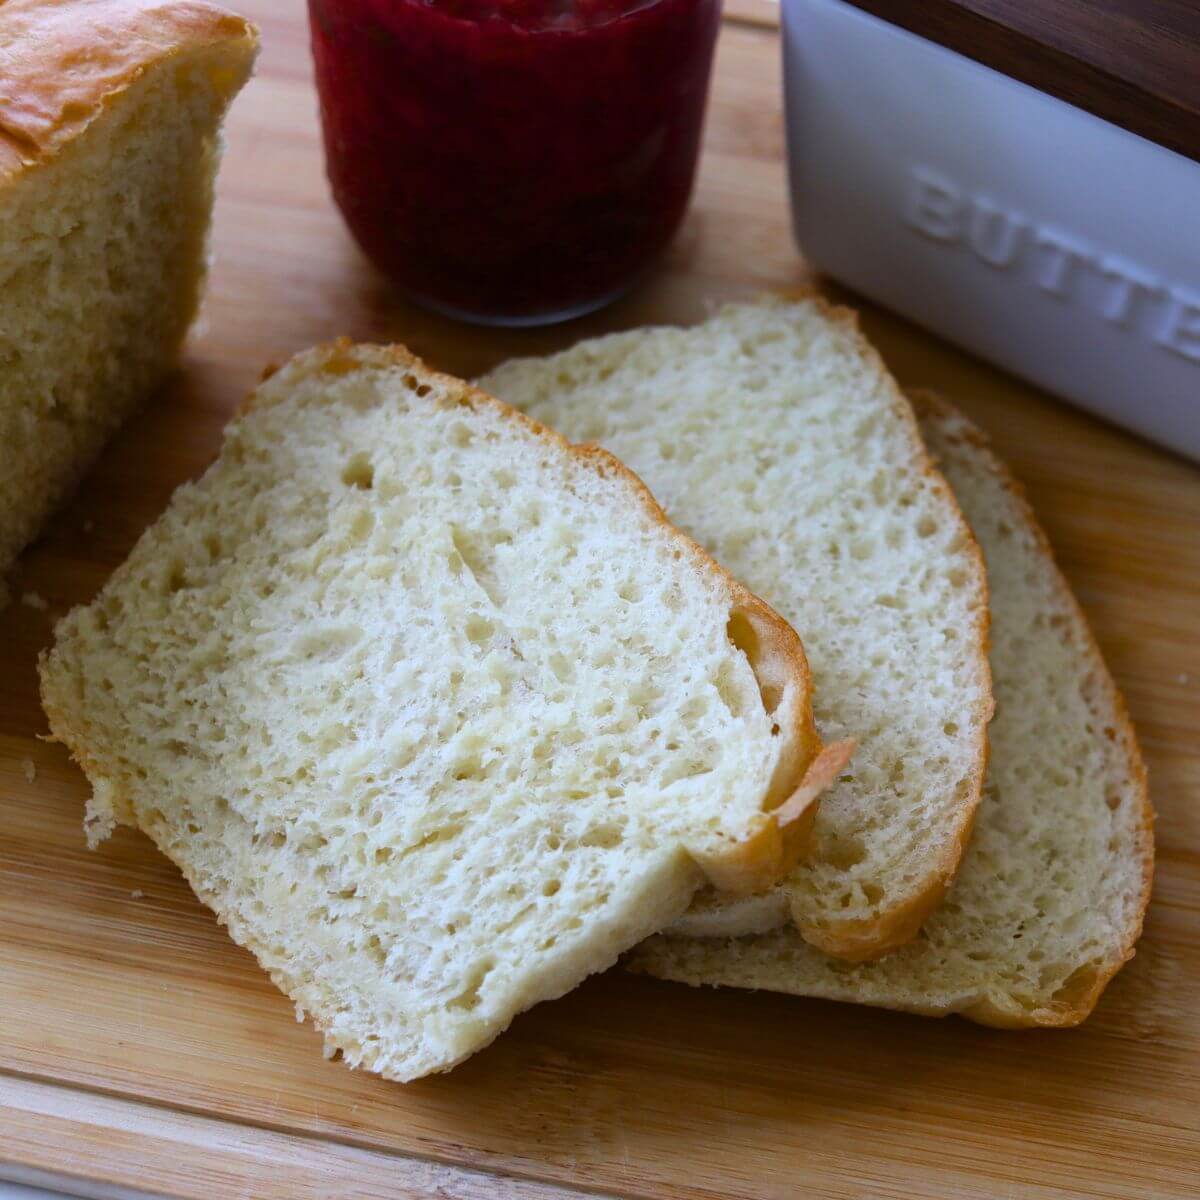
This soft white sandwich bread recipe makes an easy homemade loaf with a soft, fluffy crumb and a light golden crust that’s perfect for sandwiches, toast, and grilled cheese. Made with simple pantry ingredients, this dependable loaf stays tender, slices beautifully, and is one you’ll find yourself baking again and again.
Sometimes bread needs to be white
When I first started baking bread, I found myself a little intimidated by the thought of making a simple loaf of white sandwich bread. I can’t really explain why because people have been baking this style of bread in their home kitchens for generations. Even so, I put it off for a very long time. Once I finally made my first loaf, I realized how silly that was. There really isn’t anything difficult about it, and it quickly became one of the breads I bake most often.
This recipe produces a dependable everyday loaf with a tender crumb that slices cleanly without crumbling, making it ideal for everything from school lunches to thick deli sandwiches. The dough is easy to work with, uses common pantry ingredients, and bakes into a well-shaped loaf that’s sturdy enough for everything from French toast to breadcrumbs. Whether you’re baking your very first loaf or adding another reliable recipe to your collection, this homemade white sandwich bread is one you’ll be happy to have in your regular baking routine.
If you enjoy baking your own bread, be sure to try my semolina bread from scratch for its chewy texture and golden crust, traditional caraway rye bread for a classic deli-style loaf with rich rye flavor, and easy rustic whole wheat bread when you’re looking for a hearty everyday loaf that’s just as simple to make.
Recipe ingredients
- Warm water: Warm water activates the yeast and brings the dough together. Aim for 100 to 110°F (38 to 43°C). Water that’s too cool will slow the yeast, while water that’s too hot can kill it before the dough has a chance to rise.
- Active dry yeast: Active dry yeast is what gives the dough its rise, creating a light, soft crumb and the height you want in a sandwich loaf. Always check the expiration date before baking, as older yeast may not produce a good rise.
- Honey: Honey adds a subtle sweetness while helping the bread stay soft and tender after baking. Choose a mild honey, such as clover or wildflower, so it complements the classic flavor of the loaf. If you prefer, substitute an equal amount of granulated sugar with equally good results.
- Vegetable oil: Vegetable oil creates a soft, tender crumb and helps keep the bread fresh for several days. Choose a neutral-flavored oil, such as canola or avocado oil, so the classic flavor of the bread shines through.
- Bread flour: Bread flour gives the dough the strength to rise high while creating a loaf that’s soft, sturdy, and easy to slice. Choose unbleached bread flour for the best flavor and texture, and add just enough flour to create a soft, slightly tacky dough. Too much flour can produce a heavy, dry loaf.
- Salt: Salt strengthens the dough, helps control the yeast as it rises, and gives the bread its balanced flavor. Fine sea salt or kosher salt both work well. Don’t leave it out, as the loaf won’t have the same structure or taste without it.
- Butter: Brushing the warm loaves with butter creates a soft, flavorful crust and gives the bread its beautiful homemade finish. Salted or unsalted butter both work well. If you enjoy making dairy products at home, try my from scratch farmhouse butter for an extra-special loaf.
See the recipe card for full information on ingredients and quantities.
How to make soft white sandwich bread
Step 1: Pour the warm water into the bowl of a stand mixer and stir in the honey until dissolved. Sprinkle the yeast over the surface and let it stand for 5 to 10 minutes, or until it becomes foamy. If the yeast doesn’t foam, it’s no longer active and should be replaced before continuing.
Step 2: Add the bread flour, vegetable oil, and salt, to the bowl. Mix on low speed until the ingredients come together into a rough, shaggy dough, scraping down the sides of the bowl as needed to incorporate all of the flour.
Step 3: Increase the mixer to medium speed and knead the dough for 5 minutes. By the end of kneading, the dough should be smooth, elastic, and slightly tacky, pulling away from the sides of the bowl while still lightly clinging to the bottom. When gently pressed with a fingertip, it should slowly spring back.
Step 4: Transfer the dough to a lightly greased bowl, turning it once to coat the surface. Cover and let it rise in a warm, draft-free place until doubled in size, about 1½ hours. Rising times can vary depending on the temperature of your kitchen, so use the size of the dough rather than the clock as your guide.
Step 5: Generously butter two 9×5-inch loaf pans, coating the bottoms and sides to help the finished loaves release easily after baking.
Step 6: Gently punch down the risen dough to release the large air bubbles, then turn it onto a lightly floured work surface. Divide the dough into two equal portions.
Step 7: Working with one portion at a time, gently press the dough into a rectangle. Roll it up tightly from the short end, pressing lightly with each turn to remove large air pockets without stretching or tearing the dough. Pinch the seam and ends closed, then place the loaf seam-side down in a prepared pan. Repeat with the remaining dough.
Step 8: Cover the pans with a flour sack towel and let the loaves rise until they stand about 1-inch above the rims of the pans, 45 minutes to 1 hour. Avoid letting them rise much higher, as over-proofed dough can lose some of its oven spring during baking.
Step 9: Bake in a preheated 350°F (177°C) oven for 30 minutes, or until the loaves are evenly golden brown and have pulled slightly away from the sides of the pans.
Step 10: Remove the loaves from the oven and let them rest in the pans for 10 minutes to allow the crumb to set before removing them.
Step 11: Carefully turn the loaves out onto a wire cooling rack and brush the tops with butter while they’re still warm to create a soft, flavorful crust.
Step 12: Allow the loaves to cool completely before slicing. Cutting into the bread while it’s still hot can compress the crumb and give the slices a gummy texture.
Top tips
- Homemade bread behaves differently than store-bought: Because this loaf doesn’t contain the preservatives found in most commercial bread, it has a fresher flavor and softer texture but a shorter shelf life. Plan to enjoy it within a few days or freeze the extra loaf while it’s still fresh.
- Freeze the second loaf right away: This recipe makes two loaves, making it perfect for stocking your freezer. Once the bread has cooled completely, wrap the second loaf tightly and freeze it while it’s at its freshest for the best flavor and texture after thawing.
- A cool kitchen means a slower rise: Yeast works best in a warm environment, so dough may take longer to rise during cooler months. Let the dough fully double during the first rise and reach the proper height in the pans before baking rather than relying only on the clock.
- Use a flour sack towel for the second rise: Flour sack towels are light enough to protect the dough without weighing it down or sticking to the surface as the loaves rise.
- Turn the pans halfway through baking if your oven has hot spots: If one side of your oven bakes hotter than the other, rotating the pans halfway through the baking time helps both loaves brown evenly.
- Slice only what you need: Homemade bread stays fresher longer when left unsliced. Cut only the slices you plan to use and keep the cut side of the loaf facing down in your bread container or bag.
Serve
This soft white sandwich bread is the kind of everyday loaf you’ll reach for from breakfast through dinner. Build a hearty diner style hot hamburger sandwich, enjoy a comforting hot roast beef sandwich with gravy or make lunchtime something to remember with a classic tuna melt sandwich, grilled turkey club sandwich, open faced ham breakfast sandwich, classic croque madame sandwich, or grilled cheese with BBQ chicken.
A fresh slice also turns a simple bowl of soup into a satisfying meal. Pair it with from scratch acorn squash soup, homemade chili made from scratch, celery soup made from scratch, or homemade Italian broccoli soup for the kind of comforting combination that’s hard to beat.
When dinner is on the table, this bread fits right in. Serve it with homemade meatloaf in a skillet, a stuffed cabbage skillet dinner, or Louisiana style smothered chicken for a classic homemade meal your family will look forward to.
And if pasta night is a favorite in your house, this loaf deserves a place on the table then too. Slice it thick, butter it generously, and serve it alongside a skillet lasagna from scratch, homemade mushroom cream sauce pasta, or homemade chicken and noodles. With so many delicious ways to enjoy it, you may find yourself baking another batch before the first one is gone.
Other recipes you’ll love
No-Knead Rosemary Parmesan Bread
No-Knead Shaggy Dough Bread
Savory Pumpkin Dinner Rolls
Farmhouse Yeast Rolls From Scratch
Buttermilk Dinner Rolls From Scratch
Homemade Slider Rolls (Sturdy Mini Kaiser Rolls)
If you loved this from scratch bread recipe, give these other great bread recipes a try too!
Soft White Sandwich Bread
Ingredients
- 2 cups warm water 100 to 110°F (38 to 43°C)
- 1 tablespoon active dry yeast
- 1/4 cup honey
- 5 cups bread flour
- 2 tablespoons vegetable oil
- 2 teaspoons salt
- 2 1/2 tablespoons butter
Instructions
- In the bowl of a stand mixer, combine the warm water and honey until the honey dissolves. Sprinkle the yeast over the top and let it stand for 5 to 10 minutes, or until foamy.
- Add the bread flour, vegetable oil, and salt. Mix on low speed until a shaggy dough forms.
- Knead on medium speed for 5 minutes, until the dough is smooth, elastic, and slightly tacky, pulling away from the sides of the bowl while lightly clinging to the bottom. When gently pressed with a fingertip, the dough should slowly spring back.
- Transfer the dough to a lightly greased bowl, cover, and let rise in a warm place until doubled in size, about 1½ hours.
- Butter two 9×5-inch loaf pans.
- Punch down the dough and divide it evenly in half.
- Press each portion into a rectangle, then roll it up tightly from the short end, pressing lightly with each turn to remove large air pockets. Pinch the seam and ends closed, then place each loaf seam-side down in a prepared pan.
- Cover with a flour sack towel and let rise until the dough is about 1-inch above the rims of the pans, 45 minutes to 1 hour.
- Bake at 350°F (177°C) for 30 minutes, or until the loaves are golden brown and have pulled slightly away from the sides of the pans.
- Let the loaves rest in the pans for 10 minutes.
- Remove the loaves from the pans and brush the tops with butter while still warm. Cool on a wire rack before slicing.
Notes
- Use 100 to 110°F (38 to 43°C) water to proof the yeast. Water that’s too hot can kill the yeast, while cooler water will slow the rising process.
- Bread flour produces the best rise and texture for this recipe. It creates a soft loaf that’s sturdy enough for sandwiches and slices cleanly once cooled.
- Rising times are only a guide. Let the dough double during the first rise and reach about 1-inch above the loaf pans during the second rise before baking.
- Store the cooled bread in an airtight bread bag or container at room temperature for up to 4 days, or freeze the extra loaf for up to 3 months.
Nutrition
Nutrition information is automatically calculated, so should only be used as an approximation.