Homemade Slider Rolls (Sturdy Mini Kaiser Rolls)

This homemade slider rolls recipe creates a lightly crusted homemade roll with a tender crumb that holds it’s shape and texture when used for sliders. Built for both structure and softness, these rolls bake up evenly sized and ready to handle everything from saucy fillings to stacked meats.

A kaiser-style mini roll holds a messy sandwich
As someone from northeast Pennsylvania with German heritage, I grew up with kaiser-style rolls being used for just about every sandwich made and set on the table alongside every bowl of soup. If any other roll found its way into the kitchen, someone inevitably quipped, “Where are the ‘real’ rolls?”. And so for me, this is the real roll.
When I make slider sandwiches in my kitchen, I make a batch of mini kaisers first. Their familiar texture and structure are built to handle everything from simple teriyaki chicken sliders to easy crispy buffalo sliders and even mini loose meat sandwiches without falling apart.
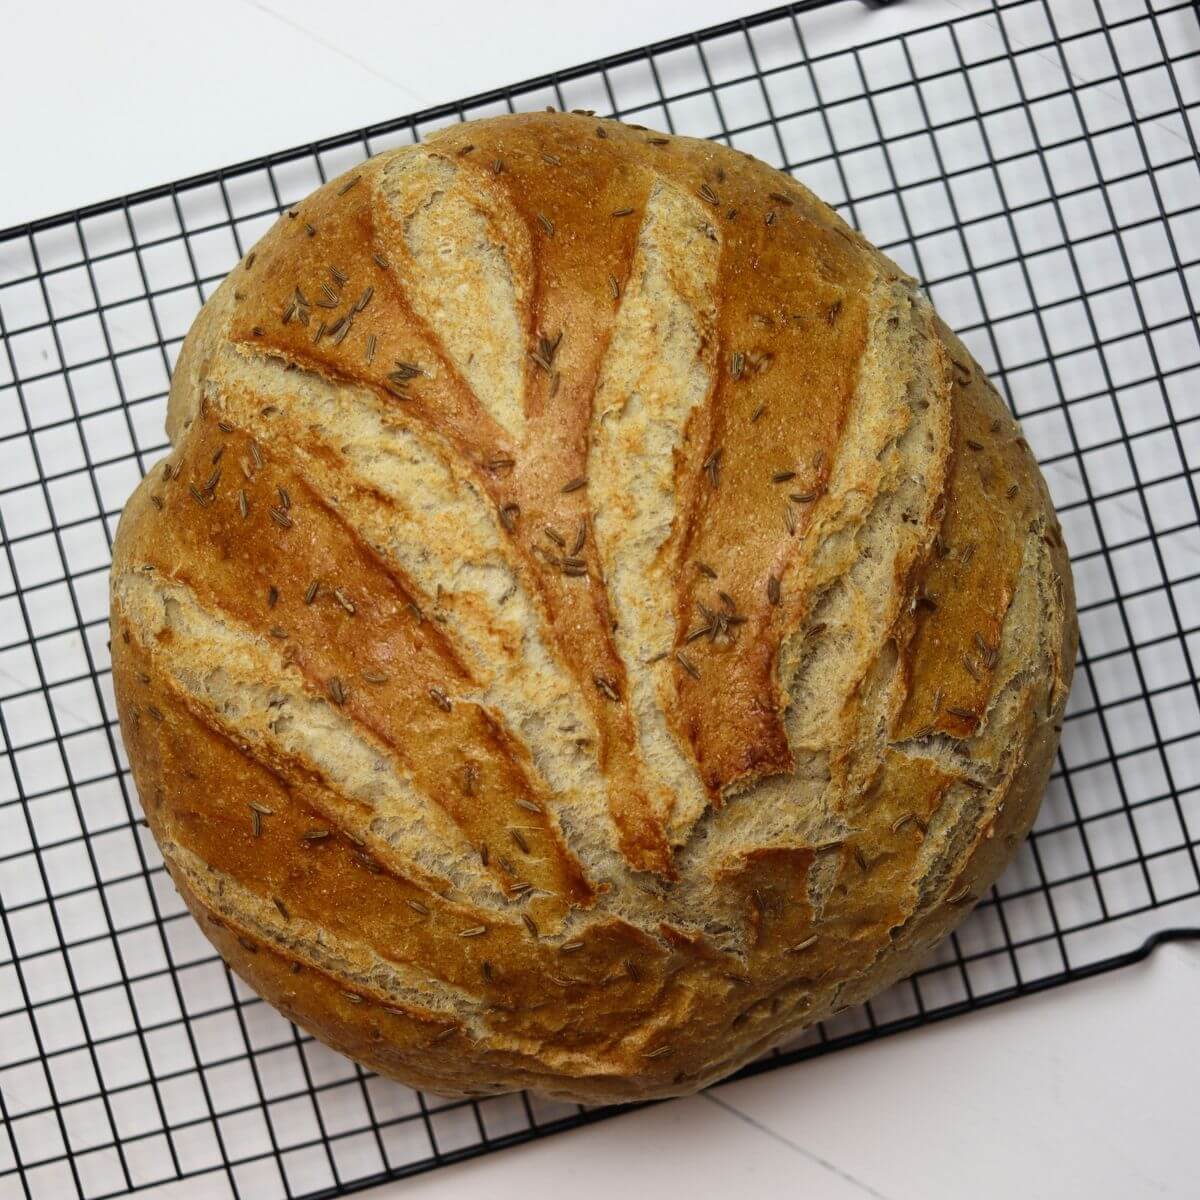
If you like making bread from scratch in your kitchen, try my easy rustic whole wheat bread, homemade shaggy dough bread, and rosemary and parmesan artisan bread next.
Recipe ingredients
- All-purpose flour: Use a reliable, unbleached all-purpose flour — this provides the balanced structure needed for rolls that hold their shape without turning dense.
- Milk (for topping): Use fresh whole milk for the most consistent surface finish and even browning across the rolls.
- Poppy seeds: Look for fresh, evenly colored seeds without any dull or gray cast for the best appearance and clean flavor.
See the recipe card for full information on ingredients and quantities.
Would you like to save this post for later?
How to make homemade slider rolls
Step 1: In the bowl of a stand mixer, combine warm water and sugar, then sprinkle the yeast over the top. Let it sit undisturbed for 5–10 minutes until the surface looks foamy and active.
Step 2: Add the flour, softened butter, egg, and salt. Mix on low speed just until the dough comes together into a rough mass with no dry pockets.
Step 3: Increase speed slightly and knead for 6 minutes. The dough should become smooth, elastic, and slightly tacky, pulling away from the sides of the bowl while still soft to the touch. (Without a stand mixer: Stir the dough together in a large bowl until it forms, then turn it out onto a clean surface and knead by hand for 8–10 minutes until smooth and elastic.)
Step 4: Transfer the dough to a lightly greased bowl, cover, and let it rise in a warm spot for about 1 hour, or until doubled in size.
Step 5: Gently press the dough down to release excess air, then divide it into 12 equal portions. Weighing each piece will give you the most uniform rolls.
Step 6: Shape each portion into a tight, smooth ball by tucking the edges underneath and pinching them closed, then place them on a silicone-lined baking sheet with space between each one.
Step 7: Cover loosely and let the rolls rise for about 30 minutes, until they look slightly puffy and relaxed but not fully doubled.
Step 8: Brush each roll lightly with milk, then sprinkle evenly with poppy seeds.
Step 9: Using a sharp knife, score a shallow X into the top of each roll. Keep the cuts light — just enough to mark the surface without deflating the dough.
Step 10: Bake at 350°F (180°C) for 15 minutes, until the rolls are lightly browned on the surface and set through the center. (Note: If the rolls bake before the tops brown, set them under the broiler for just one or two minutes to brown the tops.)
Step 11: Remove from the oven and transfer the rolls to a wire rack to cool before slicing.
Top tips
- Tighten the shape underneath: When forming each roll, pull the dough against the work surface to create tension underneath — this is what gives the rolls their rounded shape and stable structure.
- Keep the second rise controlled: Let the rolls rise only until slightly puffy — overproofing at this stage will cause them to spread instead of holding a defined shape.
- Score with a sharp blade: A dull knife will drag the surface and deflate the dough; a clean cut keeps the structure intact and opens properly in the oven.
- Bake until just set, not deep brown: Pull the rolls when the tops are lightly golden — overbaking will dry the interior and take away that soft, tender bite. Cool completely before slicing: Cutting too early will compress the crumb and make the interior feel dense instead of light.
Other recipes you’ll love
If you loved this sandwich roll recipe, give these other great recipes a try too!
Pumpkin Bagel Recipe
Quick Tortilla Recipe
New York Style Bagels || An Easy At Home Recipe
Rosemary Parmesan Crackers Recipe
Easy Homemade Everything Cracker Recipe
Simple Pepper Jack Cracker Recipe

Homemade Slider Rolls
Ingredients
- 2 1/4 teaspoons active dry yeast
- 1 1/2 teaspoons sugar
- 3/4 cup warm water 100–110°F (38–43°C)
- 3 cups all-purpose flour
- 1 1/4 teaspoon salt
- 2 tablespoons butter softened
- 1 large egg
- 1 tablespoon whole milk
- 1 tablespoon poppy seeds or seed of your choice
Instructions
- In a stand mixer bowl, combine warm water (100–110°F / 38–43°C), sugar, and yeast. Let sit 5–10 minutes until foamy.
- Add flour, salt, butter, and egg. Mix on low speed until a cohesive dough forms.
- Increase speed slightly and knead for 6 minutes, until the dough is smooth and elastic.
- Transfer to a greased bowl, cover, and let rise for 1 hour, or until doubled in size.
- Punch down the dough and divide into 12 equal portions.
- Shape each portion into a smooth ball, by folding in the edges and pinching the seam closed, and place on a silicone-lined baking sheet.
- Cover and let rise 30 minutes, until slightly puffy.
- Brush with milk and sprinkle with poppy seeds. Score a shallow X on top of each roll.
- Bake at 350°F (180°C) for 15 minutes, until lightly golden. If necessary, set under broiler for 1-2 minutes to brown tops.
- Remove from oven and transfer to a wire rack to cool.
Notes
- Dough consistency: The dough should be soft and slightly tacky but not sticky; add a small amount of flour only if it feels wet and difficult to handle.
- Yeast activation: If the yeast does not foam during blooming, discard and start again to ensure a proper rise.
- Even sizing: Dividing the dough by weight helps the rolls bake evenly and finish at the same time.
- Baking doneness: Rolls are ready when lightly golden on top and set through the center without feeling soft when pressed lightly.
- Cooling step: Allow the rolls to cool before slicing to prevent compressing the interior.
Nutrition
Nutrition information is automatically calculated, so should only be used as an approximation.