Farmhouse Style Homemade Butter

Making farmhouse style homemade butter is one of those traditional kitchen skills that looks far more complicated than it actually is. It’s practical, satisfying, and takes very little hands-on effort. It is one of the most direct ways to reconnect to how little stands between raw ingredients and finished food.
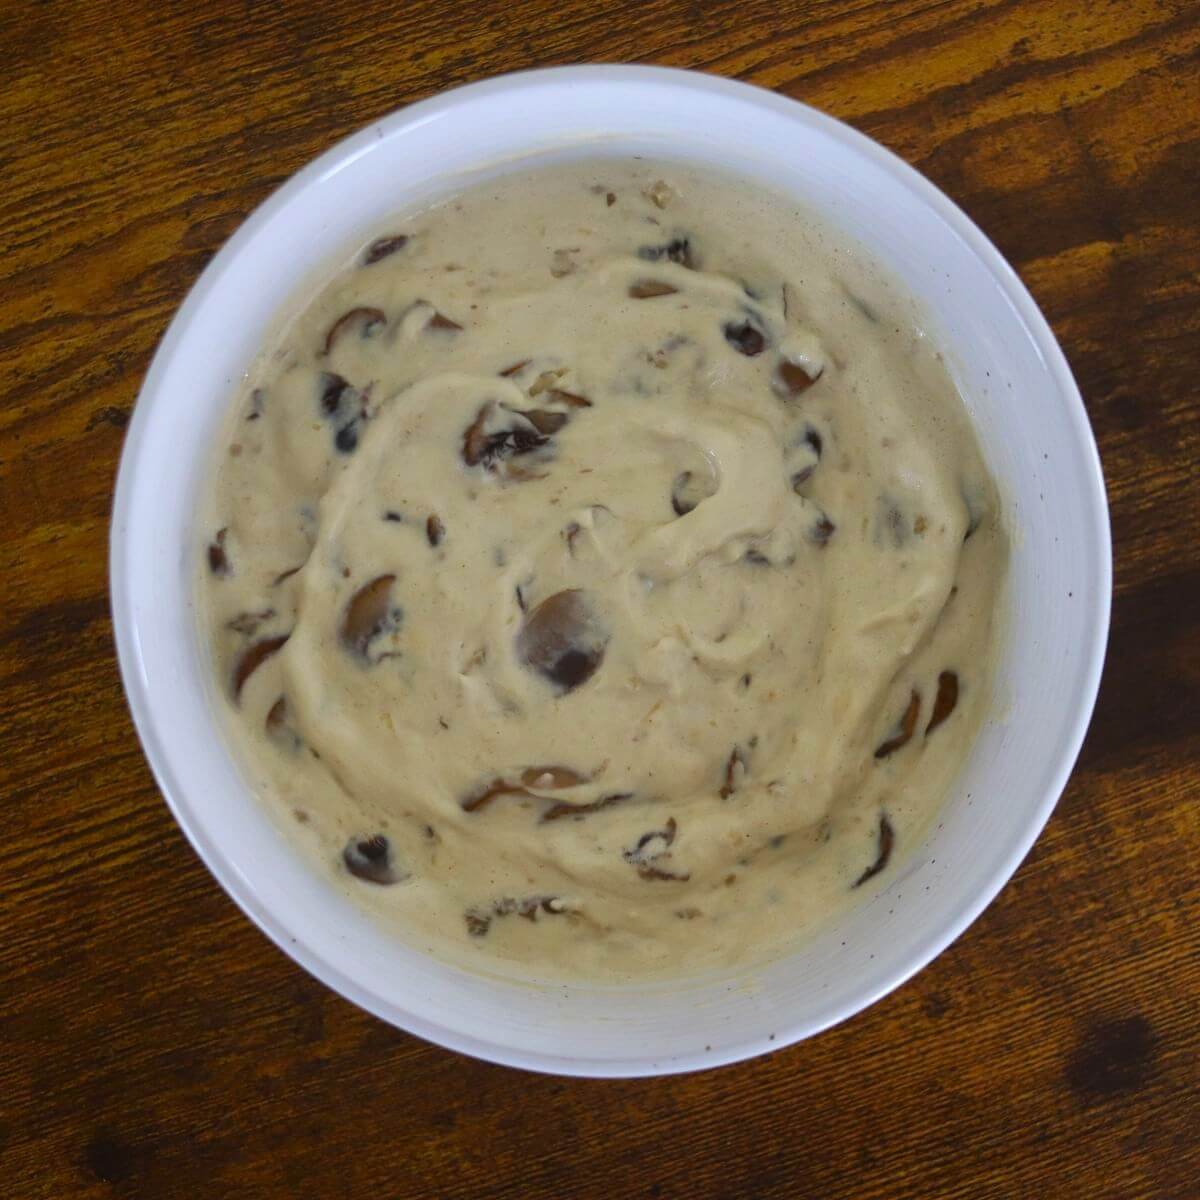
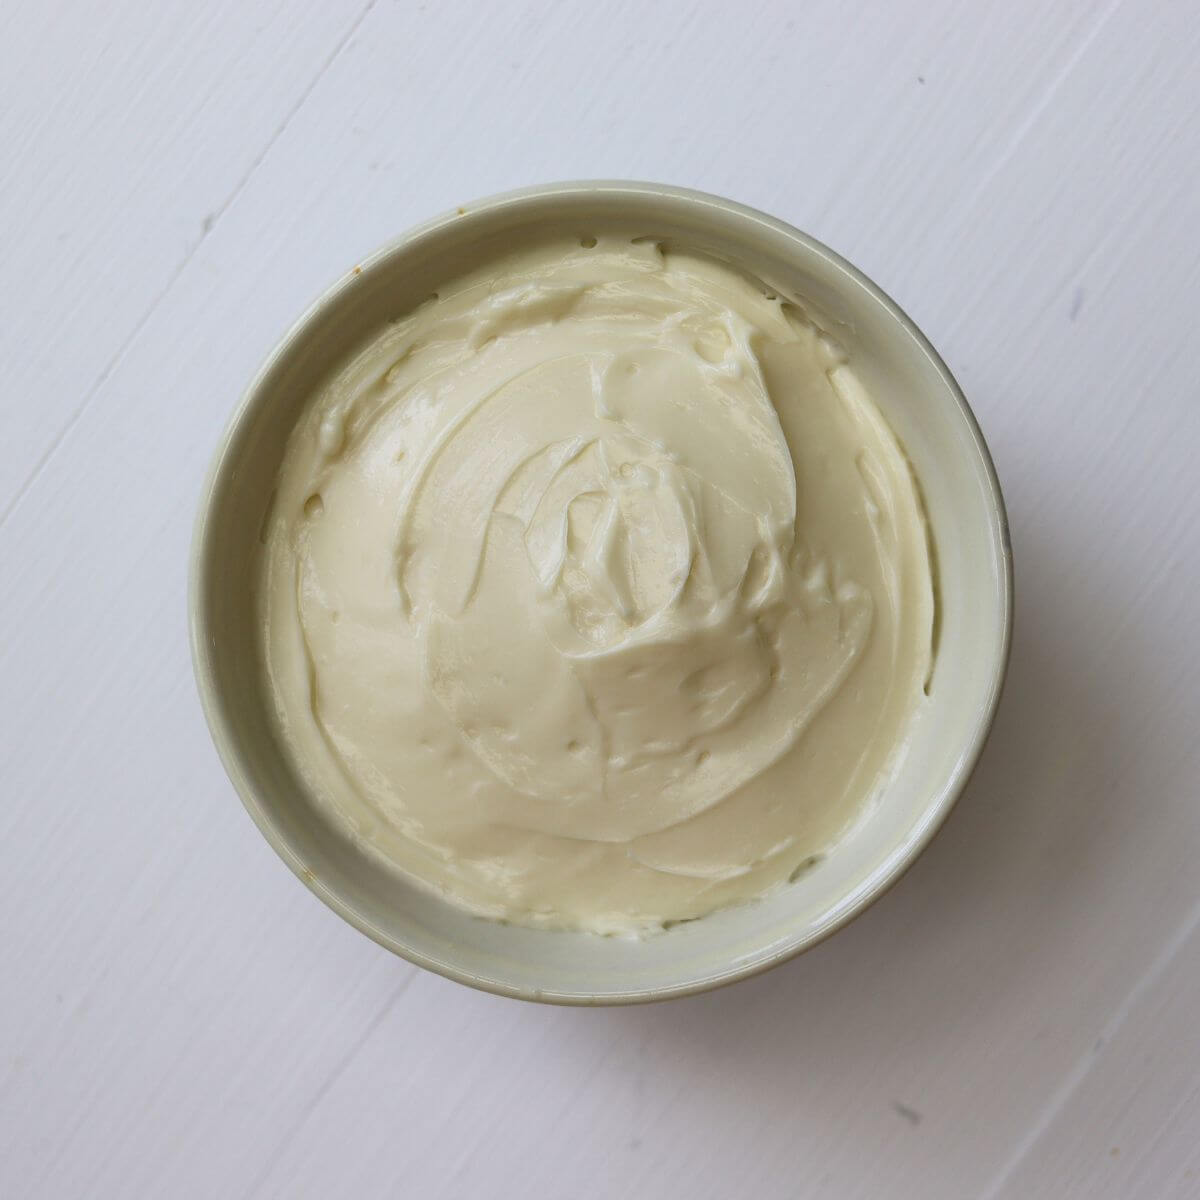
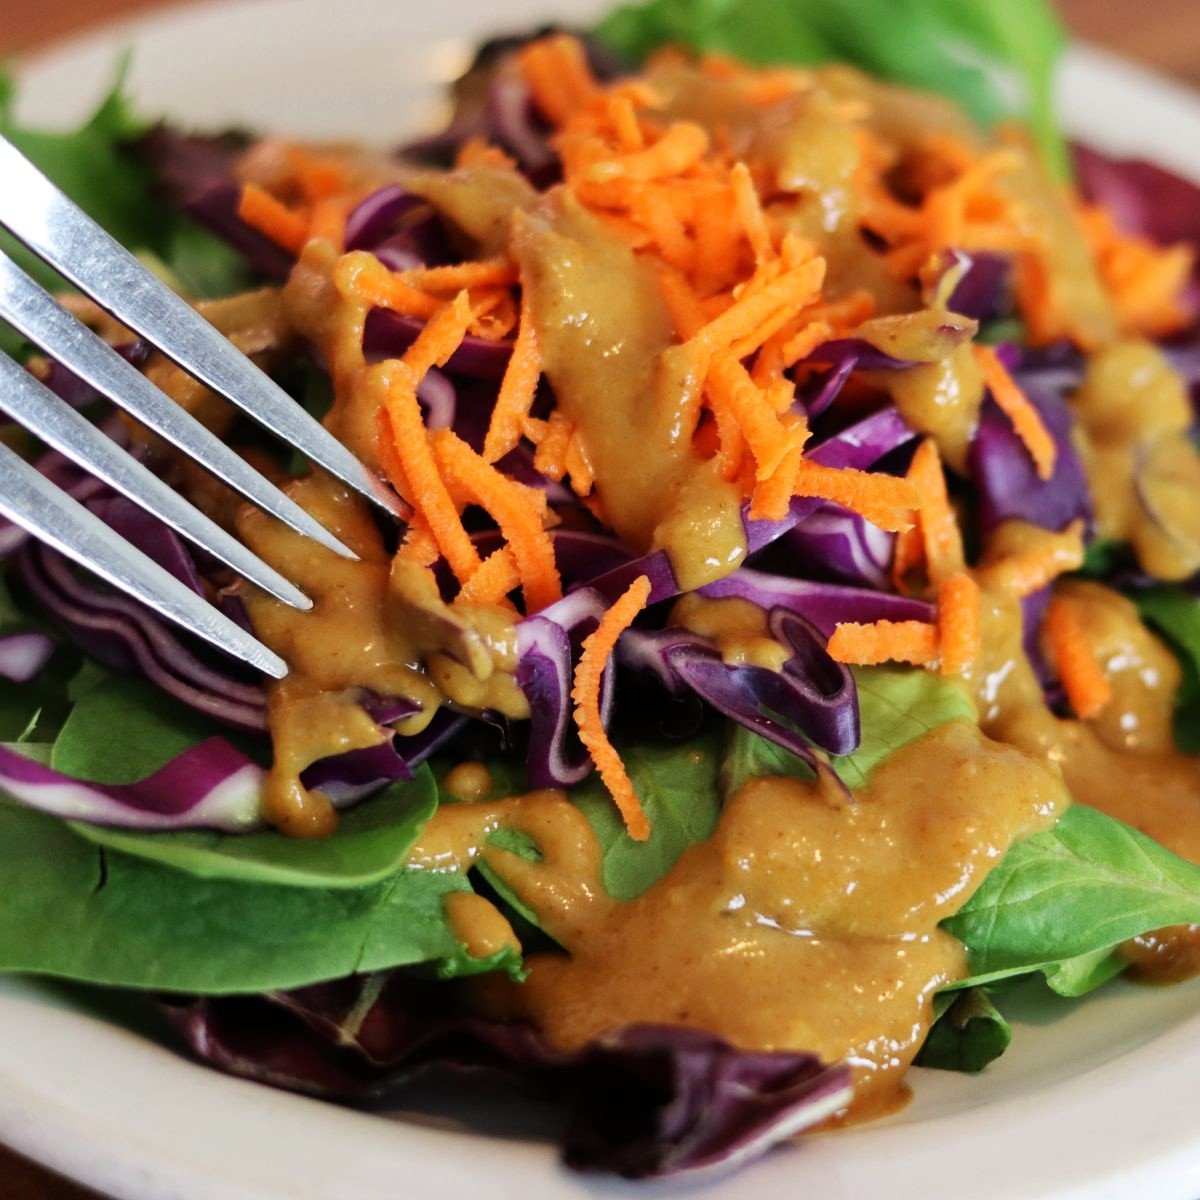
If you want to bring more homemade condiments to your kitchen table, be sure to try making your own homemade mayonnaise, from-scratch ketchup, and handmade BBQ sauce too.
Let’s talk about this recipe
I recently discovered a small family farm near my new home, that’s licensed to sell raw dairy products, and it sent me straight back into the kitchen to make butter again. Simple ingredients are something I’ve always tried to keep on my table, and working with raw cream is something I personally enjoy. It behaves a little differently and tastes different too — richer, in my opinion.
That experience is what prompted me to share this method with you, not as a novelty, but as a practical kitchen skill worth keeping alive. The process of turning cream into butter is reliable and repeatable once you know what to look for at each stage. And while raw cream is a joy to work with, this can absolutely be made with store-bought cream as well, so you’re not shut out of enjoying this timeless skill if raw dairy isn’t available to you.
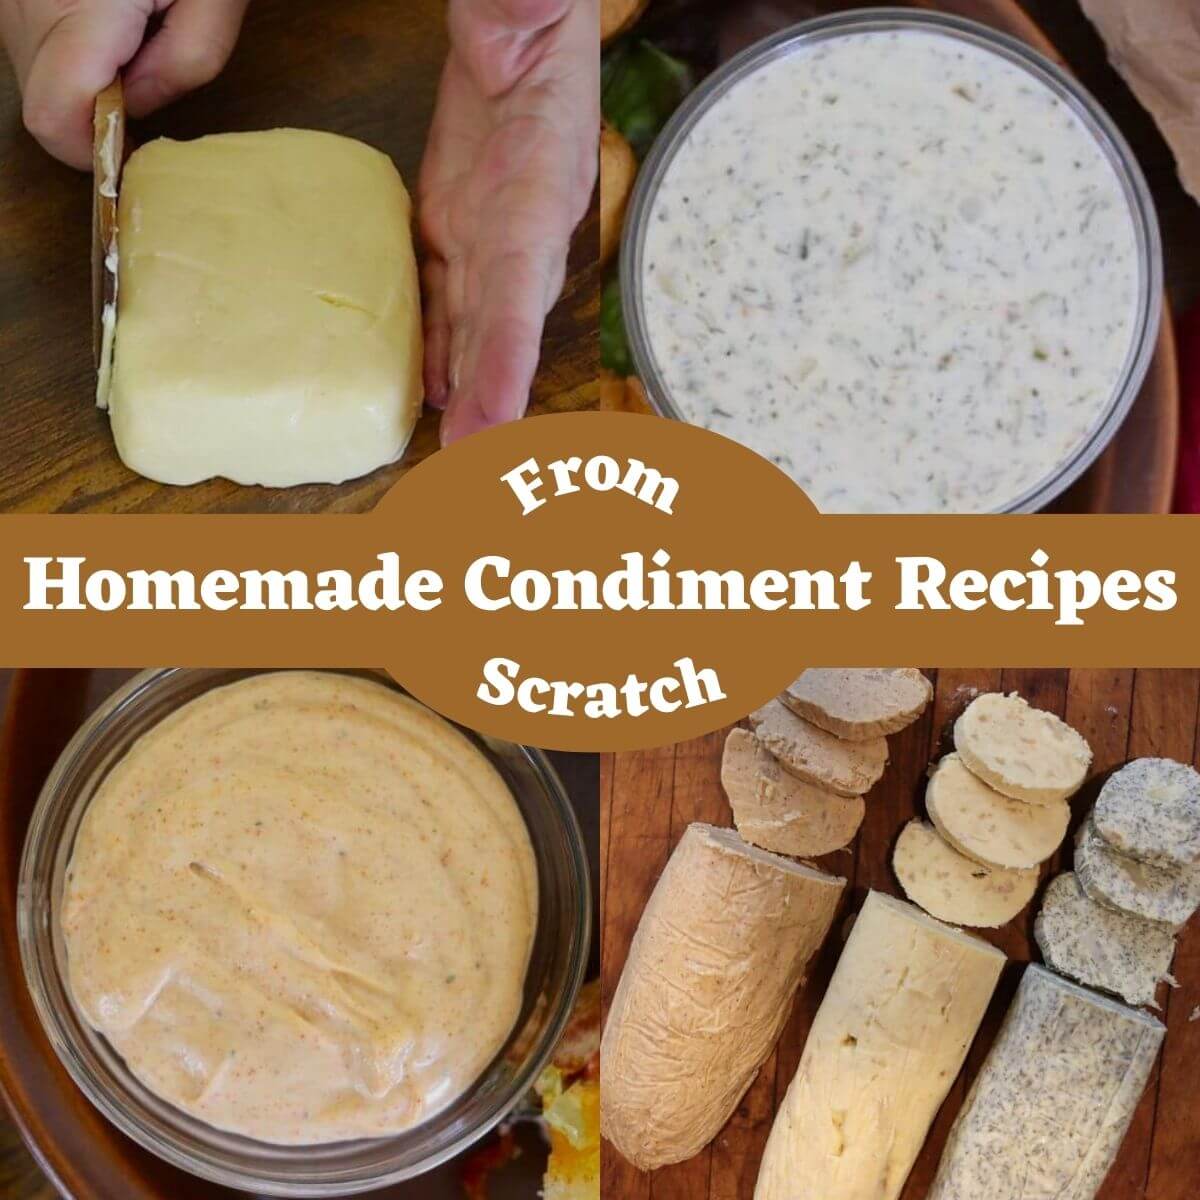
This is one of the many recipes featured in my homemade condiment recipes, a growing collection of dressings and condiments made in a home kitchen.
What makes this recipe so good?
- A clear, natural process shows exactly how cream transforms into butter with very little effort on your part.
- Reliable visual cues tell you exactly when to move from one stage to the next.
- A useful by-product, fresh buttermilk, is naturally made in the butter making process and can be used right away in all of your favorite buttermilk recipes.
- Flexible equipment options make this achievable in a real kitchen without purchasing special equipment; a stand mixer, blender, or food processor will all work well.
- Consistent results allow you to turn butter making into a repeatable skill, not a one-time project.
Ingredients you’ll need
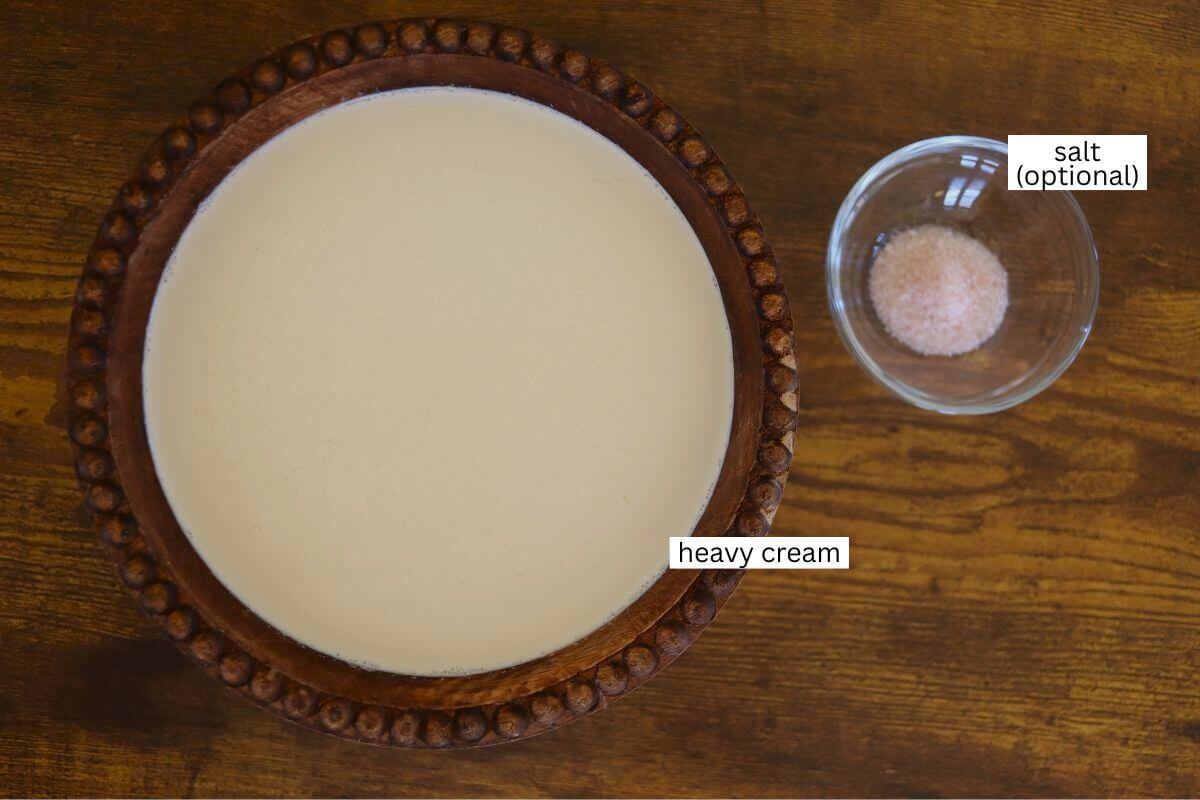
- Heavy cream: Both raw heavy cream and store-bought, ultra-pasteurized heavy cream will make butter successfully, but they don’t behave identically. Raw cream retains its natural structure and components, which affect how it whips, how quickly it separates, and how the finished butter feels and tastes.
See recipe card below for full information on ingredients and quantities.
Make it your own
- Salt to your taste, if you prefer a salted version of butter.
- Keep it unsalted for everyday use baking and cooking, adding the desired amount of salt directly into recipes later.
- Whip in flavorings, like garlic or herbs, to create compound butters that are a delight to use in the kitchen.
- Shape it to suit your kitchen using logs, hand-formed rounds, or molds depending on how you store and reach for butter in daily cooking.
Would you like to save this post for later?
How to make farmhouse style homemade butter
Butter making moves through clear stages, and each one tells you when it’s time to move forward. Pay attention to the changes that are happening in the mixer bowl — they matter much more than timing.
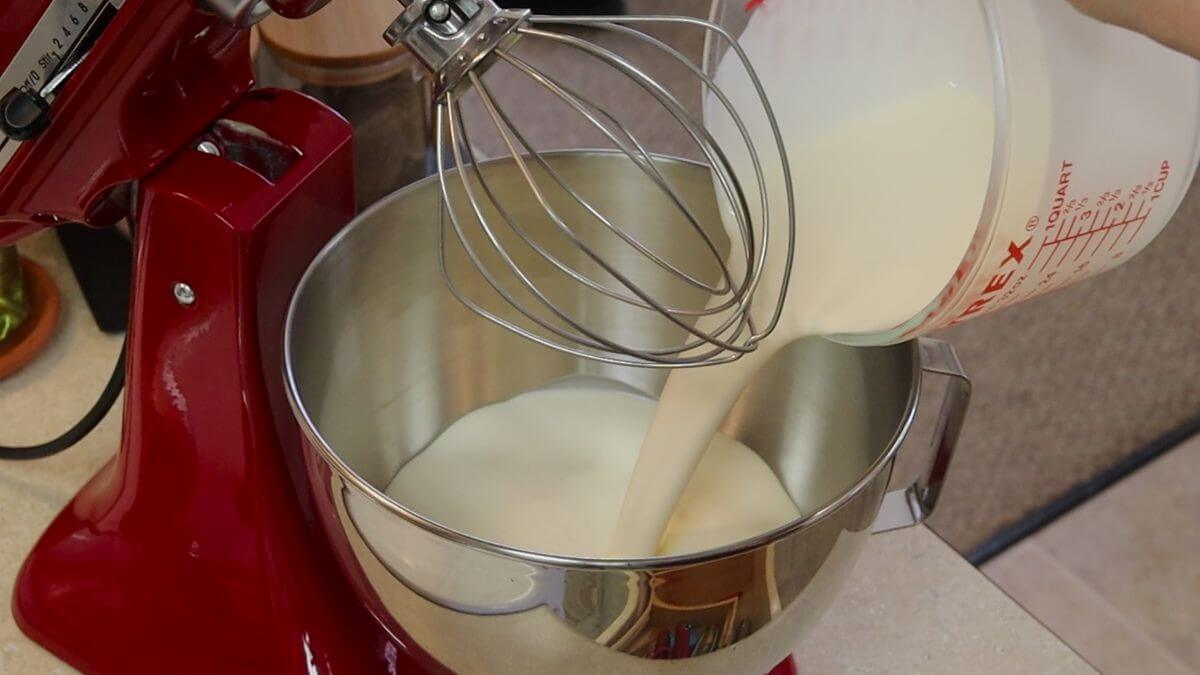
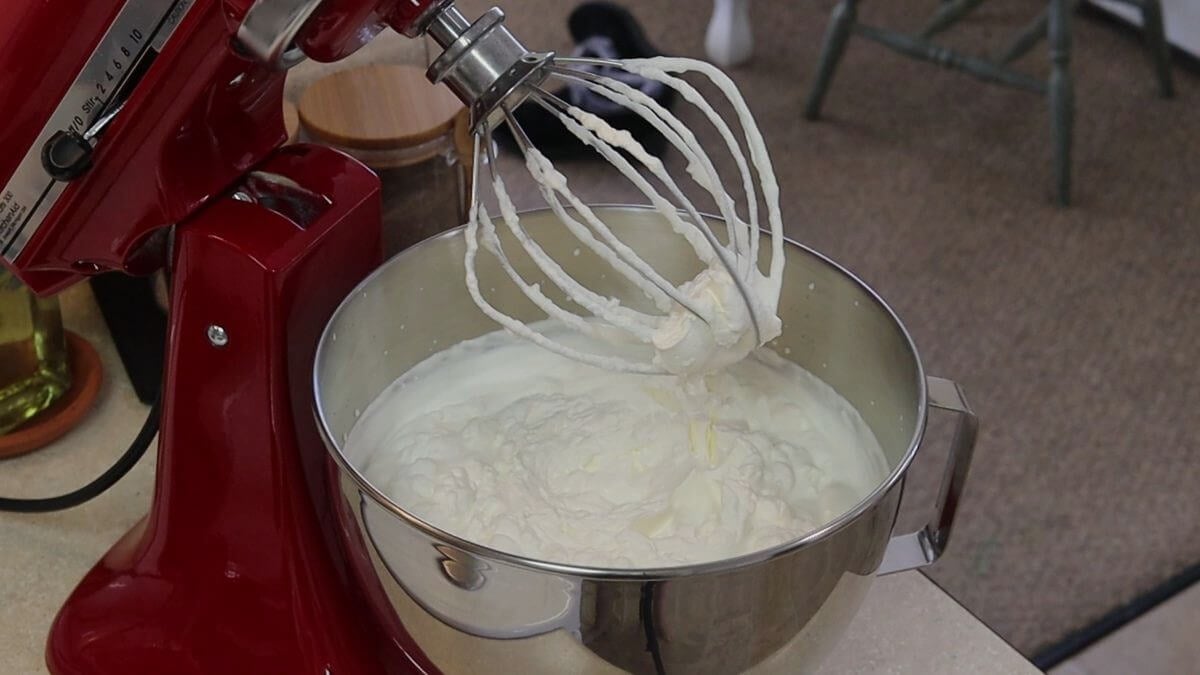
Step 1: Pour the cream into a stand mixer fitted with the whisk attachment.
Step 2: Whip the cream, starting on the lowest speed and increasing as you are able to, without it spitting out from the bowl, until it turns to whipped cream.
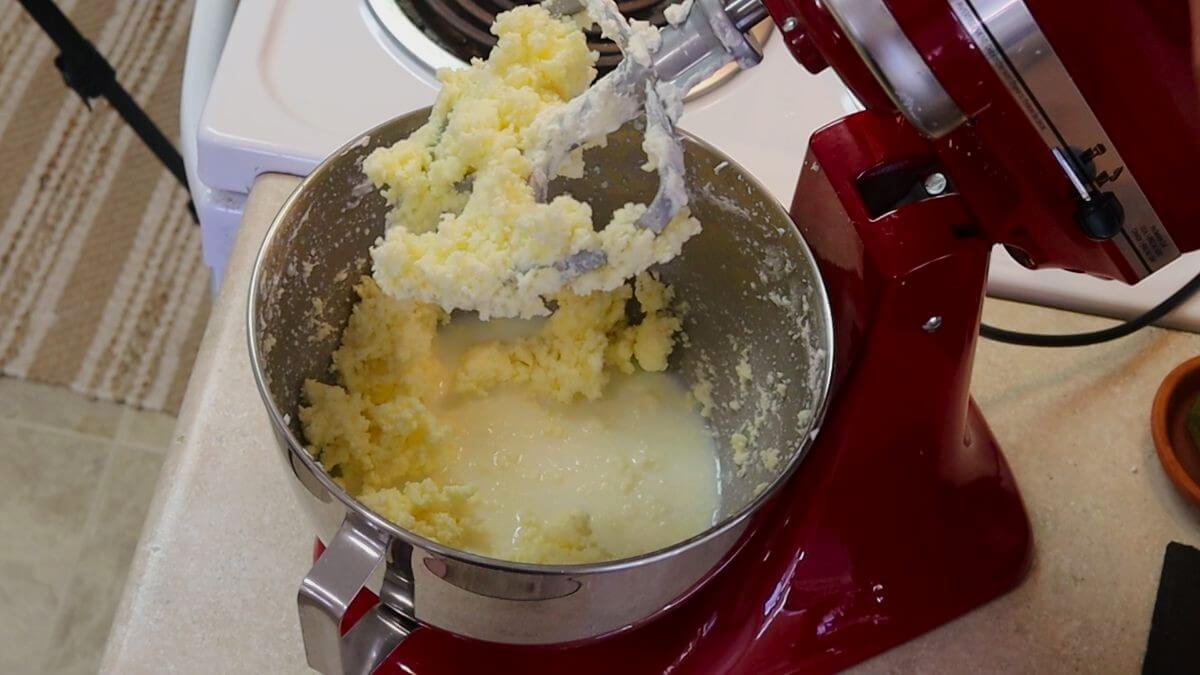
Step 3: Switch to the paddle attachment, and continue beating until the butter separates from the buttermilk, increasing speed gradually as before.
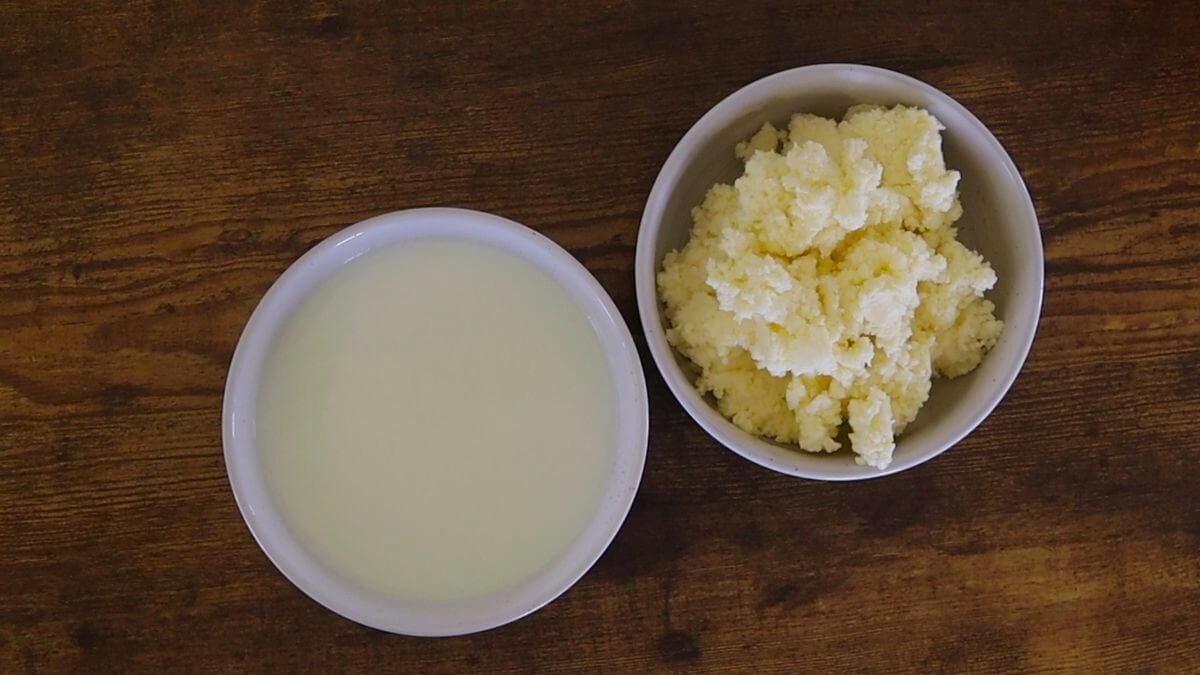
Step 4: Drain the buttermilk through a sieve into a bowl and gather the butter together in another bowl.


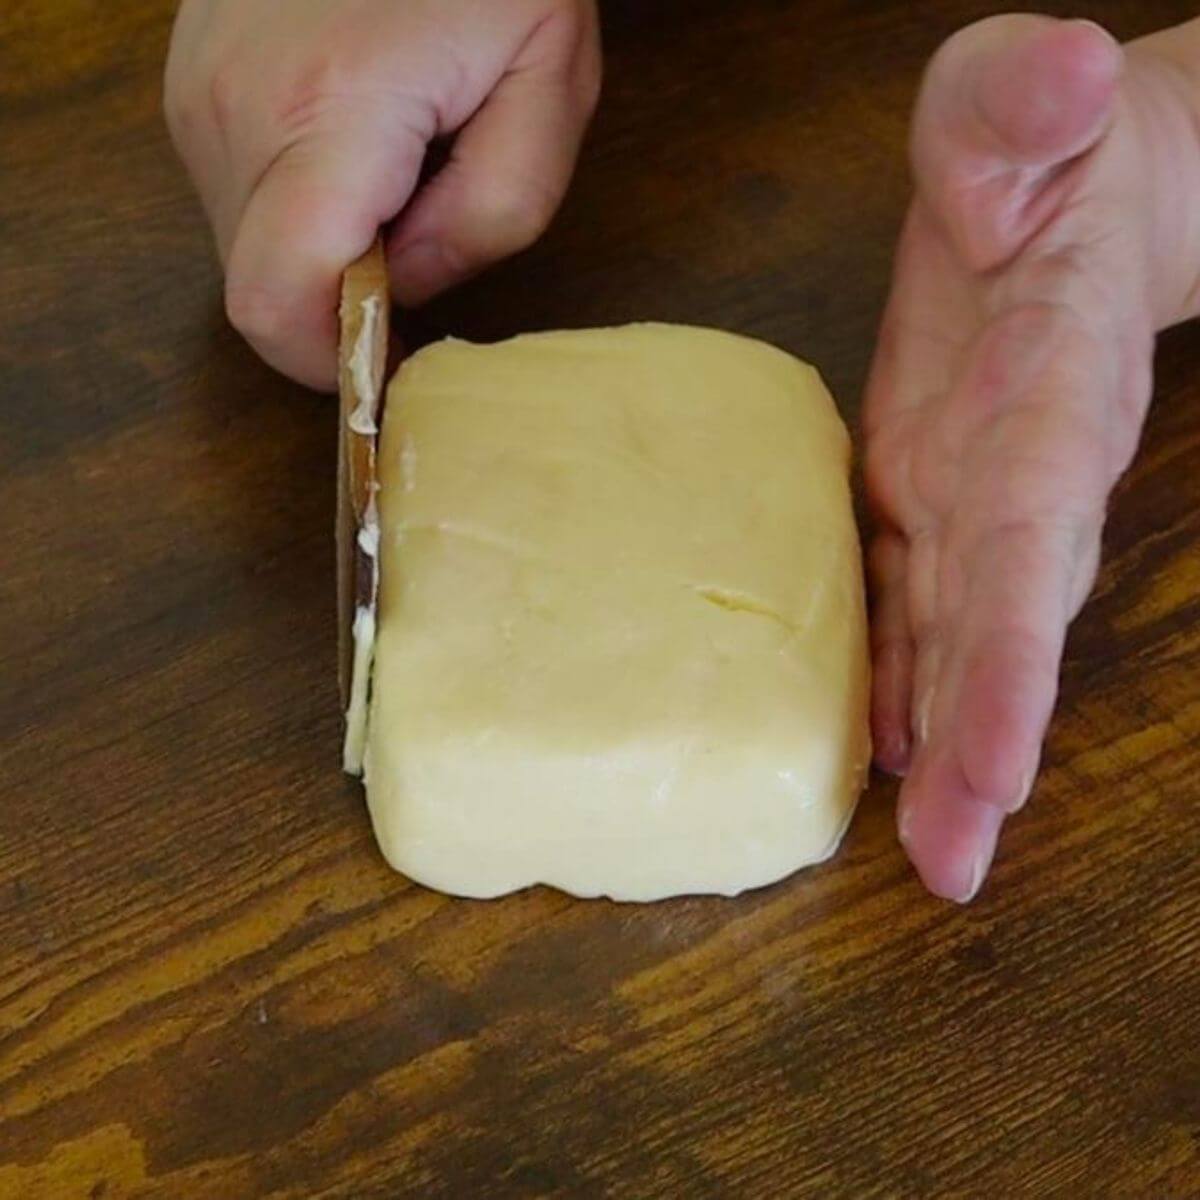
Step 5: Squeeze the butter together, removing as much liquid from it as possible.
Step 6: Transfer the butter to a bowl of ice water, to keep it chilled so you can easily work with it, and squeeze any remaining buttermilk from it.
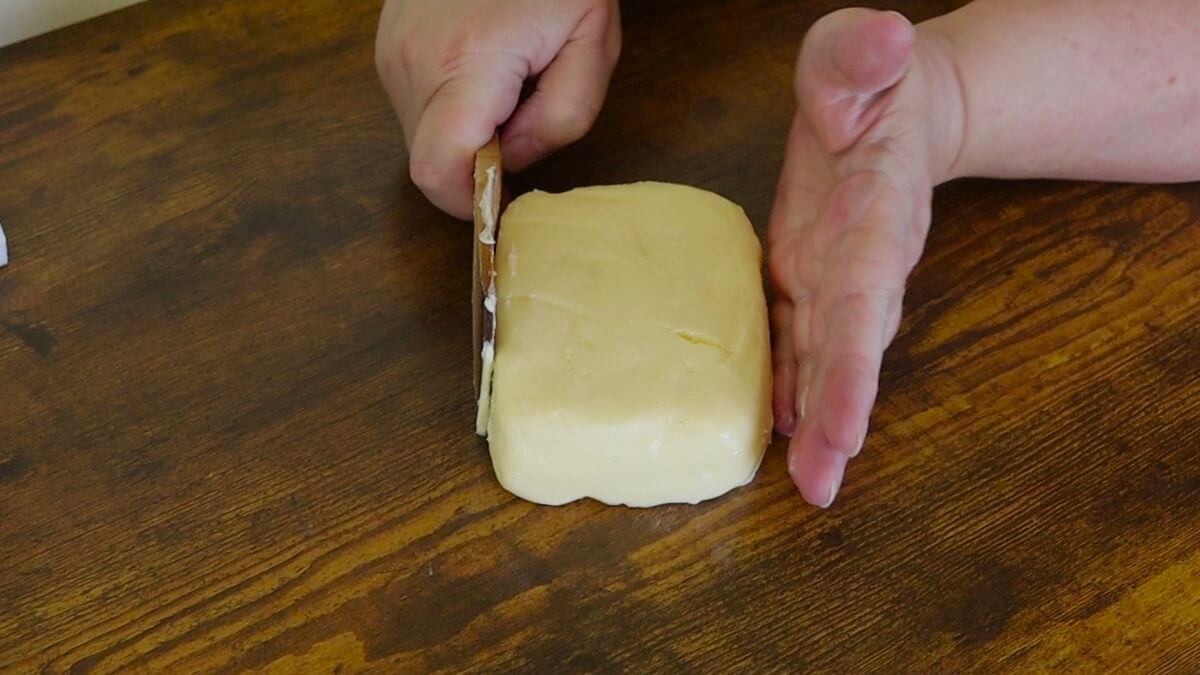
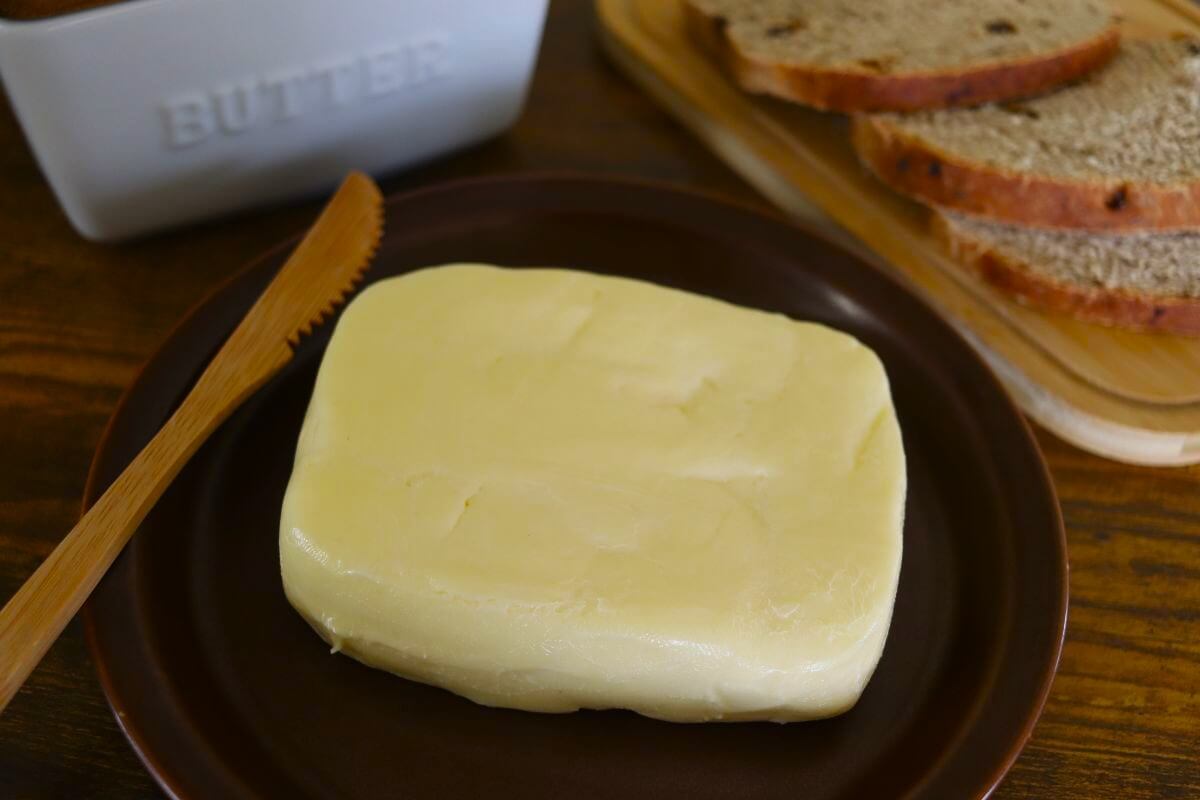
Step 7: Form the butter into the shape you prefer.
Recipe FAQs
Most batches take about 15 to 20 minutes, though the timing can vary depending on the fat content of the cream you’re using.
No, raw cream isn’t required. Though it behaves differently, because it hasn’t been processed to prioritize shelf stability over its natural structure.
No, this is fresh, uncultured buttermilk, but it’s excellent for pancakes, biscuits, baking, marinades, and soaking grains.
Washing the butter removes any lingering buttermilk, helping prevent it from going rancid too quickly.
They work, but they’re less forgiving and less practical than a stand mixer, especially if you’re making butter regularly rather than as a one-off experiment.
You’ll see it suggested often, but in practice it’s tedious and rarely completed — even children usually lose interest long before butter forms.
Yields vary depending on butterfat content, but expect around 12–14 ounces per quart.
Serving ideas
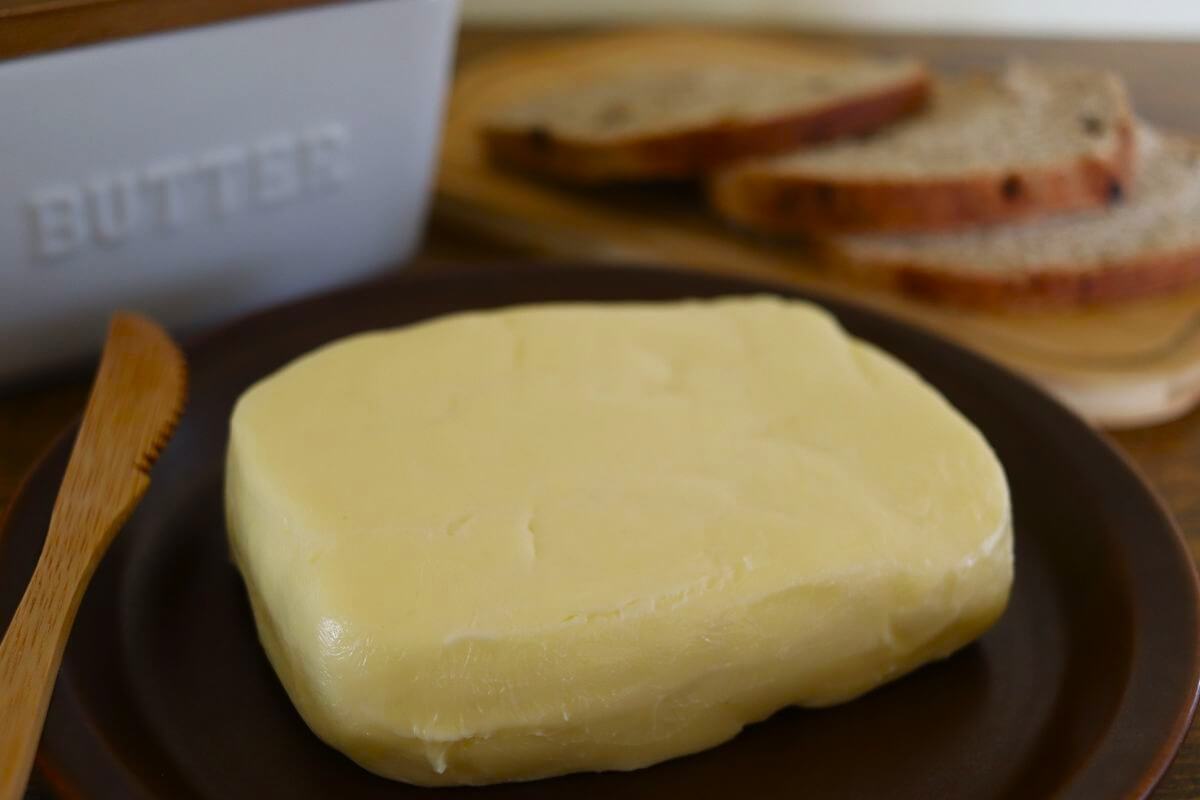
Fresh butter like this really shines when it’s enjoyed simply — slathered over a slice of warm homemade no knead bread or parmesan rosemary bread, no fanfare required, just letting it melt gently into the crumb. It’s just as good spread over a few everything crackers, butter crackers, or savory crackers, or dolloped on top of a stack of farmhouse pancakes.
Of course, it works beautifully in any recipe that calls for butter, whether you’re cooking, baking, or finishing dishes at the table. I especially love using it to make a fresh batch of cast iron cinnamon rolls, butterball cookies, or Nutella stuffed butter cookies.
Diane Gail’s tips for success
- Increase mixer speed gradually: Moving too fast too soon can cause the ingredients to spit out of the bowl.
- Scrape the sides regularly: Keeping everything whipping evenly helps the butter separate cleanly.
- Squeeze thoroughly before washing: Removing as much buttermilk as possible before the final ice-water wash is the most efficient way to get excess liquid out of the finished butter.
- Wash the butter well: Any buttermilk remaining in the final product will shorten it’s shelf life and affect it’s flavor over time.
- Freeze with confidence: Butter freezes exceptionally well when wrapped tightly.
Other recipes you’ll love
Spicy Aioli Sauce Recipe
Old-Fashioned Southern Tartar Sauce Recipe
Homemade Cajun Tartar Sauce Recipe
Chicago Mild Sauce Recipe
Simple Ginger Scallion Sauce Recipe
Simple Spicy Cranberry Mustard
If you like this recipe, share it with someone you know will love it too.
Follow us on Pinterest, Instagram, Facebook, and YouTube for more recipes.
Your support through shares, comments, and a 5-star rating means the world!
Farmhouse Style Homemade Butter
Ingredients
- 1 quart raw heavy cream
- salt to taste optional
- ice water
Instructions
- Whip: Whip the cream in a stand mixer, fitted with the whisk attachment, starting on the lowest speed.
- Thicken: Gradually increase the speed as the cream thickens, whipping until it turns into fully formed whipped cream without splashing out of the bowl.
- Separate: Switch to the paddle attachment and continue beating, increasing speed gradually, until the butter separates from the buttermilk.
- Drain: Drain the buttermilk through a sieve into a bowl and gather the butter together in another bowl.
- Press: Squeeze the butter together into a ball, removing as much remaining liquid as you can.
- Wash: Transfer the butter to a bowl of ice water to keep it chilled while working with it, and squeeze out any remaining buttermilk.
- Season (optional): Sprinkle salt over the butter, and distribute it evenly throughout it using a fork, if you want salted butter.
- Shape: Form the butter into the shape you prefer.
Notes
- Increase speed gradually: Starting slow and increasing speed as you progress helps prevent splashing and keeps the process controlled.
- Scrape the bowl: Keeping the cream moving evenly helps the butter separate more cleanly.
- Press thoroughly: Removing as much buttermilk as possible before washing improves the final texture.
- Wash completely: Washing the butter removes lingering buttermilk that can affect keeping quality.
- Salt if desired: Add salt only if you prefer salted butter; unsalted butter offers more flexibility for everyday cooking.
- Freeze extras: Butter freezes very well and generally keeps its quality when wrapped tightly.
Nutrition information is automatically calculated, so should only be used as an approximation.