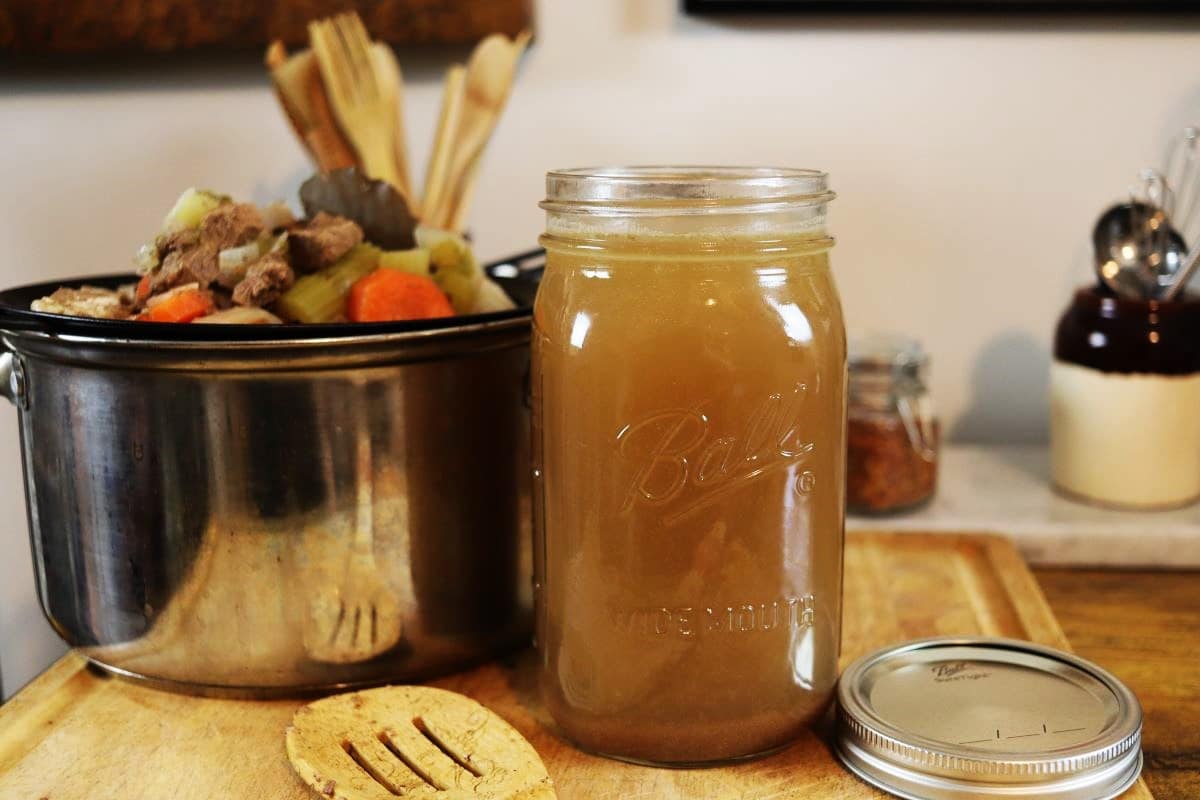
Beef Broth From Scratch

Learning how to make beef broth from scratch is one of those kitchen skills that pays off again and again. A few simple ingredients, a gentle simmer, and you’ve got a rich, tasty, deep brown broth that will lift soups, stews, gravies, and sauces to the next level.
Looking to stock your pantry with homemade basics? Check out my homemade chicken broth or Bieler’s broth recipes next.
Introduction
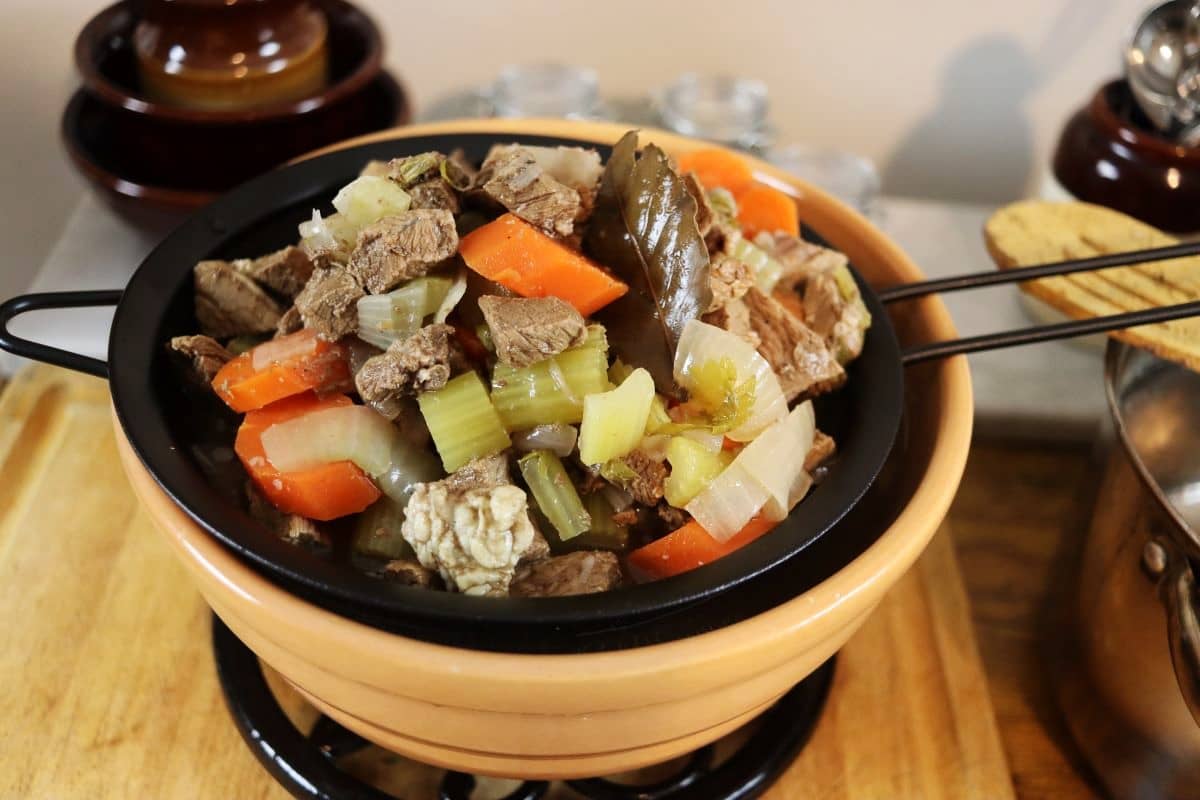
There’s nothing quite like a pot of beef broth from scratch quietly bubbling away on the stove. The scent that drifts through the kitchen tells you something good is happening, and the flavor it brings to homemade dishes leaves store-bought versions in the dust.
This recipe takes the simplest ingredients and turns them into a broth that’s rich, hearty, and versatile. It freezes beautifully too, so you can always have some ready when you need it — just follow the simple steps in my how to freeze chicken broth post to get it done.
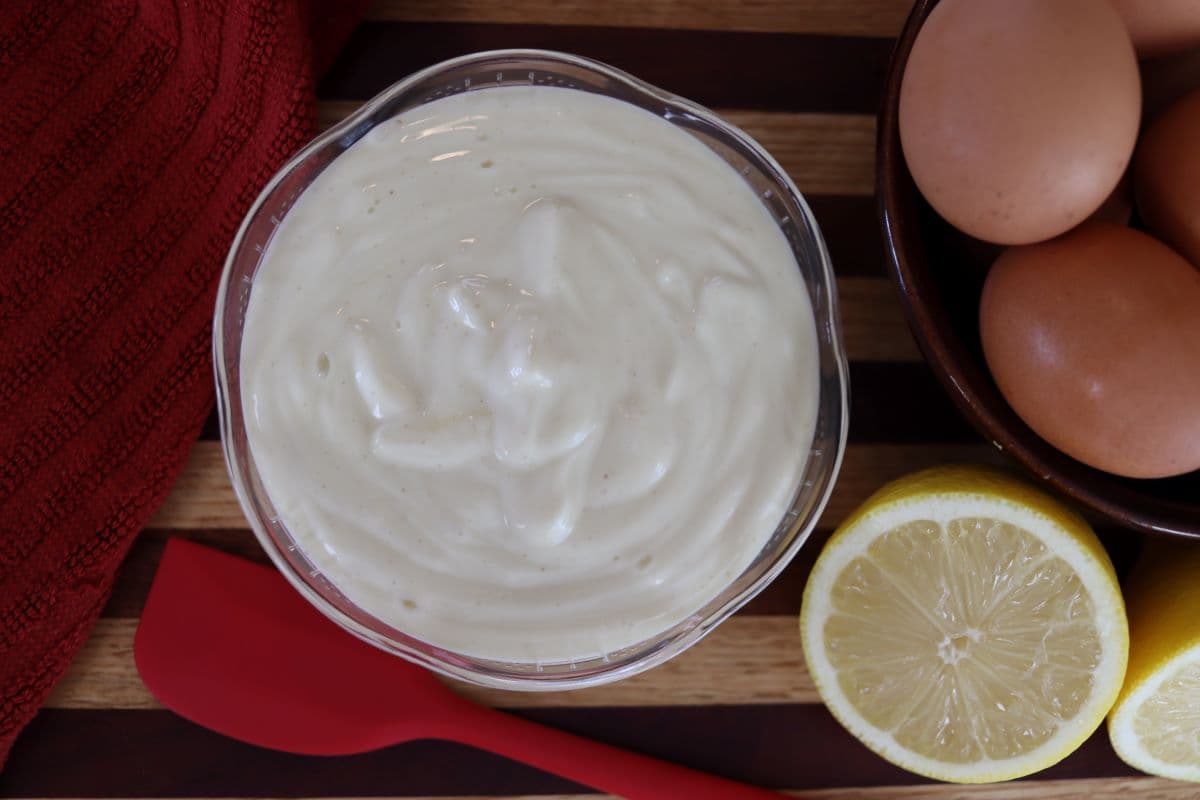
I like to keep other staples tucked in the freezer as well — lemon juice is a big one for me, and if you’d like to do the same, my post on how to freeze fresh lemon juice will walk you through how to do it.
Why This Recipe Works
- Everyday ingredients like beef, vegetables, seasoning, and water come together to make beef broth magic in the pot.
- Slow simmering extracts depth as the meat and vegetables infuse the liquid with rich, savory flavor over several hours of time.
- Seasonings are flexible to taste so you can keep it plain for versatility, or add herbs to match any dish.
- Homemade flavor is unbeatable compared to store-bought broths that often taste flat or overly salty.
- Freezer-friendly for convenience because it can be stored in jars, trays, or molds for quick portions anytime. It freezes just like chicken broth, and my post on how to freeze chicken broth shows you exactly how to do it.
Ingredients For Beef Broth
When you’re making beef broth from scratch, you don’t need expensive cuts of meat — inexpensive cuts work just as well. Combined with a few simple vegetables and basic pantry seasonings they will make a rich, flavorful broth.
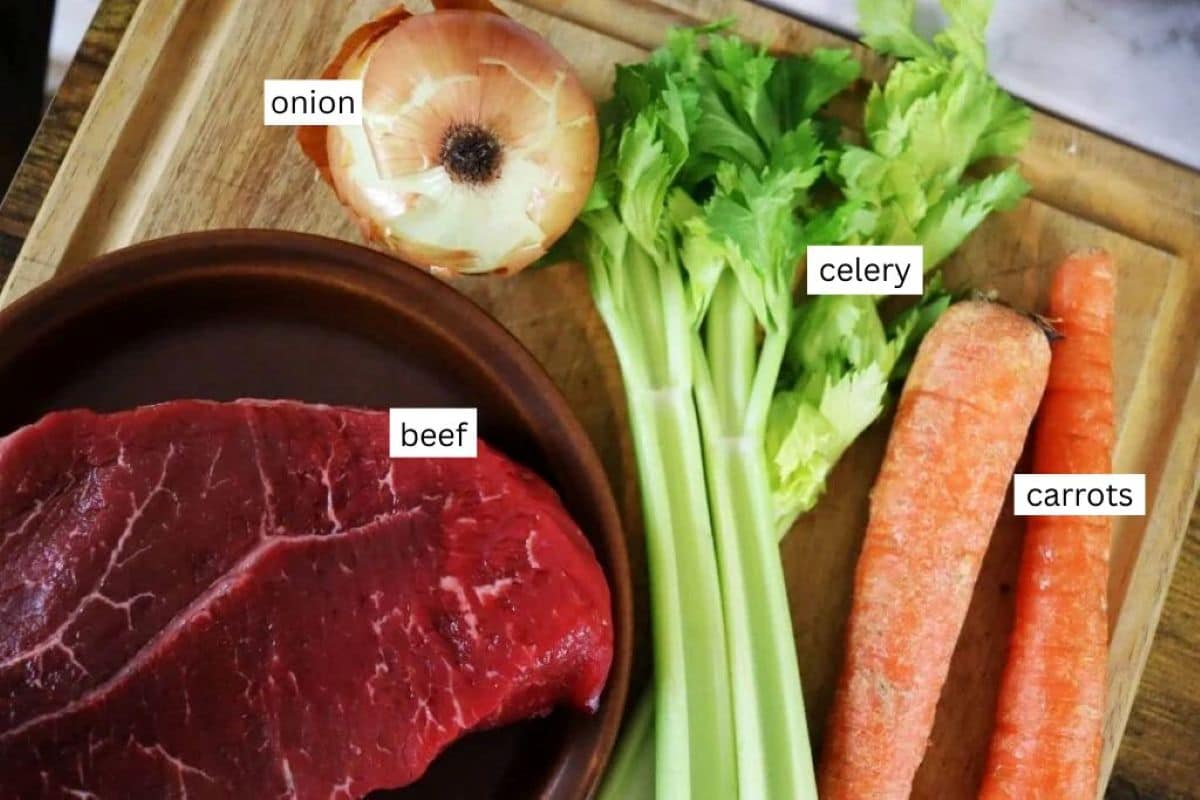
- Beef: Inexpensive cuts like stew meat, shank, or short ribs are perfect here. What you’re after is meat with enough connective tissue to slowly release that deep, beefy flavor into the pot — no fancy butcher cuts required here. Sometimes inexpensive cuts are exactly what you want, just like in my Irish breakfast sausage recipe that is best when made with budget-friendly pork.
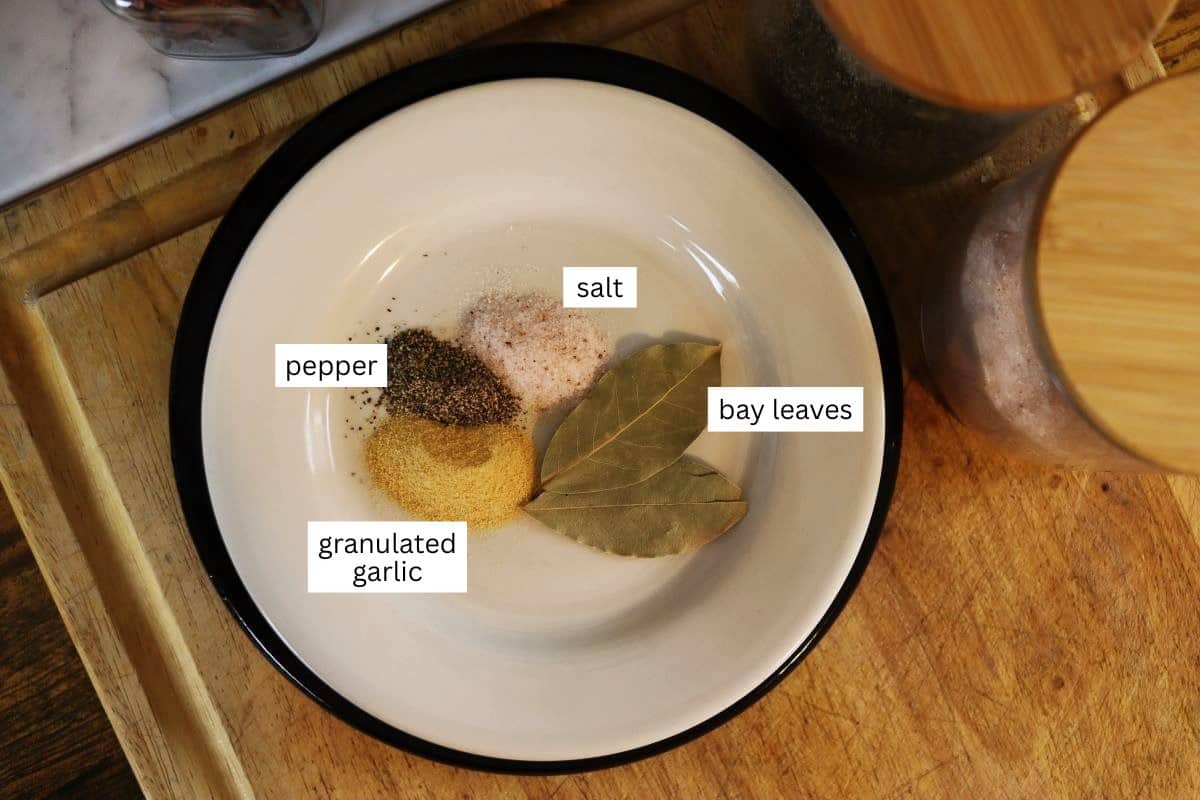
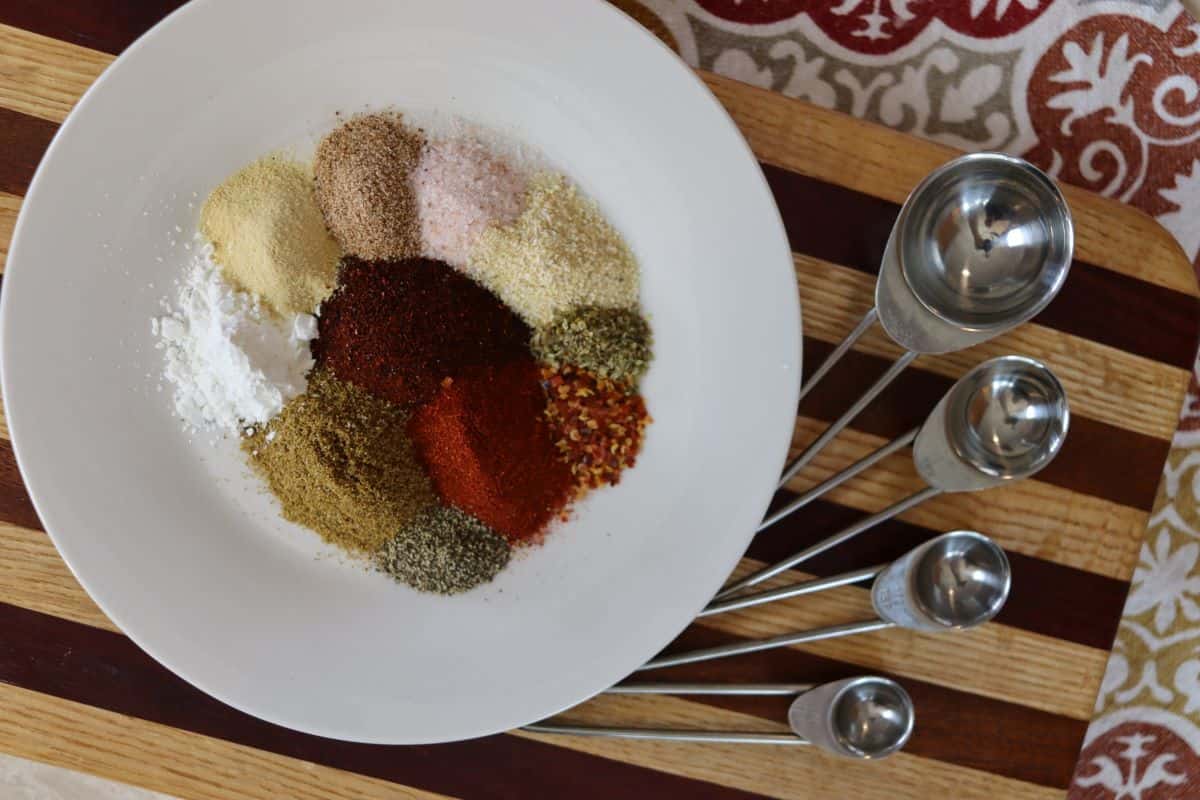
The seasonings used in this recipe are kept simple and classic, just enough to boost flavor while still keeping the broth versatile so that it seamlessly blends into whatever recipe you decide to use it in.
See recipe card below for full information on ingredients and quantities.
Variations or Substitutions
- Use veggie scraps, instead of whole vegetables, to reduce waste and save money — like carrot peels, celery ends, and onion ends.
- Toss in mushroom stems or dried mushrooms to boost the umami character of the broth.
- Use lamb or venison cuts, instead of beef, to give the broth a bolder, more distinct character that’s great in hearty winter dishes.
- Trade bay leaves, for cloves or star anise, if you want a subtle twist of spicy warmth running through the pot.
- Switch the veggies around with parsnips or leeks when you’ve got them handy, and you’ll get a broth with a unique flavor twist.
- Add fresh herbs for complexity like thyme, rosemary, or tarragon, which layer in gentle but noticeable notes.
Would you like to save this post for later?
How To Make Beef Broth
Making broth is all about patience and a low, steady heat. Keep the simmer gentle — not a rolling boil — and you’ll get a clean, rich flavor every time.
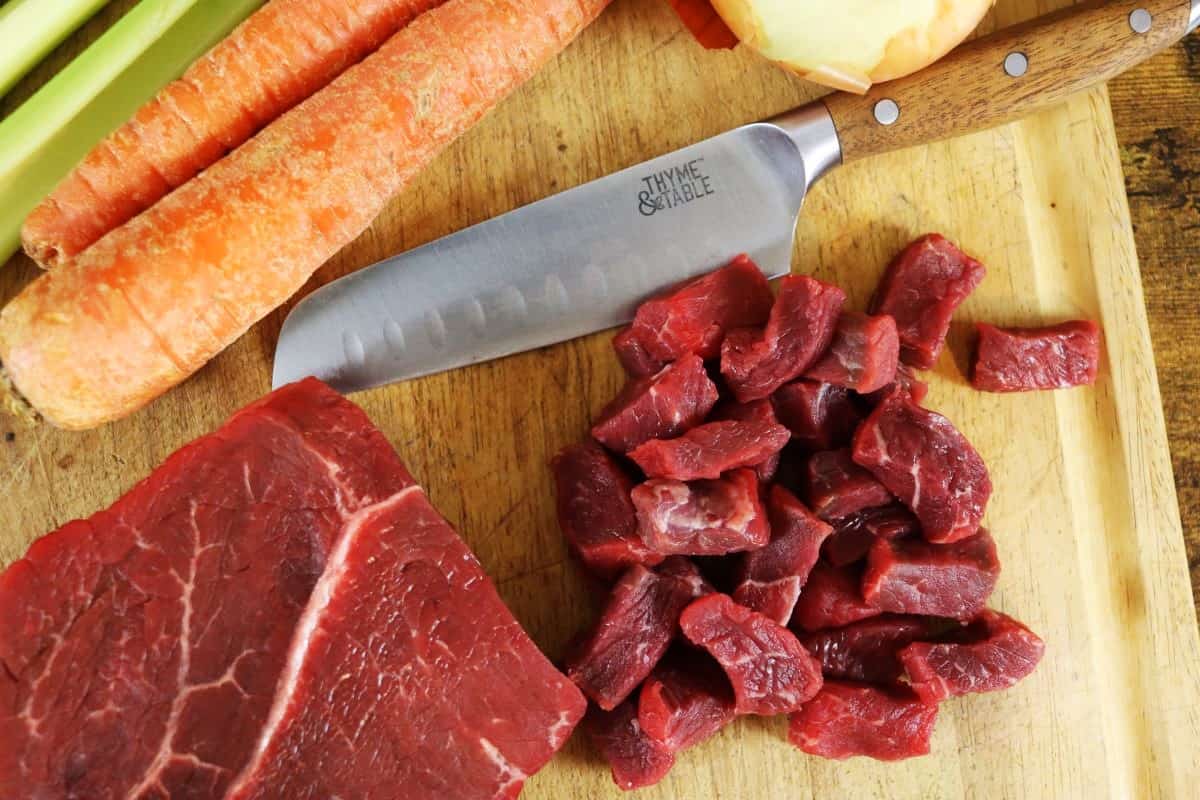

Step 1: Chop the beef into small pieces
Step 2: Roughly chop the carrots, celery, and onions.

Step 3: Add beef, vegetables, water, and seasonings to a pot. Simmer 4–6 hours, then cool and refrigerate overnight.
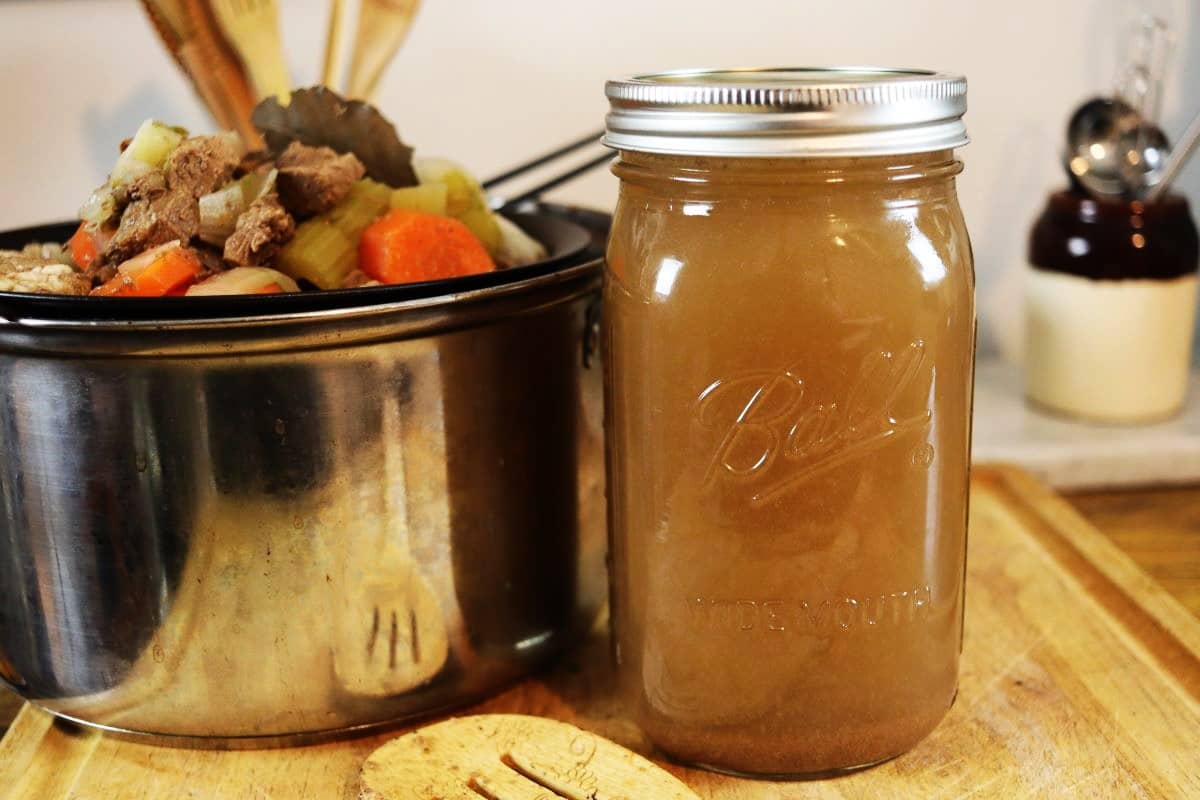
Step 4: Reheat the next day, then strain through a fine mesh strainer.
Recipe FAQS
Not quite. Stock is made with bones, while broth is made with meat and vegetables. Both are delicious, just slightly different in flavor and use.
Yes, absolutely. Freeze it in jars, silicone muffin cups, or ice cube trays for quick grab-and-go portions.
Not at all. You can keep it plain and season the broth later, to better pair the seasonings with the specific dish you’re using it in.
Chilling overnight not only develops flavor but also makes it easier to skim fat and strain the broth cleanly.
Stored in an airtight container, it will keep for about 4–5 days in the refrigerator. For longer storage, freeze it in freezer-safe containers.
Serve
Your homemade beef broth is an absolute workhorse in the kitchen. Use it as the base for soups and stews, or splash it into gravies and pan sauces to build quick layers of flavor. Even cooking rice, quinoa, or barley in broth gives those simple grains a slow-simmered depth of flavor you just can’t get with plain water.
For extra richness, stir it into mashed potatoes, risottos, or even a pot of braised greens. Keeping a small jar in the fridge means you can boost the flavor of any beef-based meal without leaning on store-bought broth or bouillon cubes. My favorite way to use it? Making a pan of rich, tasty gravy to pour over a hearty cast iron skillet meatloaf.
Expert Tips
- Skim foam early: Removing impurities during the first simmer helps keep your broth clear and full of pure beef flavor.
- Chill before straining: Cooling overnight allows the flavors imparted to the broth while simmering to deepen and the fat rises to the top for easier removal too.
- Leave fat on the beef while cooking: It helps carry flavor through the whole pot, and it’s easy to skim away once the broth has been chilled.
- Strain carefully at the end: Use a fine mesh strainer to catch all of the solids, leaving you with the smoothest broth possible.
- Freeze in multiple sizes: A variety of sizes created by using ice cube trays, small jars, and larger containers lets you grab exactly what you need when you need it.
- Date and label every batch: It makes rotating broth in the freezer easy so older jars get used first, reducing waste. Dating and labeling is just as important when freezing acorn squash for winter use too.


Beef Broth From Scratch
Ingredients
- 6 cups pure water
- 1 1/2 lbs beef
- 3 carrots
- 3 celery stalks
- 1 yellow onion
- 2 bay leaves
- 1/2 teaspoon salt
- 1/2 teaspoon ground black pepper
- 1/2 teaspoon granulated garlic
Instructions
- Cut the beef into small pieces: Helps release flavor into the broth.
- Cut the vegetables into small pieces: Ensures the flavor infuses evenly.
- Place all ingredients in a large stock pot: Combine beef, vegetables, bay leaves, salt, pepper, and garlic.
- Put on the stove and bring to a low simmer: Heat on medium-high until simmering, then lower the heat.
- Put a lid on the pot: Keeps the heat in for a consistent simmer.
- Simmer for 6 hours: Stir occasionally, checking the water level to ensure it doesn’t evaporate too much.
- Remove from the heat and allow to come to room temperature: Let it cool down naturally.
- Place in the refrigerator for at least 12 hours: This allows the flavors to develop.
- Remove from the refrigerator and bring to a low simmer: Reheat the broth gently over low heat.
Notes
- Skim foam early: Removing impurities from the start helps keep the broth clear and appealing.
- Keep the simmer low: A gentle heat draws flavor slowly from the ingredients, without clouding the broth.
- Chill before skimming fat: Cooling overnight makes it easy to lift the layers of fat from the top of the broth.
- Strain carefully: A fine mesh strainer leaves you with a smooth, versatile base for any recipe.
- Freeze in portions: Jars, trays, or cubes make it simple to pull just what you need for cooking, when you need it.
Nutrition
Nutrition information is automatically calculated, so should only be used as an approximation.


This homemade beef broth is rich, flavorful, and so worth making from scratch — it adds incredible depth to soups, stews, and sauces. Plus, it’s a great way to make the most of simple ingredients. If you give this recipe a try, I’d love to hear how you used it or how it turned out! Feel free to leave a comment with your thoughts or any questions. Enjoy every hearty spoonful!