Old Fashioned Chicken Broth Recipe

This old fashioned chicken broth recipe is a foundational staple that every from-scratch kitchen should know how to make. It’s simple, deeply flavorful, and can be used in countless dishes year-round.
If you like making your own pantry staples, you might also enjoy my handmade BBQ sauce and my homemade taco seasoning recipes.
Let’s talk about this recipe
There’s something undeniably comforting about the scent of a homemade chicken broth simmering on the stove. This recipe is one I’ve used for years — reliable, simple, and packed full of flavor. It’s not a stock made from bones, but rather a traditional broth made with meat — the way many home cooks prepared it for generations.
The difference with this old-fashioned method lies in its simplicity and availability. You can make it anytime — no need to wait for leftover bones, just as you can with a flavorful homemade beef broth.
What makes this recipe so good
- Uses inexpensive bone-in cuts: These provide a rich, savory flavor and plenty of body, making the broth hearty and satisfying.
- Includes traditional aromatics and herbs: Classic ingredients like onion, carrot, celery, and aromatic herbs create a well-rounded, balanced flavor profile.
- Simmered long and low: Gentle cooking over several hours extracts the best flavor out of the ingredients, resulting in a deeply flavorful broth.
- Works with what you have on hand: The method is flexible, allowing you to use the vegetables and herbs you have available in your kitchen.
- Makes a generous batch: The recipe naturally yields plenty of broth, so you can freeze chicken broth to have ready for future meals.
Ingredients you’ll need
Start with these fresh, flavorful basics to build the rich foundation of your broth.
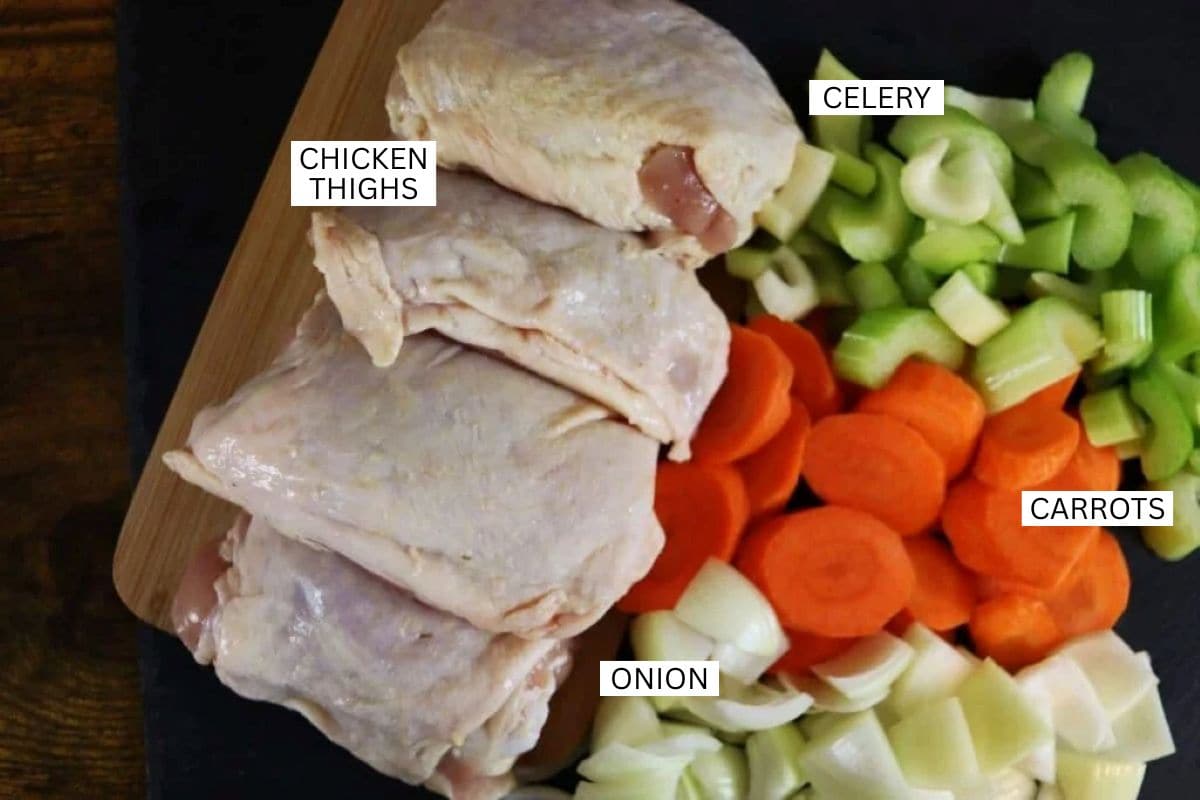
- Broth is made with meat rather than bones, so choose inexpensive bone-in cuts for the best flavor. A whole chicken or chicken parts work well, and keeping the skin on will impart a deeper, more developed flavor to the broth.
Add these simple yet essential ingredients to round out and deepen the flavor.
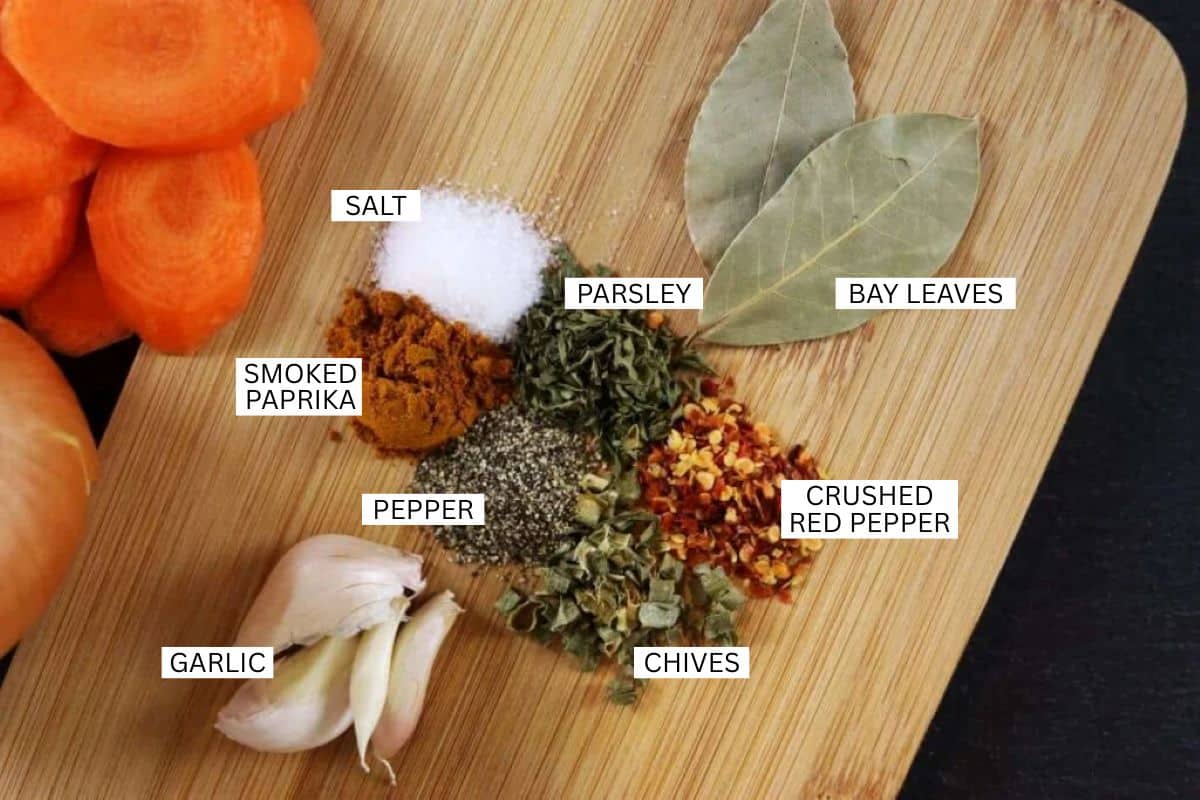
- Spices: Salt and pepper form the base, with garlic and a bay leaf for subtle, balanced flavor. Additional spices can be adjusted based on what you have available — the ones shown above are what I used for this batch.
See recipe card below for full information on ingredients and quantities.
Make it your own
- Use turkey legs or wings: These are simply another cut you can use in place of thighs or a whole chicken, offering the same rich flavor in your broth.
- Make it low sodium: Simply hold off on adding salt until you’re ready to use the broth, giving you full control over the final seasoning.
- Omit red pepper flakes: Leaving them out will make the broth completely mild, with no hint of spice, for those who prefer a gentler flavor.
- Swap or add herbs: Experiment with different fresh or dried herbs to suit your taste — options like thyme, rosemary, oregano, or marjoram can all complement the broth beautifully.
- Experiment with vegetable choices: In addition to the basics, try adding leeks, parsnips, or fennel for a more complex and layered broth.
Would you like to save this post for later?
How to make old-fashioned chicken broth
Follow these simple steps to create a flavorful, old-fashioned chicken broth right in your own kitchen.
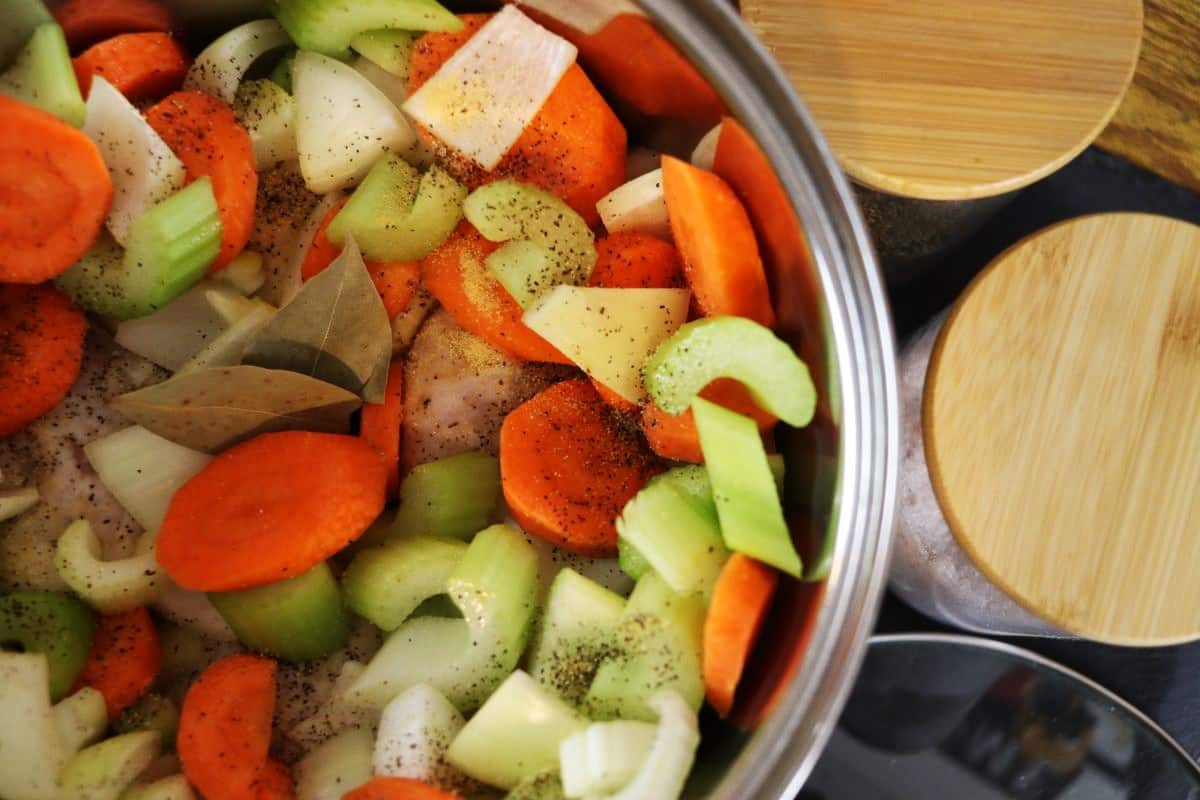
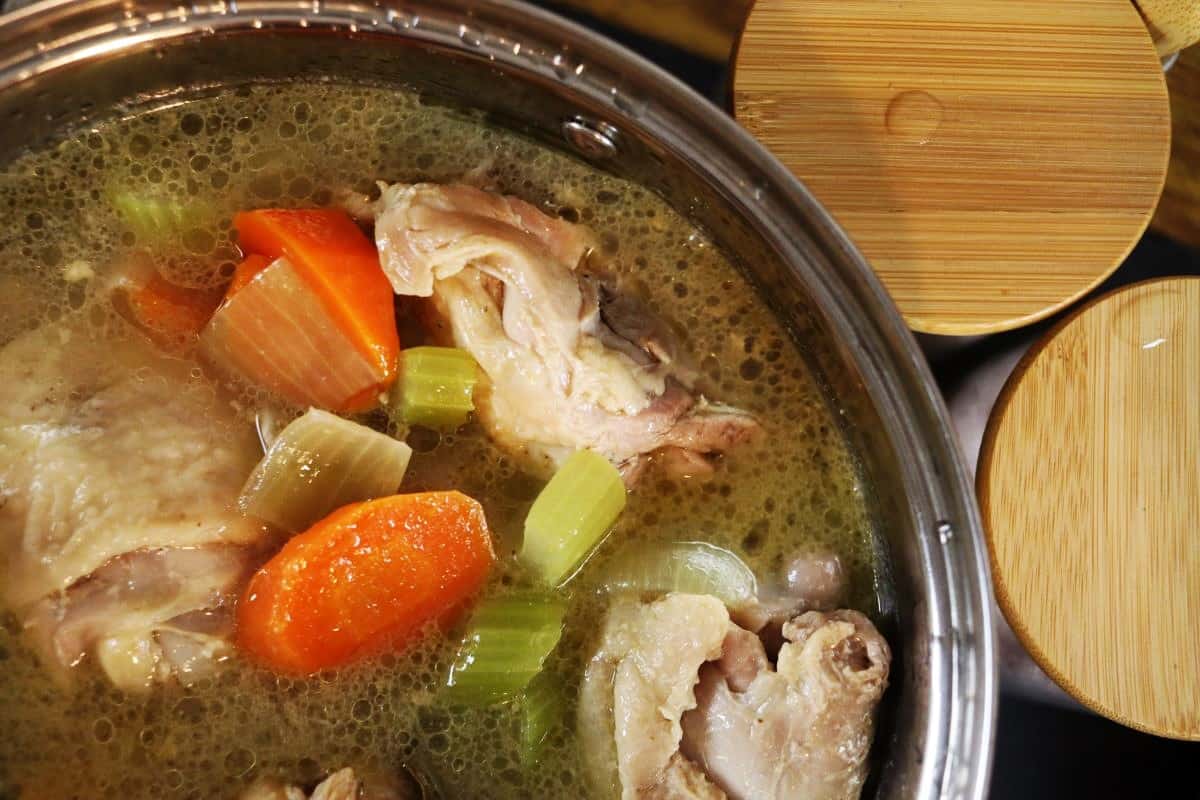
Step 1: Heat a splash of olive oil in a stockpot, then sear the chicken pieces and vegetables until lightly browned. Pour in enough cold water to cover the ingredients, then add the garlic, bay leaf, and any chosen herbs to the pot.
Step 2: Cover with a lid, place on low heat, and let simmer gently for 6–8 hours. Remove from the stove and cool to room temperature, then refrigerate the entire pot overnight to deepen the flavor and allow the fat to solidify.


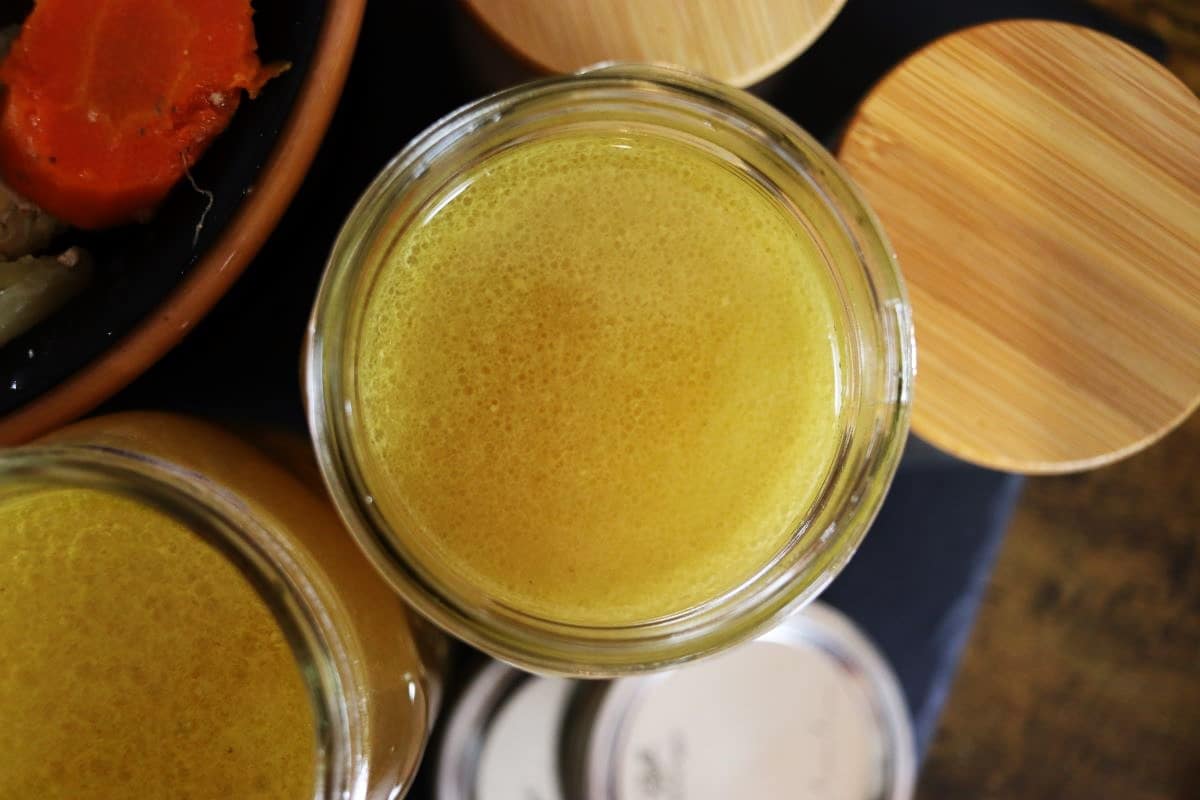
Step 3: The next day, skim off the solidified fat, warm the broth slightly, and pour it through a fine mesh strainer. Discard or compost the cooked meat and vegetables, as they will no longer have flavor.
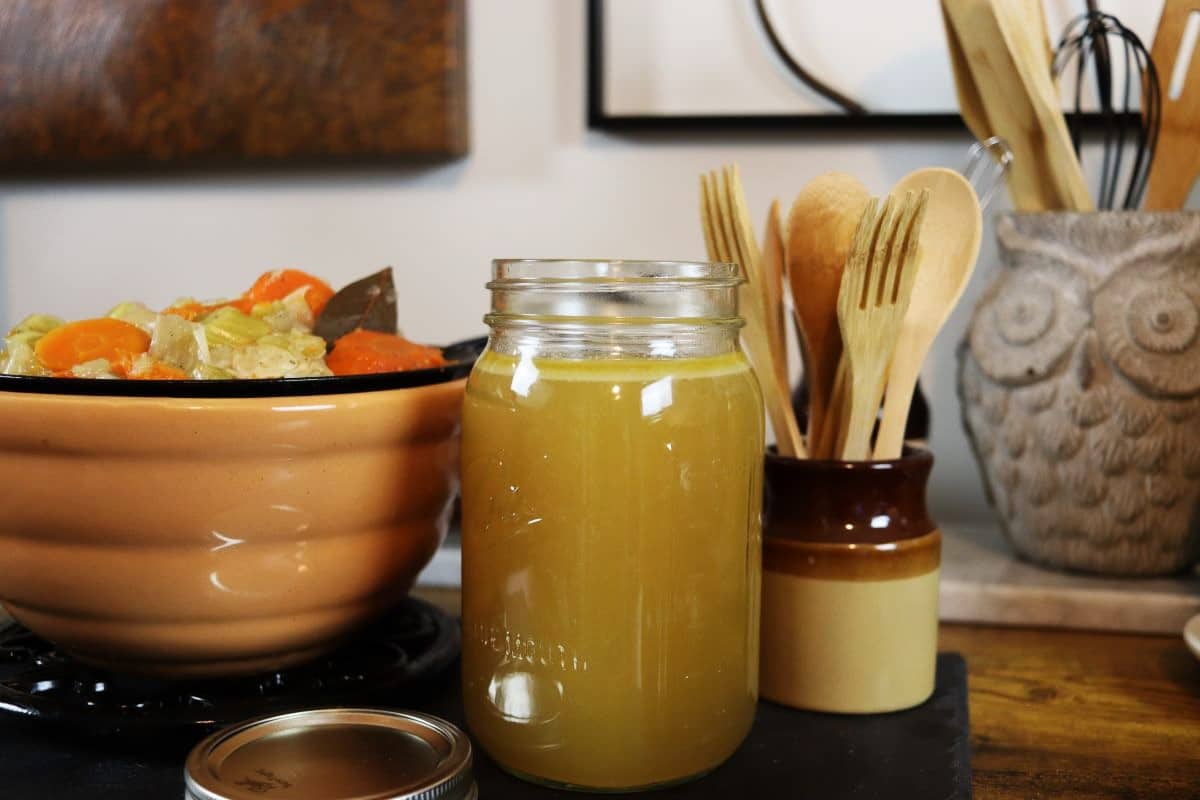
Step 4: Ladle the finished broth into jars or freezer containers, leaving space at the top to allow for expansion if freezing.
Recipe FAQs
Broth is made with meat, while stock is made using bones. Broth has a lighter texture and a cleaner flavor, making it more versatile for everyday cooking, while stock tends to be richer and more gelatinous.
No — after a long simmer, all of their flavor has been extracted into the liquid, leaving them bland. It’s best to compost or discard them, rather than try to repurpose them.
When stored in an airtight container, it lasts 5–7 days in the refrigerator or at least 6 months in the freezer. Cool it completely before sealing to help maintain quality.
Yes — chicken broth can be made in either appliance, but low and slow cooking will give you the deepest flavor. A slow cooker is ideal for this gentle simmer over several hours, while an Instant Pot offers a faster, hands-off option that still produces decent results.
Yes — chicken and water alone will produce a light, clean broth. For a more rounded flavor, add simple aromatics like celery, garlic, and a bay leaf.
Yes. Onion ends, carrot peels, celery leaves, and herb stems work well; keep a bag in the freezer to save clean scraps over time. Avoid strong or bitter scraps (like large cabbage cores or beet peels) so the broth stays balanced.
Serving ideas
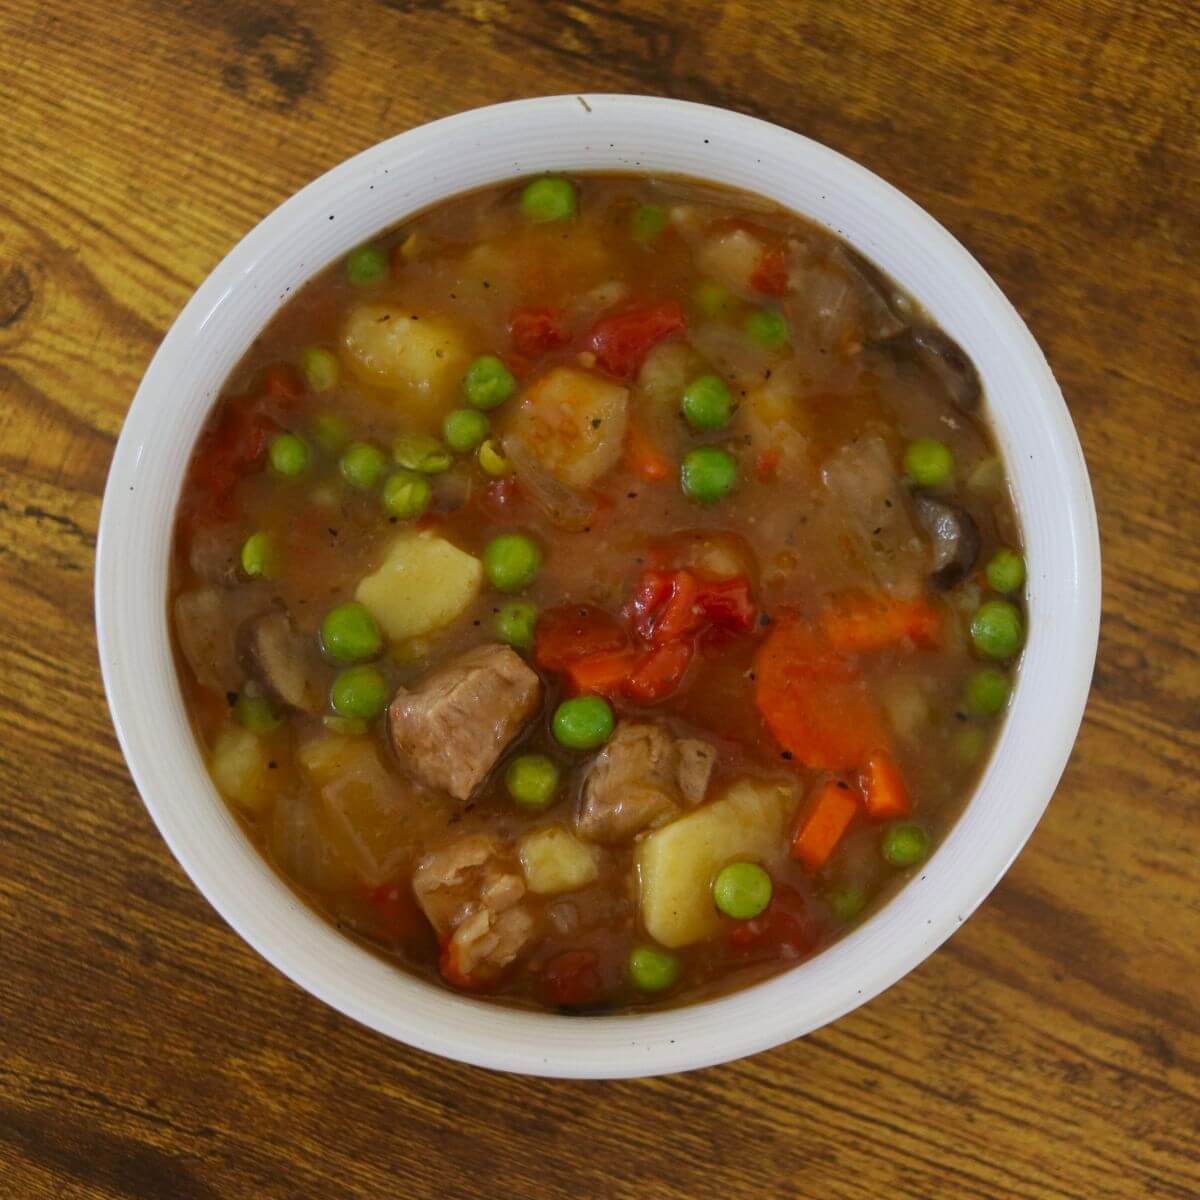
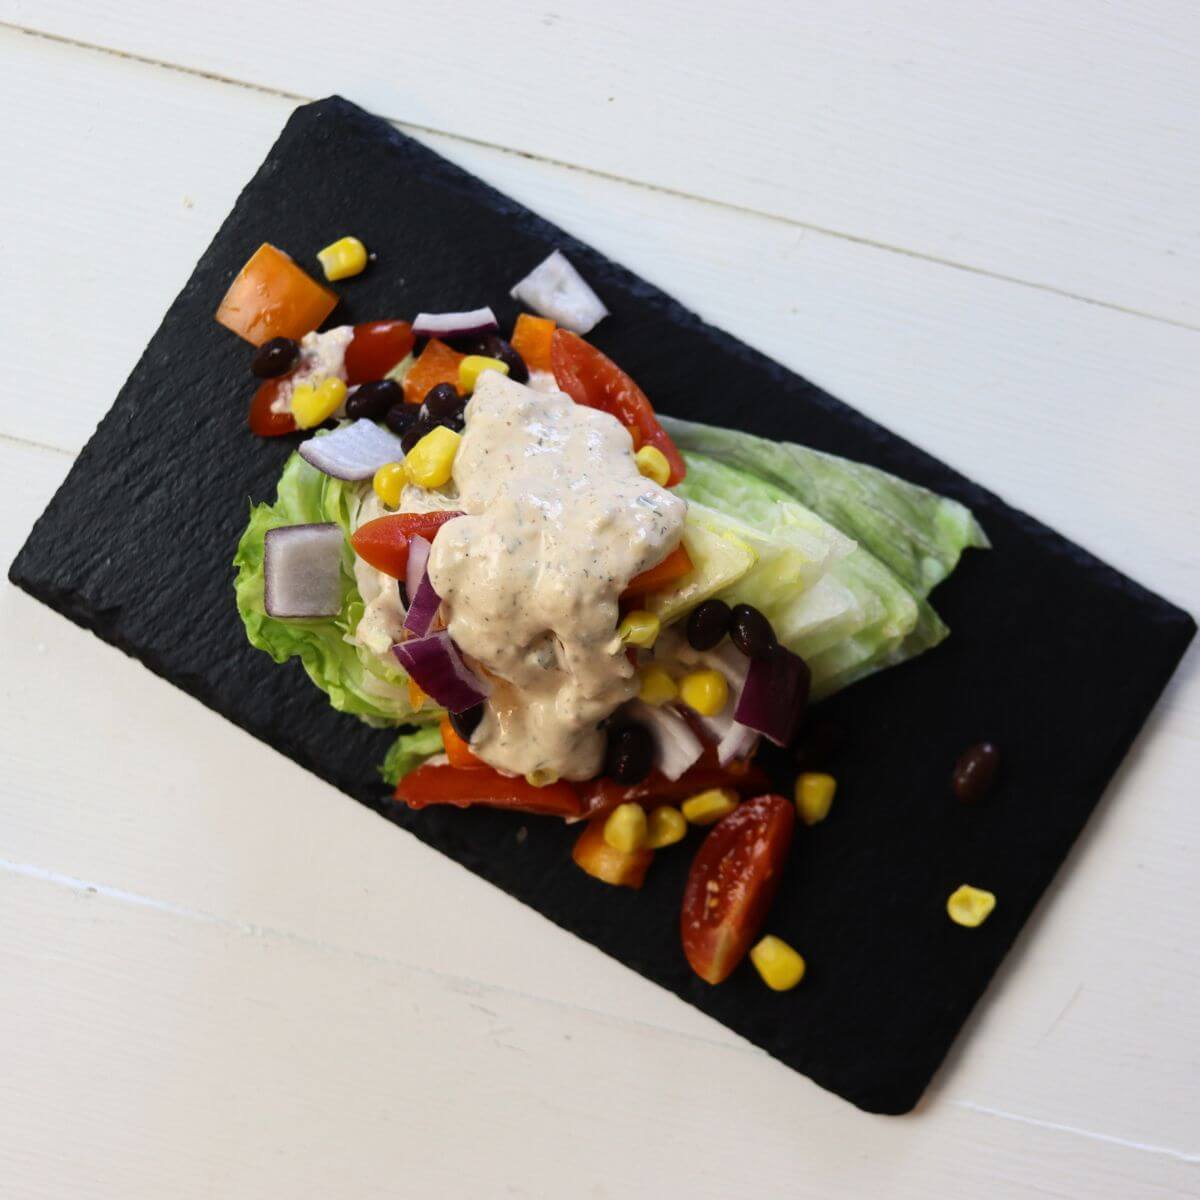
There’s no end to the ways you can use this chicken broth in your kitchen. It’s a classic base for homemade chicken soup or stews, and I reach for it every time I make my Italian broccoli soup, creamy sausage and pepper soup, and savory yellow split pea soup.
It also works beautifully for adding depth to simple grains — just use it in place of water when cooking rice or pasta. It’s handy for making quick gravy, sautéing vegetables, or creating a flavorful last-minute pasta sauce. I even swap it in for the vegetable broth in my savory homemade cracker recipe for an extra boost of flavor. This is truly an everyday essential that more than earns its keep.
Diane Gail’s tips for success
- Sear ingredients first: Browning the chicken and vegetables before adding water builds a deeper flavor base and gives the broth a rich, appealing color from the very start.
- Simmer gently for hours: Keep the heat low so the broth never comes to a rolling boil. This preserves clarity and allows flavors to develop slowly and evenly.
- Refrigerate overnight before straining: After simmering, let the broth cool to room temperature, then refrigerate it overnight. Lightly reheat the next day before straining the chicken and vegetables out. This extra step deepens the flavor and makes it easy to remove the solidified fat for a cleaner-tasting broth.
- Skim during cooking: Occasionally skimming off foam or impurities while the broth simmers will help keep it clear and improve the final flavor.
- Avoid overpowering additions: Strong-flavored vegetables like large cabbage cores or beet peels can dominate the broth. Stick with milder aromatics for a balanced result.
Final thoughts
This old fashioned chicken broth is one of those steady kitchen staples that makes everyday cooking easier. It’s simple to prepare, uses ingredients most of us keep on hand, and brings depth and clarity to everything from soups to grains. Once you get in the habit of making it, you’ll always want a few jars tucked away for quick meals and weeknight cooking.

Basic Chicken Broth Recipe
Ingredients
- 2 tablespoons extra virgin olive oil
- 4 chicken thighs
- 3 carrots chopped
- 3 celery stalks chopped
- 1 yellow onion chopped
- 2 garlic cloves minced
- 2 bay leaves
- 1/2 teaspoon sea salt
- 1/2 teaspoon ground black pepper
- 1/2 teaspoon paprika
- 1/2 teaspoon dried chives
- 1/2 teaspoon dried parsley
- 1/2 teaspoon crushed red pepper flakes
- 8 cups pure water
Instructions
- Heat olive oil in a large stockpot: Prepares the pot for searing the ingredients.
- Place the remaining ingredients, apart from the water, in the pot: Combine chicken, vegetables, and all seasonings.
- Turn the heat to low and allow the ingredients to gently sizzle: This helps develop deeper flavors.
- Add the water: Pour in the 8 cups of water to cover the ingredients.
- Cover and bring to a low simmer: Slowly heat the mixture until it reaches a gentle simmer.
- Allow to simmer for 6-8 hours: Let the broth cook slowly to infuse flavors.
- Remove from the heat and allow to come to room temperature: Let the broth cool naturally.
- Place in the refrigerator overnight: This allows the flavors to deepen and any fat to solidify.
- Remove from the fridge: Scrape any fat that settled on the top of the pot away with a spoon and discard it.
- Return the pot to the stove and bring to a low simmer again: Gently reheat the broth before straining.
- Remove from the heat and allow to return to room temperature: Let the broth cool slightly before straining.
- Strain the solid ingredients from the broth: Remove the solids, leaving just the flavorful liquid.
Notes
-
- Add fresh or dried herbs: Thyme, rosemary, oregano, or marjoram can bring a unique aromatic note — add them early so the flavor infuses fully.
- Skim during simmering: Removing foam and excess fat as the broth cooks keeps it clear and improves the final taste.
- Refrigerate overnight before straining: After simmering, let the broth cool to room temperature, then refrigerate overnight. Lightly reheat the next day before straining to deepen flavor and easily remove the solidified fat for a cleaner broth.
- Cool quickly before storing: Let the broth cool in shallow containers before refrigerating or freezing to preserve freshness.
- Store in the refrigerator for up to 5 days: For longer storage, freeze in labeled containers with the date and portion size so they’re easy to identify and use later.
Nutrition
Nutrition information is automatically calculated, so should only be used as an approximation.


This basic chicken broth is a true kitchen essential — simple, nourishing, and full of flavor. Whether you’re using it as a base for soups or sipping it on its own, homemade always makes a difference. If you make a batch, I’d love to hear how it turned out or how you like to use it! Leave a comment below to share your thoughts or ask any questions. Happy simmering!