Easy Salt Preserved Lemons Recipe

This easy salt preserved lemons recipe is one of the simplest and most flavorful kitchen staples you can make at home. With just three ingredients, you can turn fresh lemons into a tangy, savory burst of flavor that will bring new life to all kinds of dishes. And it’s the perfect way to make the most of an overabundance of lemons too.
If you enjoy homemade pantry staples, you might also like my homemade pear syrup or easy cornbread crackers recipes.
Let’s talk about this recipe
I first learned to make salt preserved lemons as a way to use up some extra lemons that I didn’t want to go to waste. The process quickly became one of my favorite preservation methods — not only because it’s easy, but because the results are so versatile.
This simple preservation technique has been used for centuries, especially in Moroccan, Indian, and Middle Eastern kitchens. The salt works its magic on the lemon peel, softening it and infusing it with a rich, savory depth of flavor. The result is a condiment unlike anything else in your pantry.
What makes this recipe so good
- Uses just three ingredients — yet delivers bold, savory flavor you can add to endless dishes.
- Salt gently softens the peel — transforming bitterness into a bright, complex, umami-rich lemony depth.
- A centuries-old preservation method — trusted across cultures for generations, much like my fruit kvass recipe which uses a traditional fermentation process to transform simple ingredients into something extraordinary.
- A centuries-old preservation method — that’s reliable for both beginners and experienced home cooks alike.
- Keeps for months in the fridge — making it easy to add bold, ready-to-use flavor anytime you need it.
Ingredients you’ll need
This recipe calls for just 3 ingredients. Yep, that’s right! You need just 3 ingredients to make a batch of salted lemons.

- Lemons: Thin-skinned lemons absorb the brine faster and develop better flavor. Organic is ideal, but if you’re not using organic, give the lemons a very thorough wash and scrub before starting.
- Salt: Non-iodized salt prevents discoloration and keeps the flavor clean. Fine sea salt, kosher salt, pickling salt, Himalayan salt, or Redmond salt all work well, and each will bring slight differences in mineral taste.
- Water: Chlorine in tap water can slow the fermentation and affect the flavor of this recipe. If your water is treated, use filtered or spring water to keep the brine clear and the lemons tasting fresh.
See recipe card below for full information on ingredients and quantities.
Make it your own
- Add whole spices — like cloves, coriander seeds, or star anise to give the lemons a warm, aromatic depth that builds as they sit.
- Slip in herbs — rosemary, dill, or bay leaves add a savory note that’s perfect with roasted meats or hearty vegetables.
- Try cinnamon sticks, paprika, or red pepper flakes — for a gentle heat and subtle spice that works beautifully in both savory and sweet dishes.
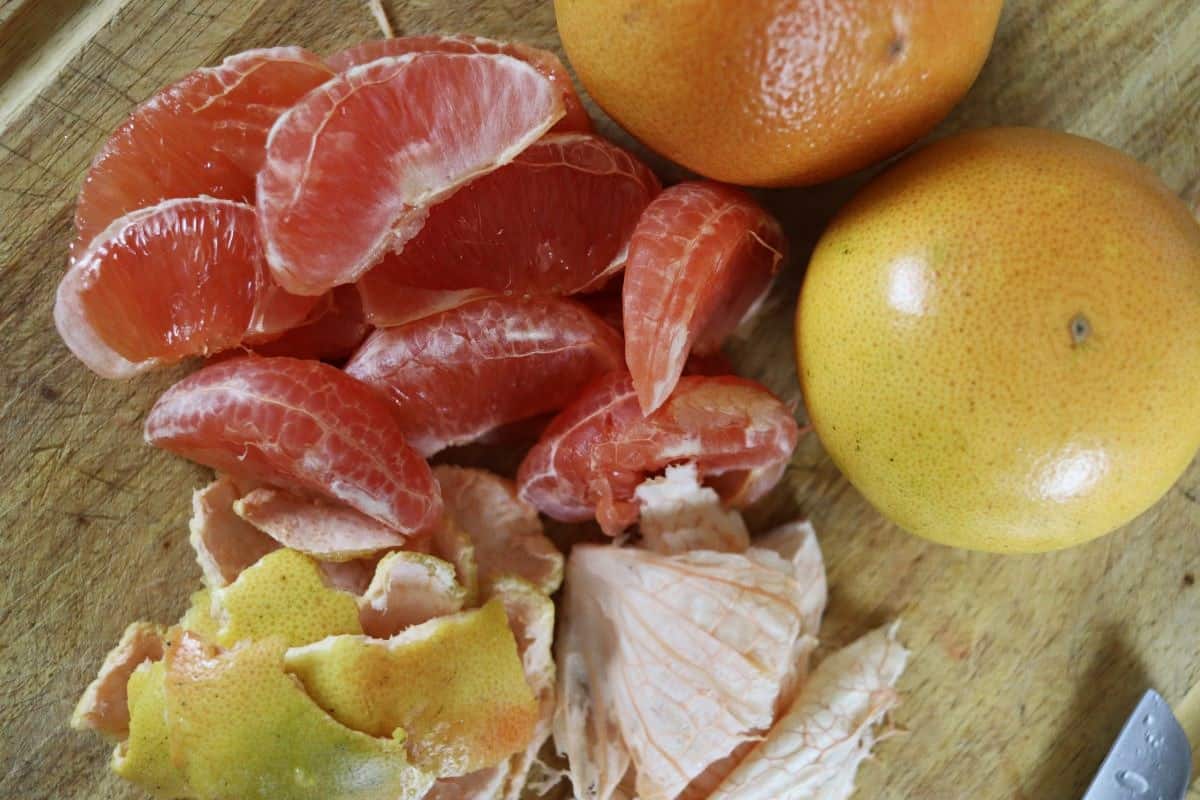
- Swap lemons — for limes, oranges, or grapefruits when you want a fresh twist without changing the method.
- Include garlic cloves — for a bold, savory kick that mellows during fermentation and adds magic to Mediterranean-style meals.
Would you like to save this post for later?
How to make salt preserved lemons
Making salt preserved lemons is quick and easy — and once you’ve done it, you’ll wonder why you didn’t start sooner.


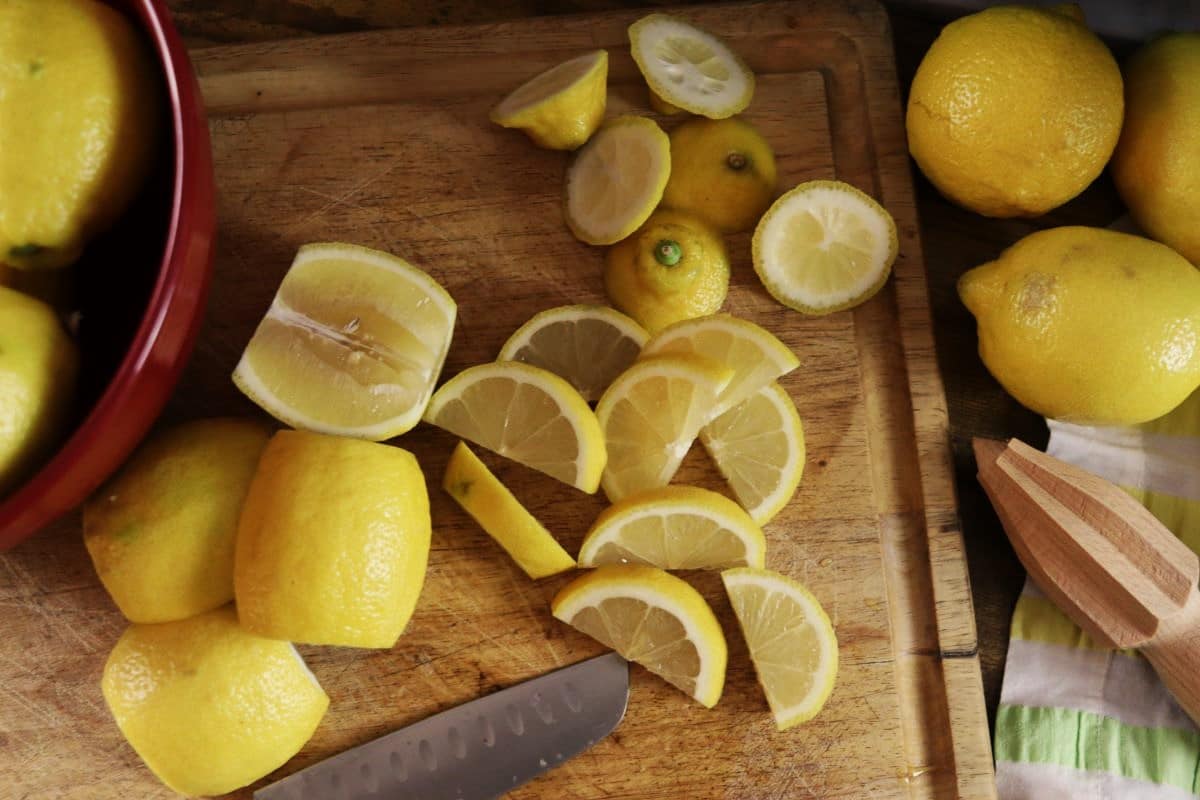
Step 1: Give the lemons a good wash and trim off the ends — rinse organic lemons under running water, non-organic lemons will need a 5-minute soak in vinegar, followed by a good scrub.
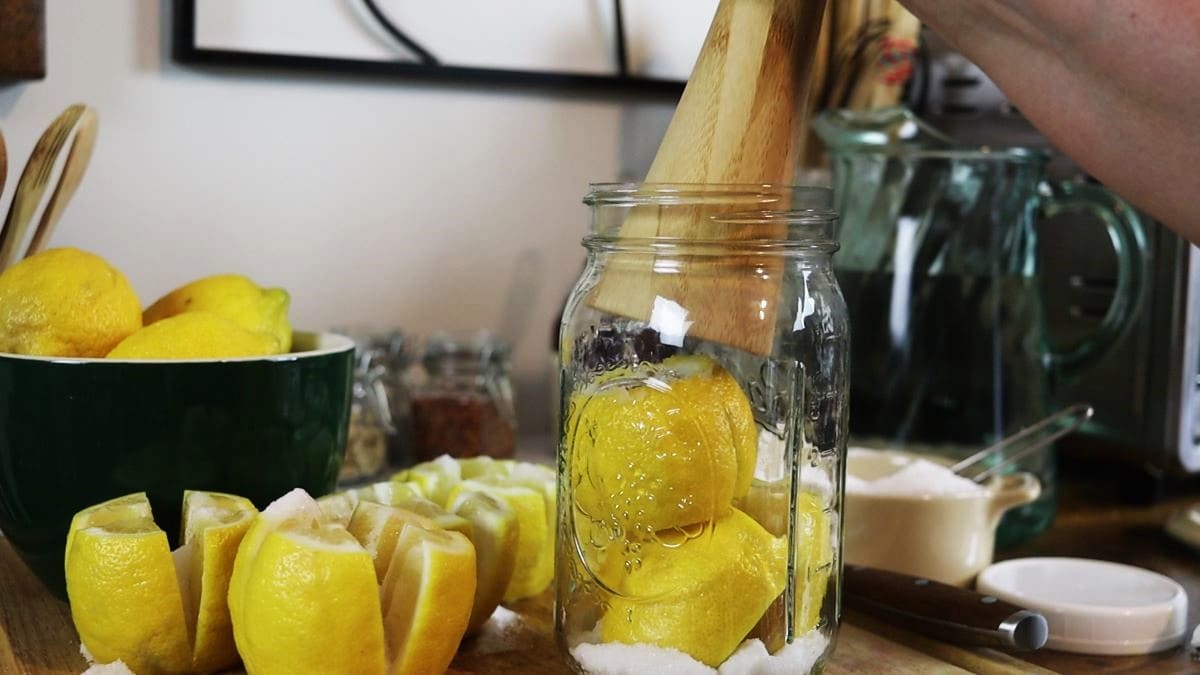
Step 2: Cut each lemon into quarters without slicing them all the way through — sprinkle some salt in the bottom of a sterilized quart jar, spread the lemon quarters apart and fill them with salt, then set the lemons cut-side down in the jar.
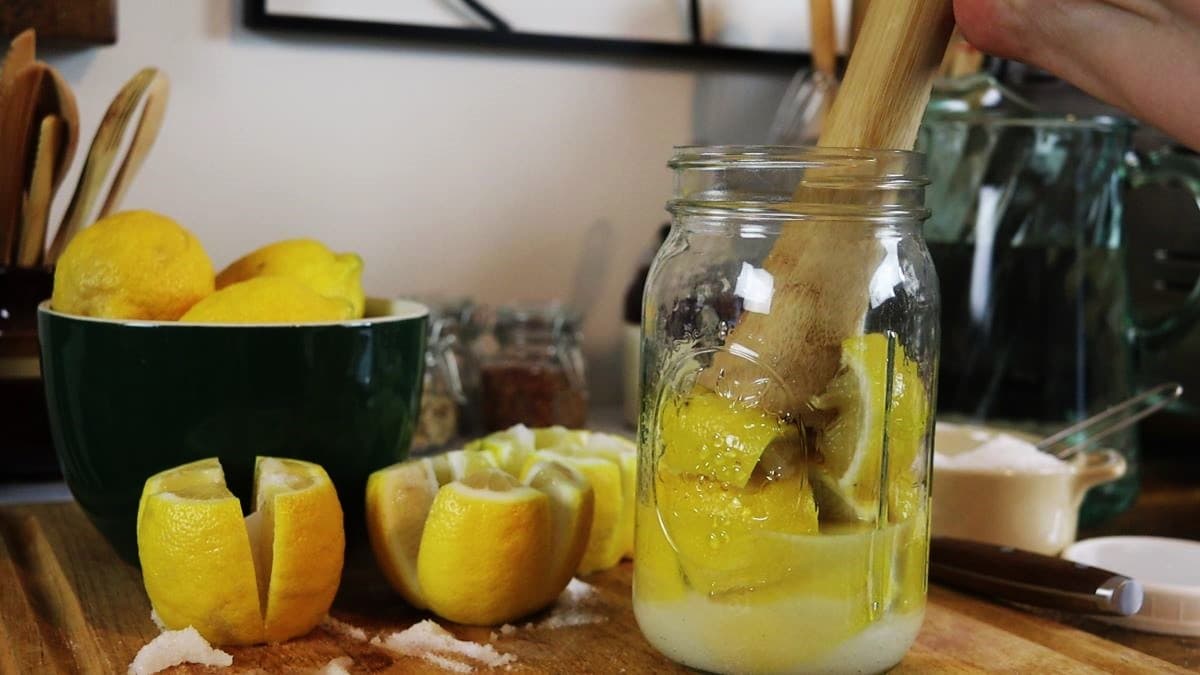
Step 3: Press the lemons down firmly with your hand or a sauerkraut pounder to release their juice — keep adding salted lemons, pressing each layer in tight as you go.
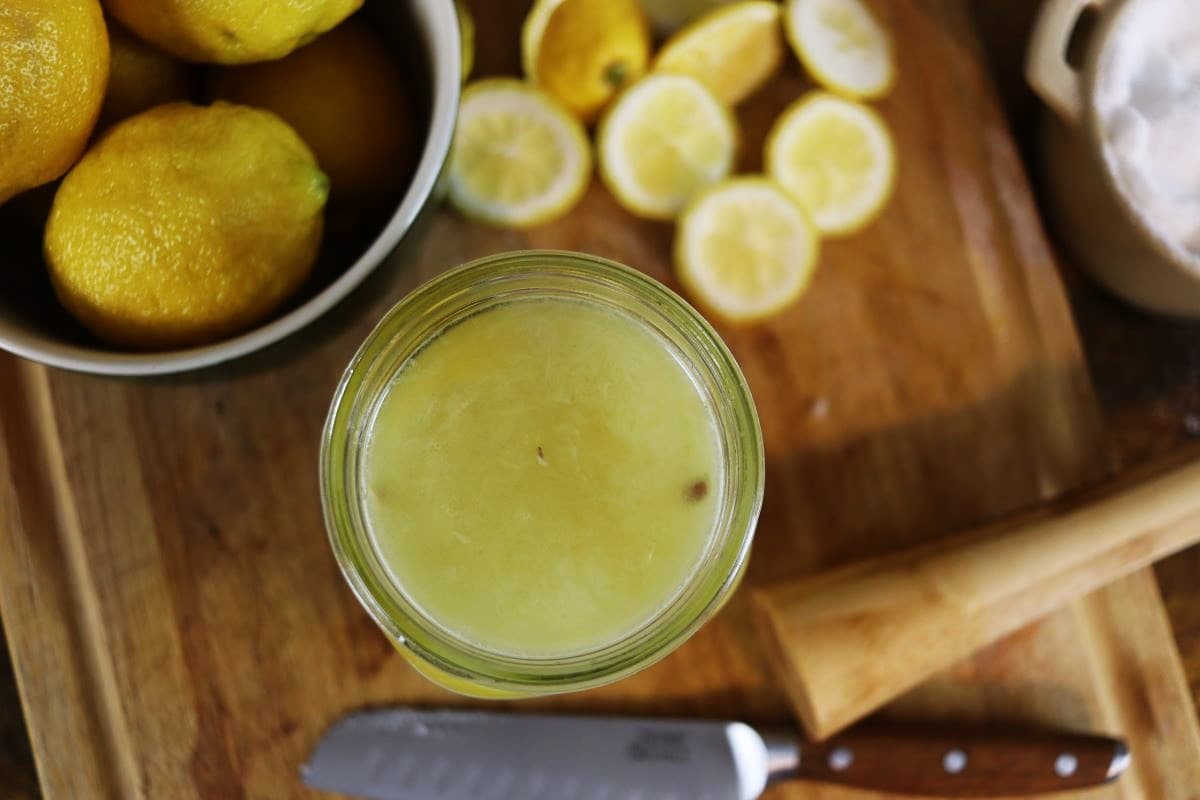
Step 4: Add water until the lemons are fully submerged, leaving about 1 inch of headspace — put on a plastic lid, store the jar in a cool spot, and give it a good shake once a day for the first week. Be sure the lemons stay under the brine.
Recipe FAQs
When stored in the fridge and kept fully submerged in brine, salt preserved lemons will last for at least 6 months. Always use clean utensils to remove them from the jar to keep the brine clean and the flavor consistent.
Yes, they should be refrigerated. While some traditional methods keep them in a cool pantry, storing them in the fridge keeps the flavor bright over the long term.
No — the pulp is discarded and only the rind is used. The rind is where all that amazing texture and flavor develops during fermentation.
Yes, you should give the rind a quick rinse under cool water before adding it to a dish. This removes excess salt so it blends more easily with the other flavors in your recipe.
Yes, limes, oranges, and even grapefruits preserve beautifully using this same method. Each will bring its own unique flavor and work well in different kinds of dishes.
Serving ideas
Once you’re ready to use your salt preserved lemons, remove the pulp and give the rind a quick rinse under cool water — this knocks back the extra salt so it blends more easily with other flavors. From there, the possibilities are endless.
Chop the rind into salads, toss them into pasta, stir them through rice, or blend them into dressings like my Italian dressing to add a fresh, zesty kick. They’re fantastic in soups, stews, roasted vegetables, or with proteins like chicken, lamb, or fish.
Don’t forget to use them to brighten up your drinks too — a bit of chopped rind in a Bloody Mary, martini, or Long Island iced tea adds a bright, savory edge.

Diane Gail’s tips for success
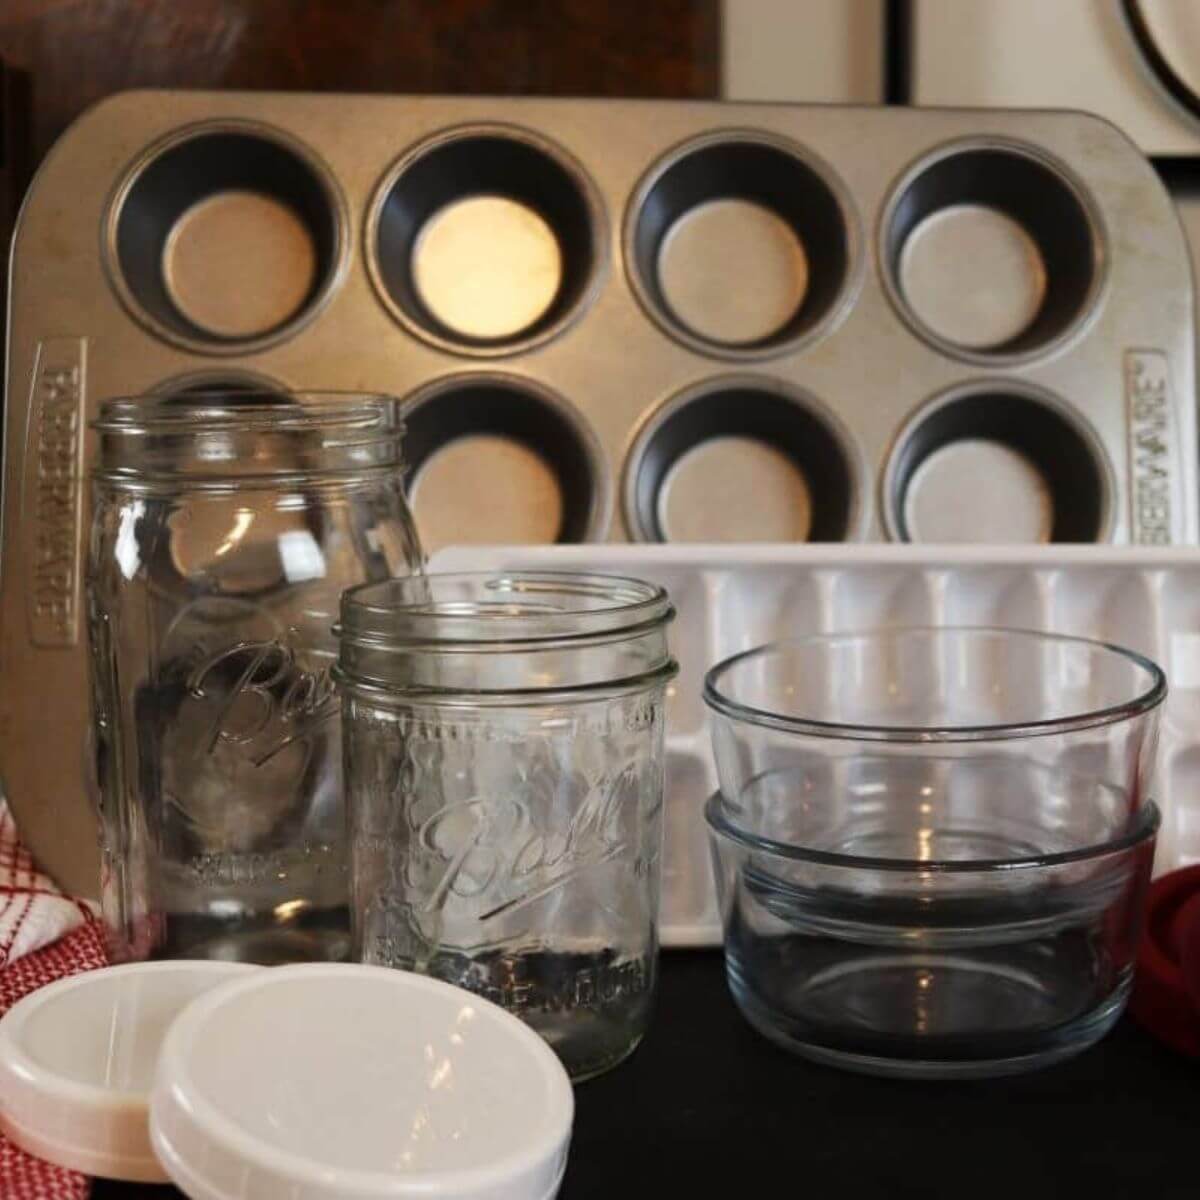
- Sterilize jars and tools: Helps you get the cleanest, most consistent results as the lemons cure.
- Roll lemons on the counter before cutting: Helps release juice so they pack tighter and start brining right away — it’s the same trick I use when making my lemon syrup to get every last drop.
- Slide a butter knife along the inside of the jar: Pushes out trapped air bubbles that can mess with the fermentation process.
- Keep lemons under the brine: Helps keep the rind evenly preserved and avoids surface issues as they cure.
- Wait at least 4 weeks: Let the salt work its magic so the rind softens and develops all that amazing flavor.
- Rinse the rind before using: Knocks off the extra salt so it plays nicely with the other flavors in your dish.
Final thoughts
Salt preserved lemons are one of those pantry staples that subtly elevate everyday cooking. They add a clean, tangy brightness that works in everything from salads to stews, and making them takes almost no effort on your part. Once you have a jar on hand, you’ll find that there are endless ways to use them in the kitchen.

Salt Preserved Lemons
Ingredients
- 6 lemons
- 8 tablespoons sea salt
- pure water
Instructions
- Clean the lemons: Wash thoroughly. If not organic, soak in a 1:3 vinegar-to-water solution for 5 minutes, then rinse.
- Soften the fruit: Roll each lemon on the counter with your palm using light pressure to loosen the juices.
- Trim and cut: Slice a small amount off both ends. Stand each lemon upright and cut into quarters without slicing all the way through — leave the base intact.
- Salt the jar: Add 1 tbls of sea salt to the bottom of a sterilized quart jar.
- Salt the lemons: Gently pry open each lemon and sprinkle 1 tbls of salt inside before placing it cut side down into the jar.
- Pack tightly: Press each lemon firmly as you go to release juices and eliminate air gaps.
- Fill the jar: Continue adding lemons until the jar is full, leaving just over 1 inch of headspace.
- Top off with water if needed: If the juice doesn’t fully submerge the lemons, add pure water to reach the 1-inch headspace.
- Seal and store: Place a lid on the jar and store in a cool place. Shake daily and check that lemons remain beneath the brine.
Notes
- Choose organic lemons whenever possible to avoid waxed skins or pesticide residue.
- Use non-iodized sea salt for clean flavor and consistent results.
- A fermenting weight helps keep lemons submerged and supports even fermentation.
- Wait at least 4 weeks before using. Longer fermentation results in a softer, deeper flavor.
- Store finished lemons in the fridge and use the peel (rinsed and de-pulped) in recipes for flavor.
Nutrition
Nutrition information is automatically calculated, so should only be used as an approximation.


Salt-preserved lemons are such a unique, flavorful addition to dishes — rich, tangy, and packed with depth. They’re perfect for adding a little something extra to salads, stews, or Middle Eastern-inspired meals. If you try making them, I’d love to hear how you use them in your cooking! Drop a comment below to share your thoughts or ask any questions — I’m here to help!