Buttermilk Dinner Rolls From Scratch
These hearty buttermilk dinner rolls from scratch, made with real buttermilk and simple pantry ingredients, bake up with a golden crust and a tender interior that is perfect for serving alongside soups, stews, holiday dinners, and everyday family meals.
Dinner is always better with rolls
I’ve been making a point of improving my bread baking skills over the past few years, and these buttermilk dinner rolls are one of the recipes I’m most excited to share with you. Every batch bakes up with the rich flavor and hearty texture I look for in a homemade dinner roll and they are easy enough to make for everyday baking.
Few things compare to the aroma of fresh bread baking in the oven. The smell fills the kitchen, and pulling a pan of warm rolls from the oven never gets old. If you enjoy baking bread at home, be sure to try my easy homemade slider buns, rustic Dutch oven rye bread, and whole wheat bread from scratch as well.
Fresh homemade rolls are a natural fit for comfort food meals. I love serving these alongside a homemade pot of hearty tortellini soup, homemade Italian zucchini soup, or classic old fashioned chili.
Recipe ingredients
- Buttermilk: Real cultured buttermilk gives these dinner rolls their signature flavor and helps create a soft, tender crumb. Full-fat buttermilk produces the richest results, but low-fat buttermilk will work as well.
- Butter: Butter adds richness and flavor to the dough while helping create a softer texture. If you enjoy making pantry staples from scratch, my old-fashioned homemade butter recipe is a great place to start.
- All-Purpose Flour: A good-quality all-purpose flour creates soft, hearty dinner rolls with a tender crumb. Unbleached organic all-purpose flour is my preferred choice for homemade bread baking.
See the recipe card for full information on ingredients and quantities.
Would you like to save this post for later?
How to make buttermilk dinner rolls from scratch
Step 1: Pour the warm buttermilk, warm water, sugar, and yeast into the bowl of a stand mixer. The liquids should be between 100°F to 110°F (38°C to 43°C). Stir gently to combine, then set the mixture aside for 5 to 10 minutes until the yeast becomes foamy.
Step 2: Add the flour, 3 tablespoons of the melted butter, egg, and salt to the bowl. Attach the paddle attachment and mix on low speed until a shaggy dough begins to form and no dry flour remains.
Step 3: Switch to the dough hook and knead the dough for 5 minutes. The finished dough should be smooth and elastic.
Step 4: Cover the bowl with a clean kitchen towel and place it in a warm, draft-free location. Allow the dough to rise for 1 to 2 hours, or until it has doubled in size.
Step 5: Gently punch down the dough to release excess air. Turn it out onto a clean work surface and divide it into 12 equal portions.
Step 6: Shape each portion into a roll by pulling the edges underneath and pinching the seam closed. Place the rolls seam-side down on a silicone-lined baking sheet, leaving space between them for expansion.
Step 7: Cover the rolls and allow them to rise for 30 minutes, or until they look noticeably puffed.
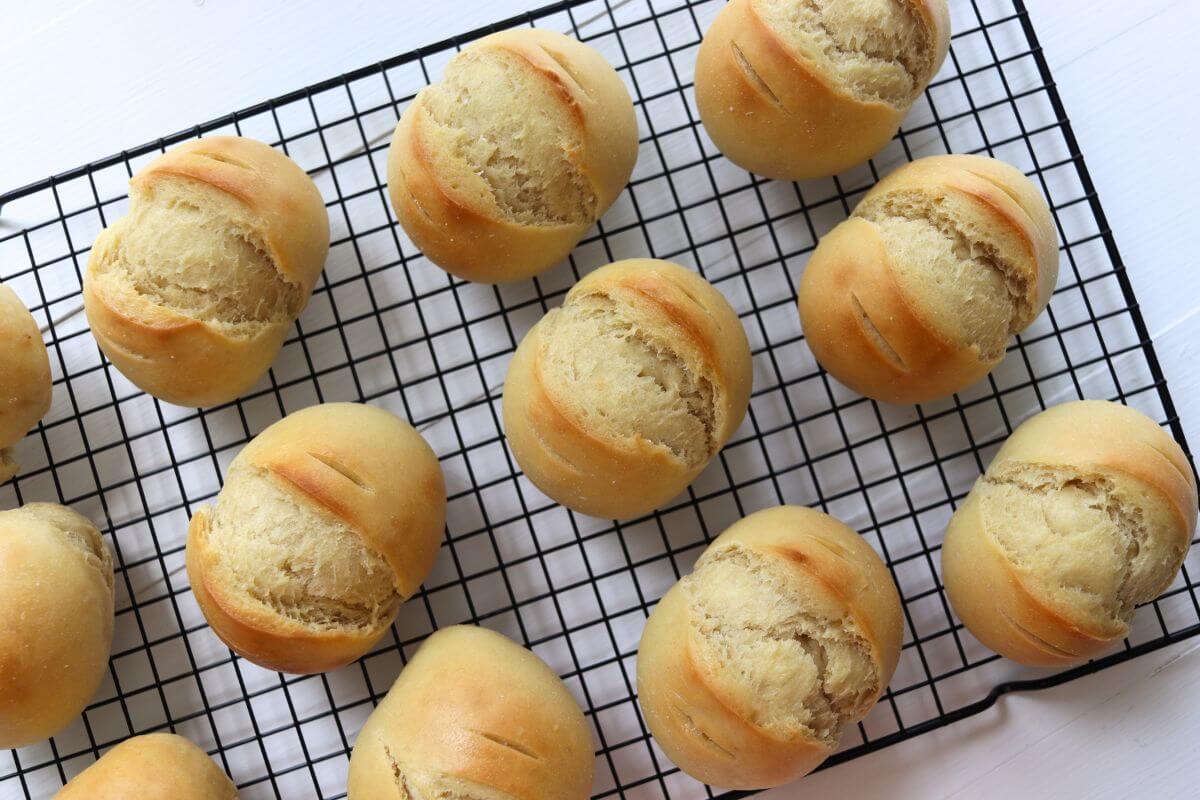
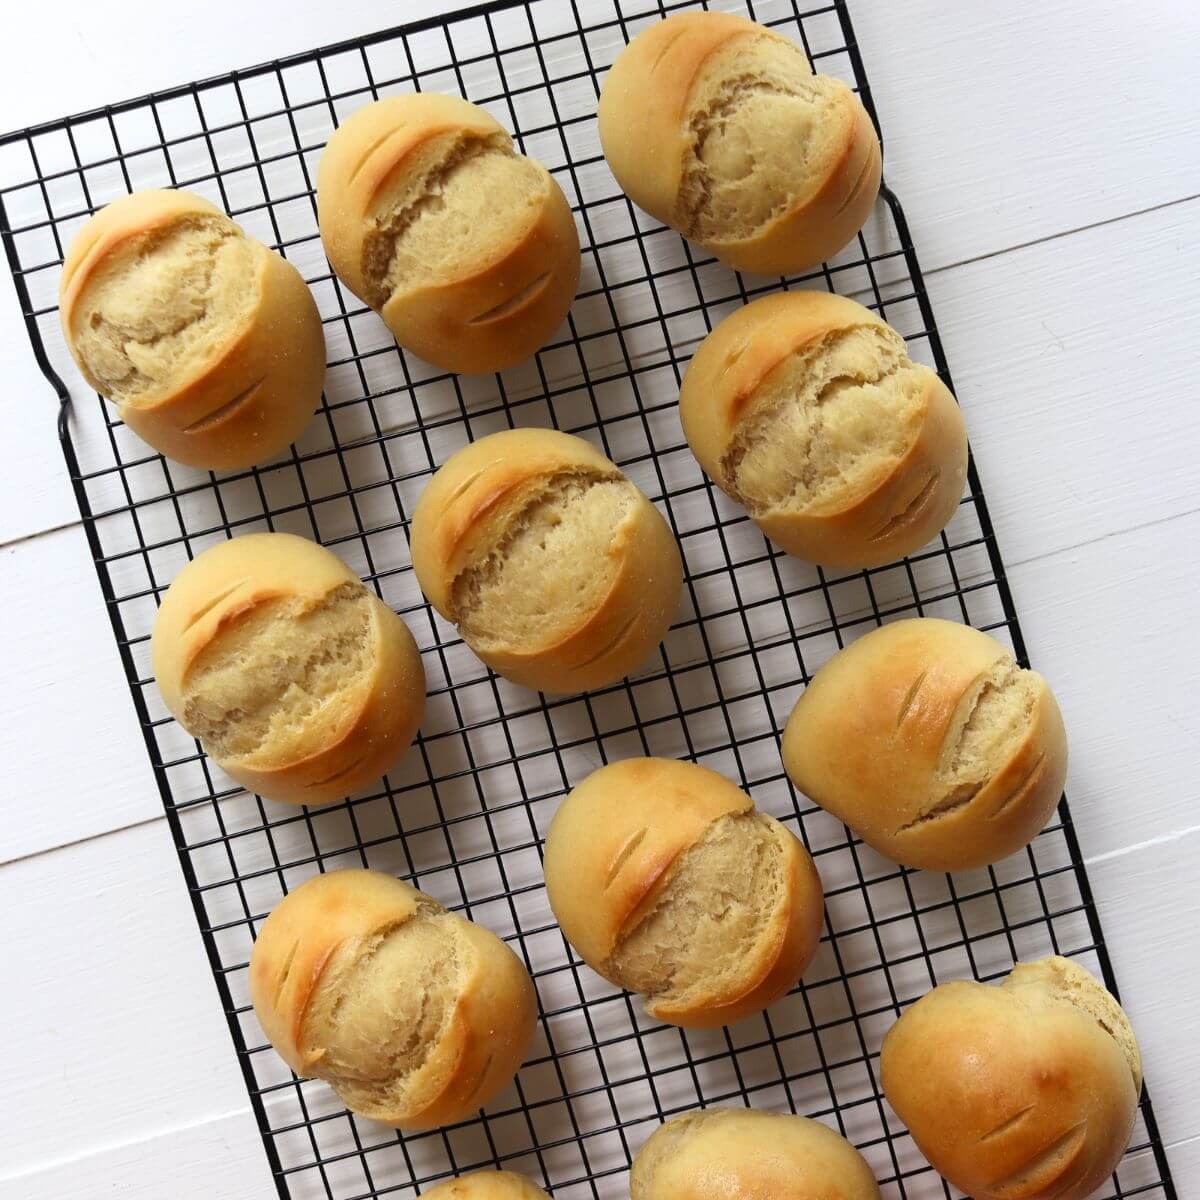
Step 8: Score the top of each roll with a sharp knife or bread lame, then bake in a 375°F (190°C) for 18 to 22 minutes, or until the rolls are golden brown.
Step 9: Remove the baking sheet from the oven and immediately brush the tops of the hot rolls with the remaining melted butter.
Step 10: Transfer the rolls from the baking sheet to a wire rack and allow them to cool before serving.
Top tips
- Rise Dough in a Warm Spot: Yeast dough rises best in a consistently warm environment. If your kitchen is cool, use an unheated oven with the light turned on to encourage a steady rise.
- Shape Evenly Sized Rolls: Taking a moment to divide the dough into equal portions helps the rolls bake at the same rate and gives the finished batch a more uniform appearance.
- Bake Until Deep Golden Brown: A rich golden color on the tops of the rolls is a better indicator of doneness than the clock alone. Check them near the end of the baking time and adjust as needed for your oven.
- Brush While Hot: Apply the melted butter as soon as the rolls come out of the oven. The heat helps the butter absorb into the crust rather than sitting on the surface.
- Cool on a Wire Rack: Moving the rolls off the baking sheet prevents trapped steam from softening the bottoms and helps maintain the best texture.
- Freeze Extras for Later: Once completely cooled, these rolls freeze well. Store them in a freezer-safe container and thaw at room temperature when needed.
Other recipes you’ll love
If you loved this dinner rolls recipe, give these other great bread recipes a try too!
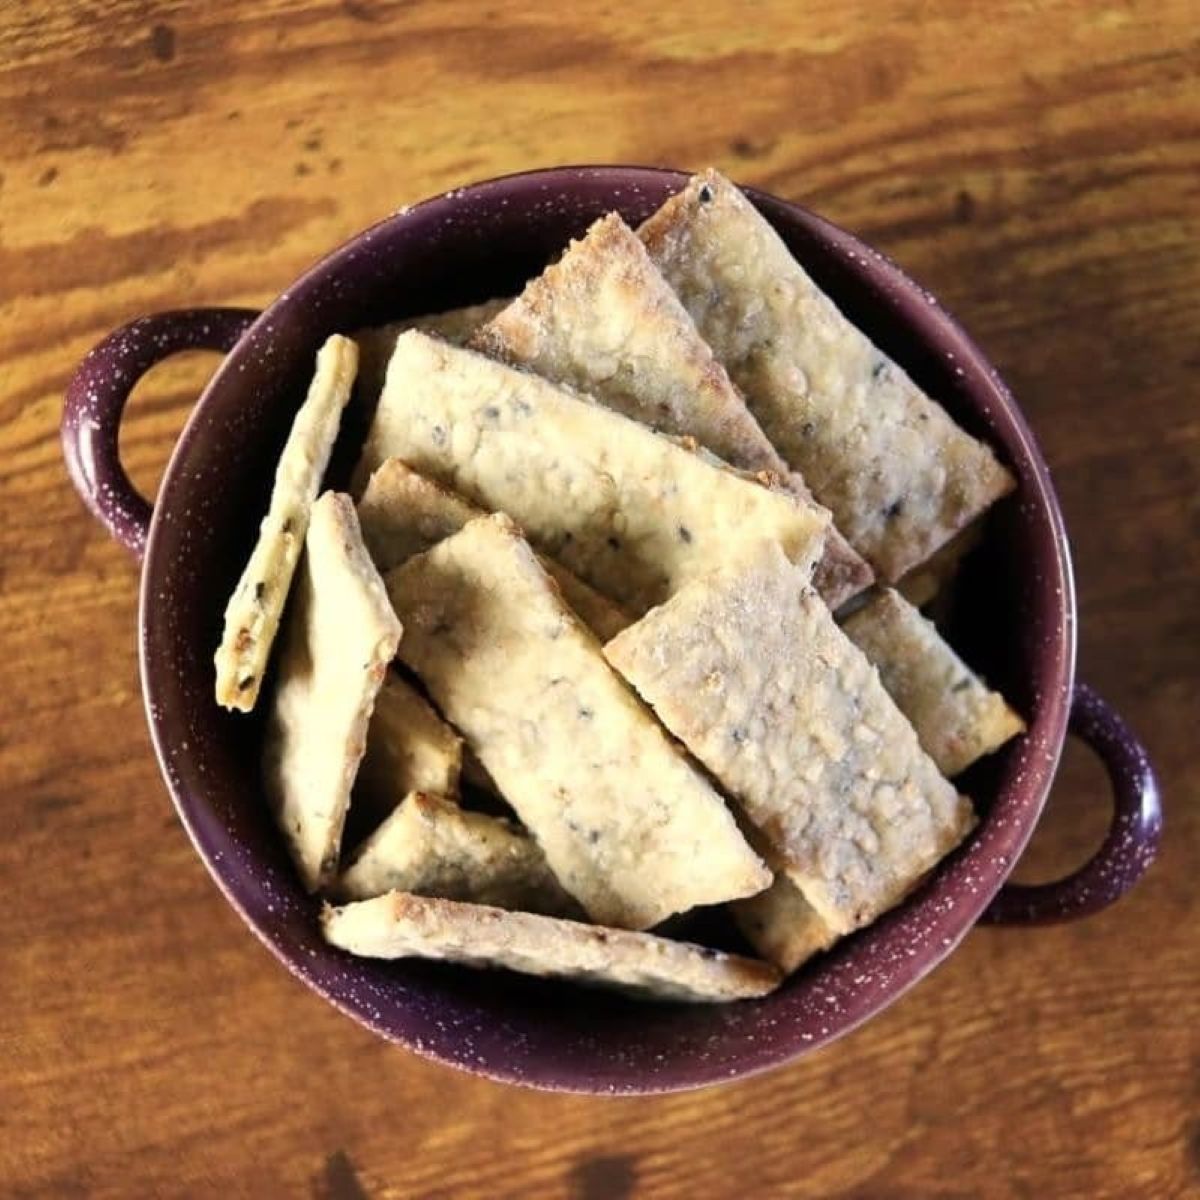
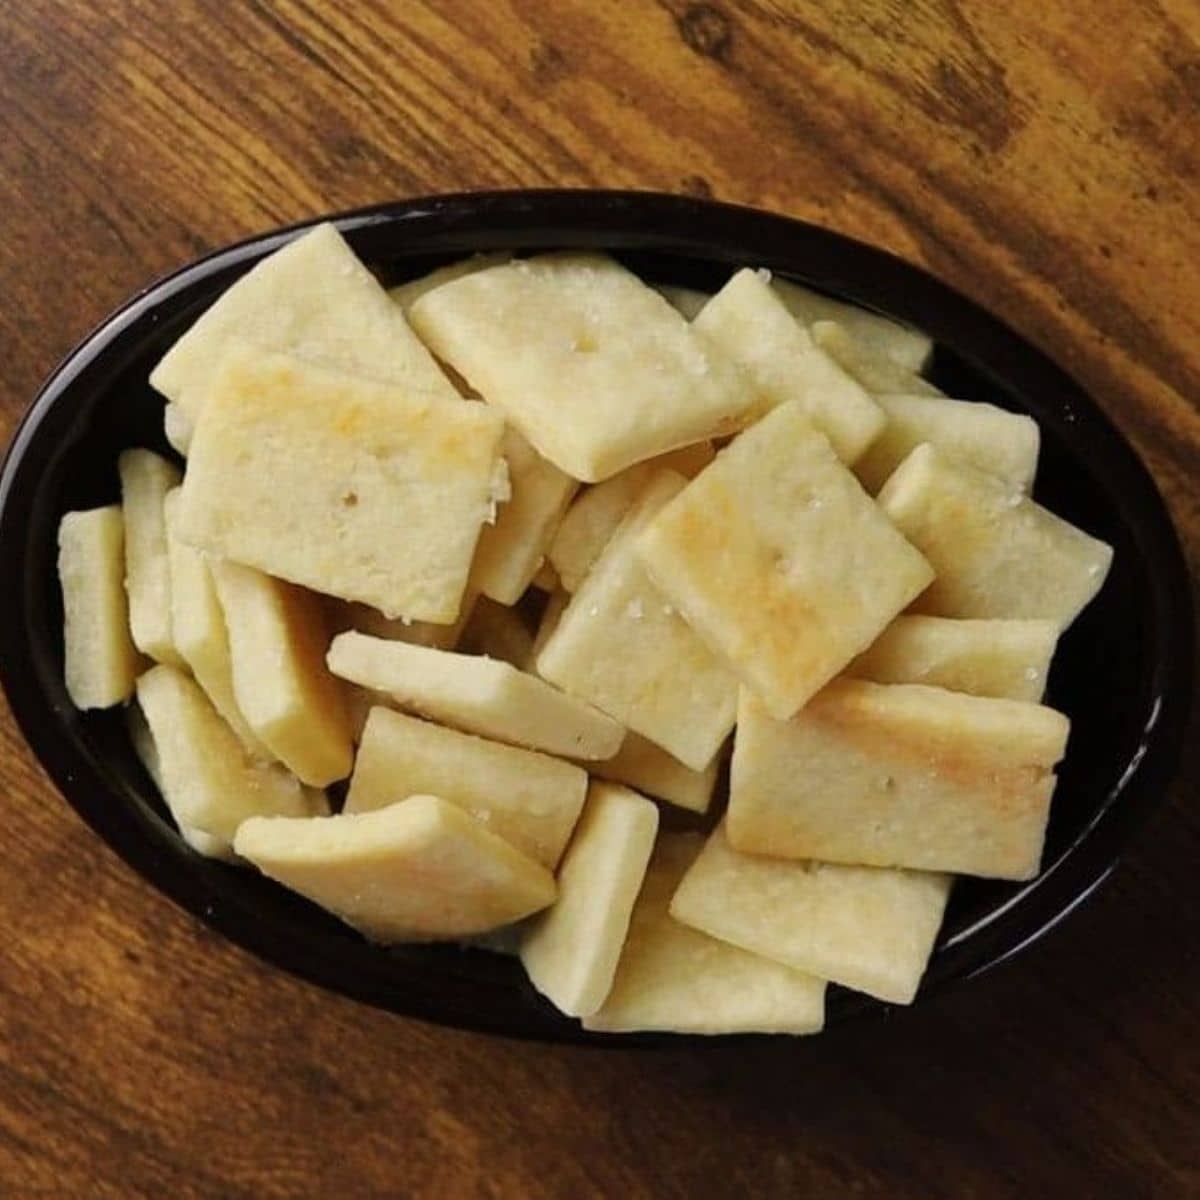
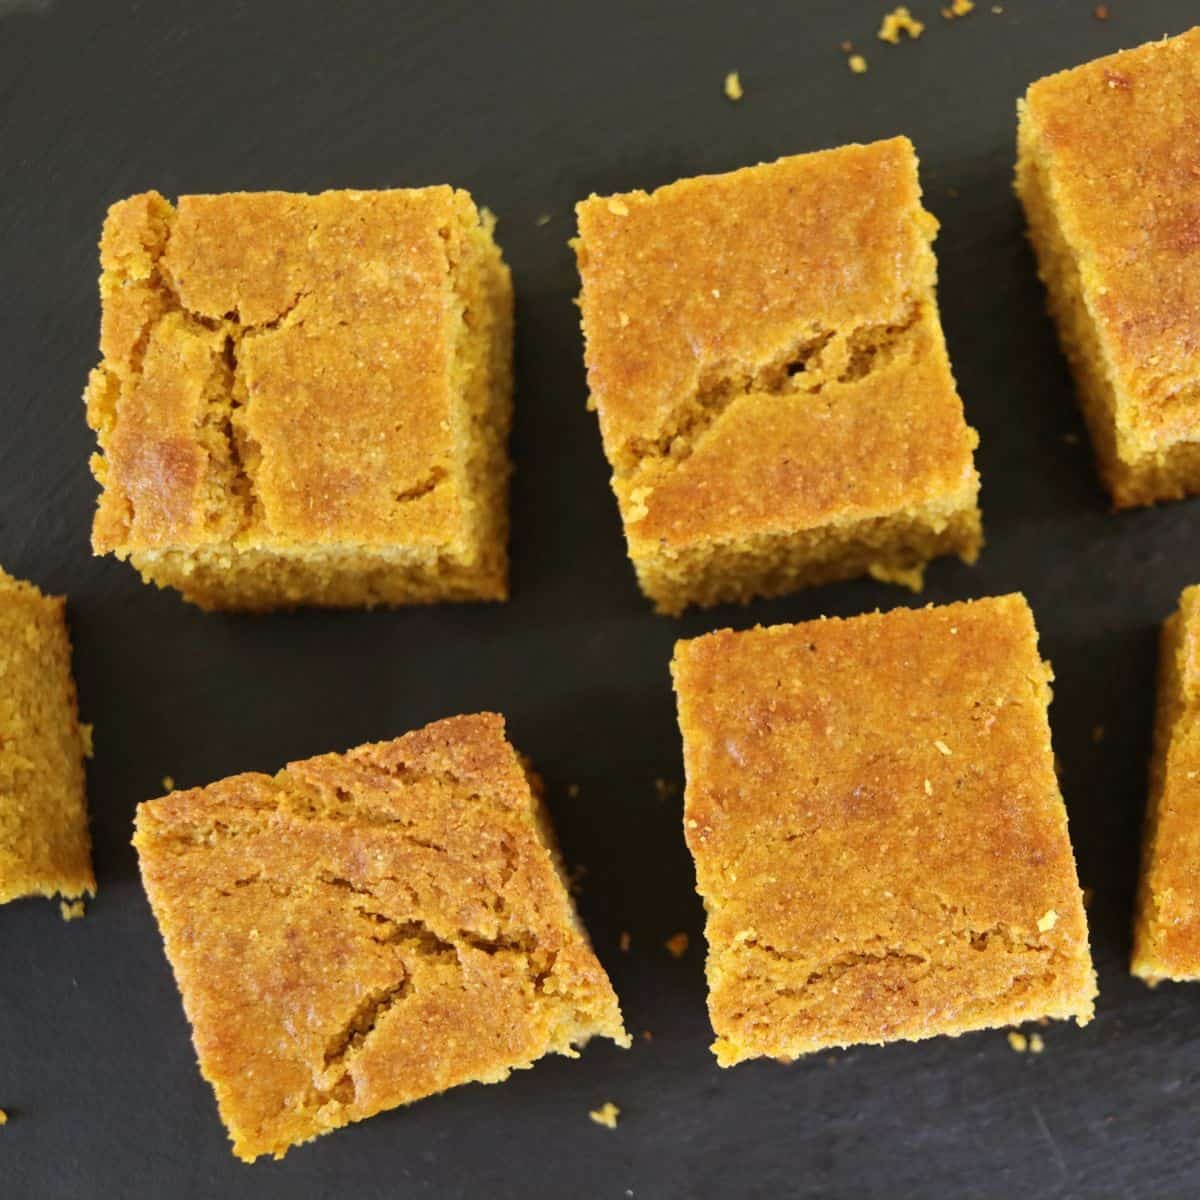
Pumpkin Bagel Recipe
No-Knead Rosemary Parmesan Bread
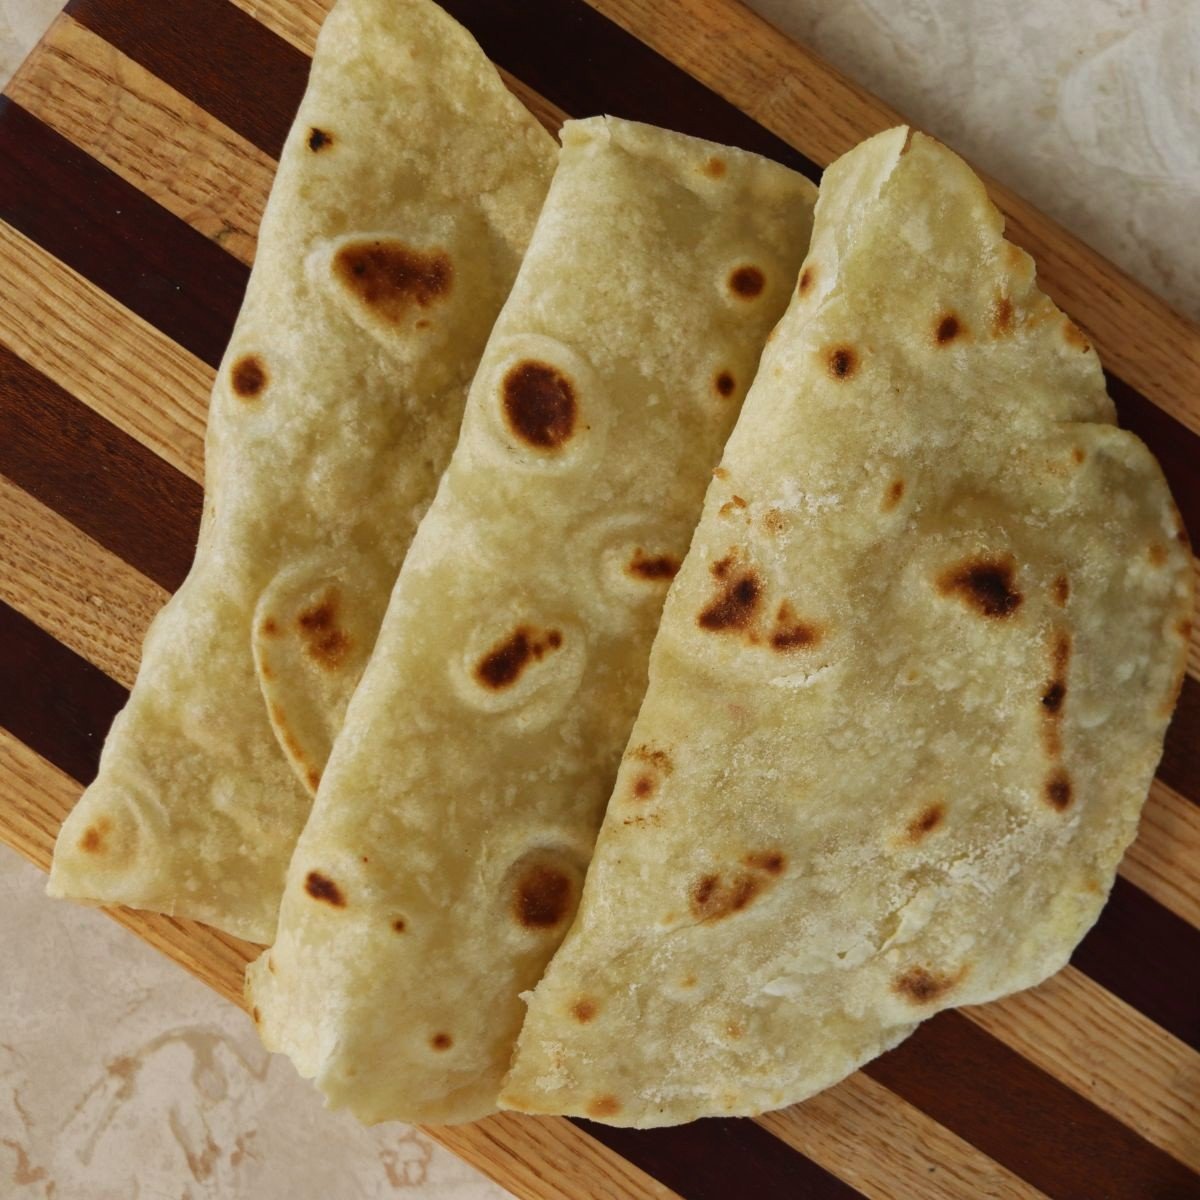
Quick Tortilla Recipe
New York Style Bagels || Easy At Home Recipe
No-Knead Shaggy Dough Bread
Buttermilk Dinner Rolls From Scratch
Ingredients
- 3/4 cup warm buttermilk 100°F–110°F (38°C–43°C)
- 1/4 cup warm water 100°F–110°F (38°C–43°C)
- 2 tablespoons granulated sugar
- 2 1/4 teaspoons active dry yeast
- 3 1/2 cups all-purpose flour
- 5 tablespoons melted butter separated
- 1 large egg
- 1 teaspoon salt
Instructions
- Combine the warm buttermilk, warm water, sugar, and yeast in the bowl of a stand mixer. Let stand for 5–10 minutes, until foamy.
- Add the flour, 3 tablespoons melted butter, egg, and salt. Mix with the paddle attachment until a dough forms.
- Switch to the dough hook and knead for 5 minutes, until the dough is smooth and elastic.
- Cover the bowl with a kitchen towel and let the dough rise in a warm place for 1–2 hours, or until doubled in size.
- Punch down the dough and divide it into 12 equal portions.
- Shape each portion into a roll by tucking the edges underneath and pinching the seam closed. Place seam-side down on a silicone-lined baking sheet.
- Cover and let rise for 30 minutes.
- Score the tops of the rolls and bake in a 375°F (190°C) oven for 18–22 minutes, until golden brown.
- Brush the hot rolls with the remaining melted butter.
- Transfer to a wire rack and cool before serving.
Notes
- Rise times will vary depending on the temperature of your kitchen. Allow the dough to double in size during the first rise and become noticeably puffy during the second rise.
- These rolls can be baked closer together for soft pull-apart sides or spaced farther apart for more crust on the edges.
- Store cooled rolls in an airtight container at room temperature for up to 3 days.
- Freeze completely cooled rolls in a freezer-safe container for up to 3 months. Thaw at room temperature before serving.
Nutrition
Nutrition information is automatically calculated, so should only be used as an approximation.