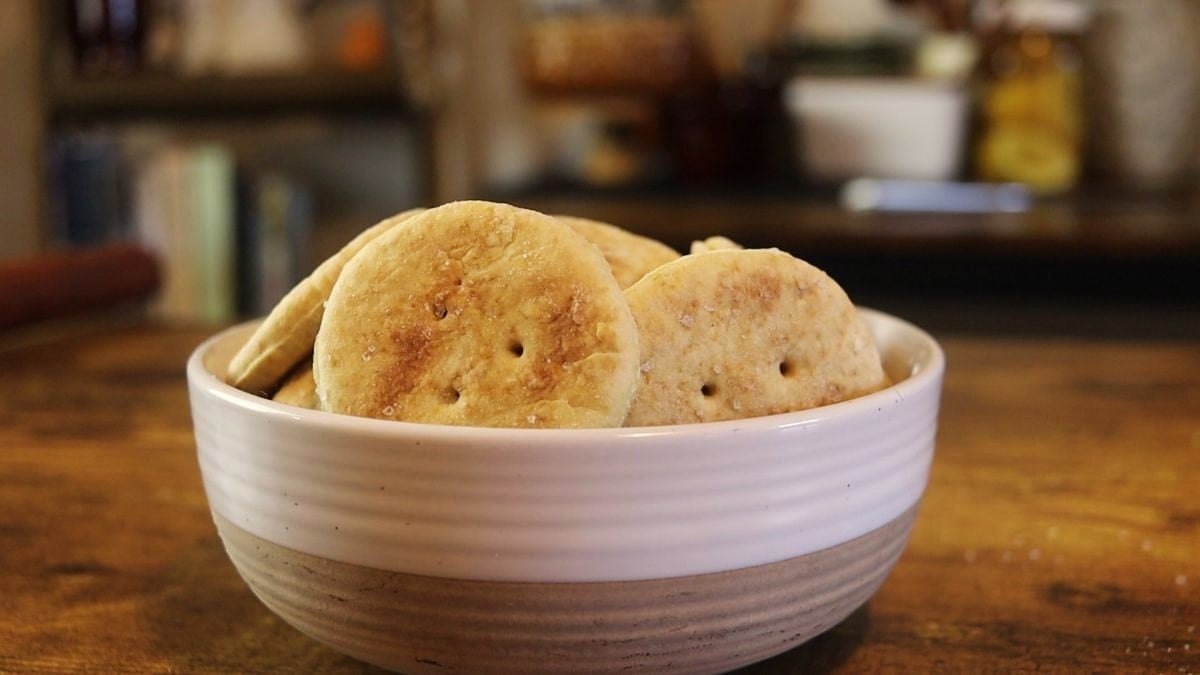
Easy Roasted Garlic Crackers Recipe

This easy roasted garlic crackers recipe packs big flavor into every crisp little bite. Crunchy, golden, and garlicky enough to win over even the most die-hard garlic lover, they’re as snackable as they are simple to make. Once you try them, you’ll be making batch after batch.
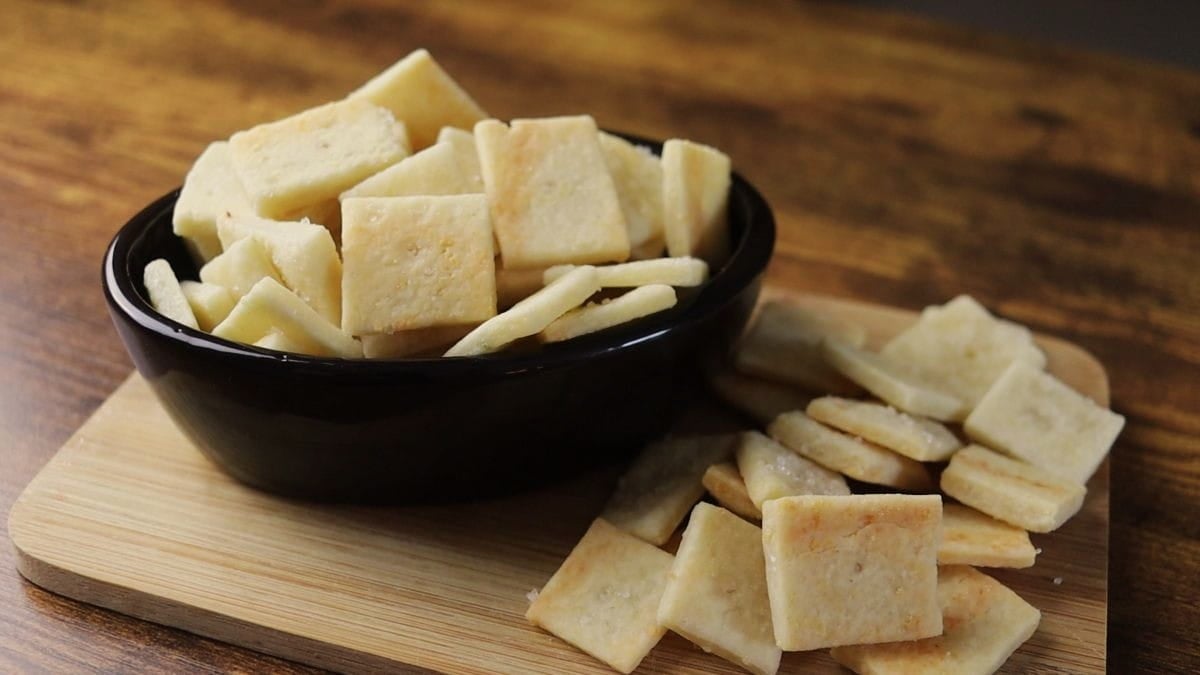
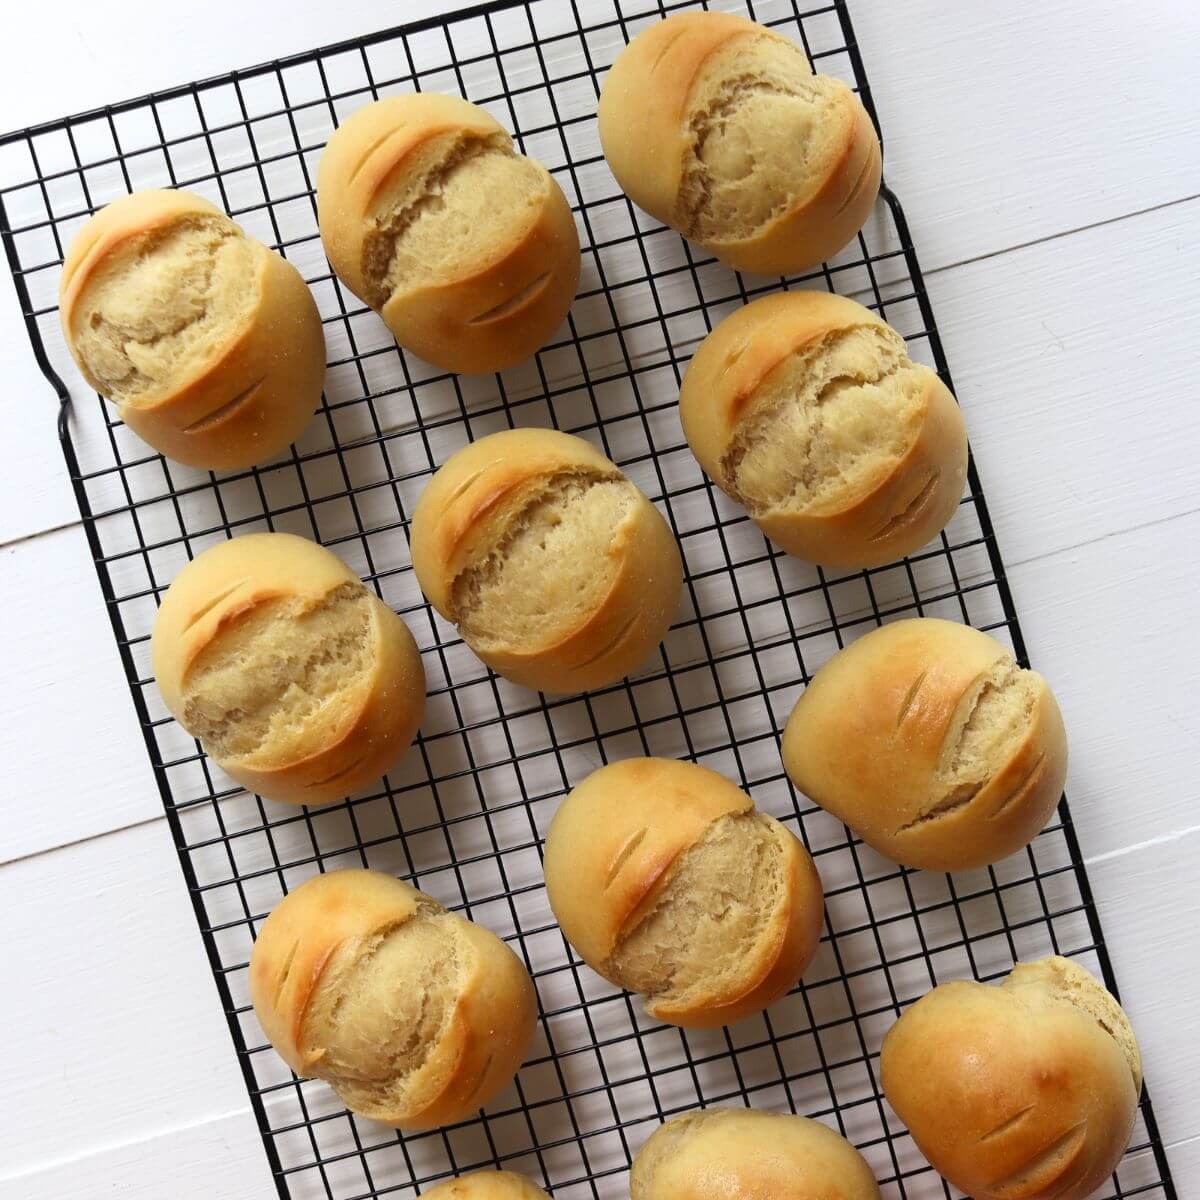
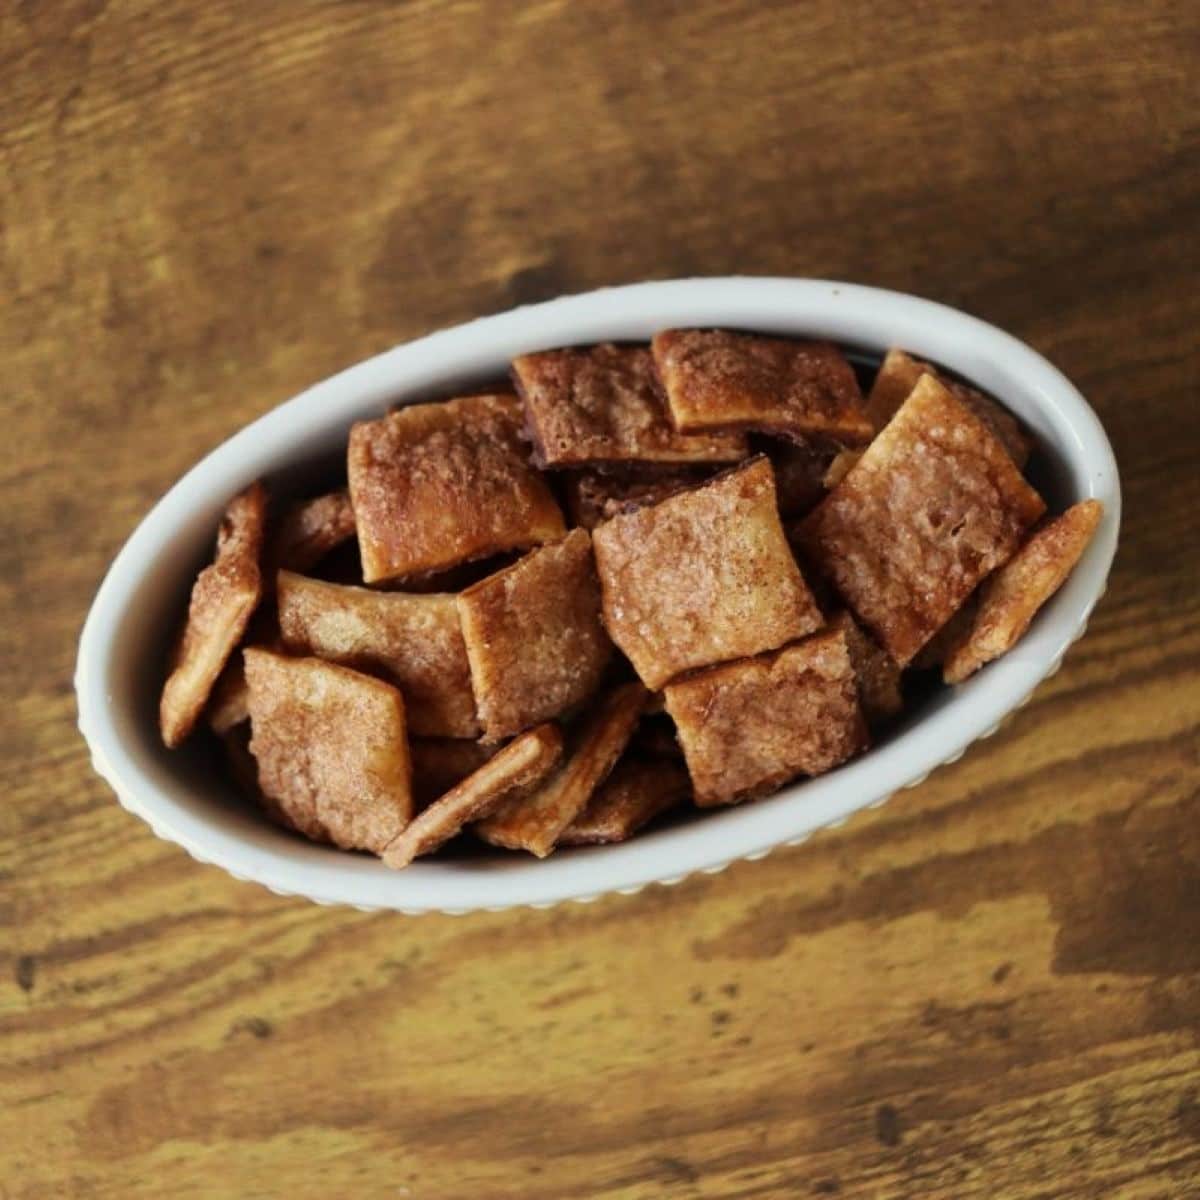
If the earthy crunch of my everything crackers, the sweet crunch of my cinnamon sugar crackers, and the savory crunch of my basic homemade crackers have made it into your from-scratch snack rotation, these roasted garlic beauties will be the next to make the list.

Let’s talk about this recipe
Garlic lovers, this one’s for you! These crackers are loaded with roasted garlic flavor and made even better thanks to a long, slow overnight chill. That cold proofing not only builds incredible flavor but also makes the dough a breeze to prep ahead. With very little hands-on work, you can get a whole tray of homemade crackers into the snack cupboard without feeling tied to the kitchen.
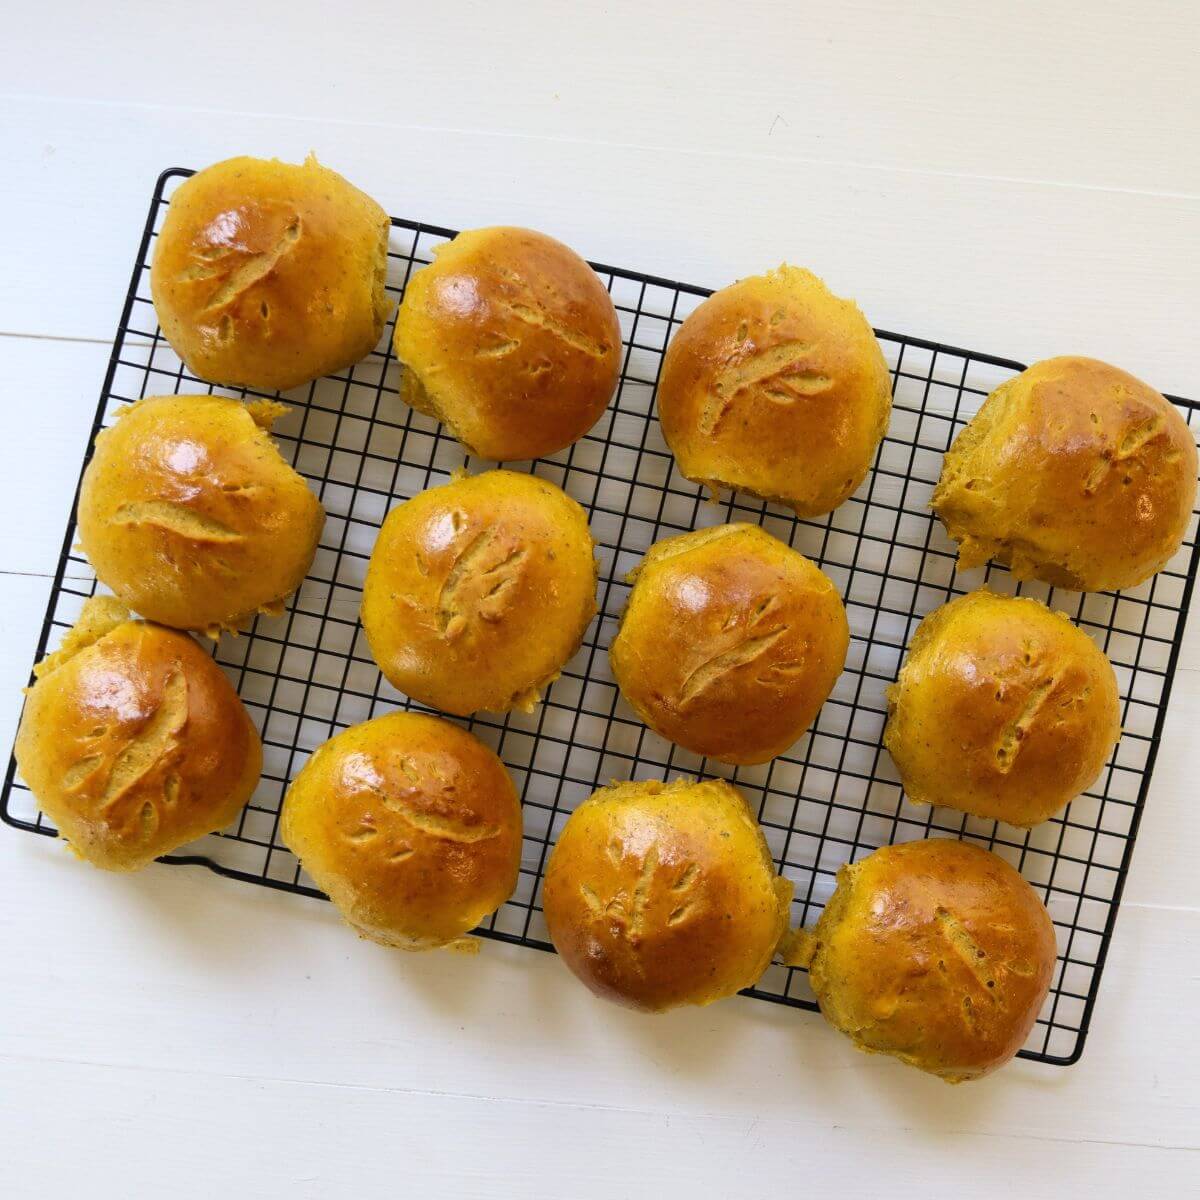
Their snack-size shape makes them ideal for everyday munching or adding to any homemade spread. They’re every bit as easy to make as my cornbread crackers, and both are the perfect bite-sized additions to any meal that needs a little from-scratch crunchy goodness.
What makes this recipe so good
- Make-ahead dough keeps things simple and flexible, letting you prep in advance without sacrificing flavor or texture.
- Use up extra garlic in a way that’s both practical and delicious, turning surplus cloves into something you’ll use instead of throw away.
- Replace processed snacks with a homemade option that’s full of real flavor, without preservatives or additives.
- Cold proofing overnight gives the dough that crave-worthy crisp and flavor depth, much like your favorite artisan crackers.
- Basic pantry staples are used, which means you probably already have everything on hand to make this recipe.
If you’d like to browse all of my cracker recipes in one place, I’ve put them together for you in my 10 easy fall cracker recipes post.
Ingredients you’ll need
Simple ingredients are used to make these crackers — with just a few things from your pantry and a head of roasted garlic, you’ve got everything you need to make this recipe.

- Olive oil: Extra virgin olive oil brings a depth of flavor to this recipe that really stands out. The better the oil, the better the cracker — this is one spot where quality truly shows.
- Roasted garlic: Roasted garlic spreads through the dough beautifully, giving these crackers their signature taste. Making your own roasted garlic is always the best way to go — it’s sweet, mellow, and packed with the kind of flavor that no jar can match. So skip the jar and make your own if you can.
See recipe card below for full information on ingredients and quantities.
Make it your own
- Substitute fresh garlic (very finely chopped) for a sharper, more assertive garlic bite that really stands out in these crackers.
- Use dairy or plant milk, instead of water, if you’d like a richer dough with a slightly softer finish.
- Add fresh herbs, like dill, rosemary, or basil, for an extra pop of flavor that plays beautifully with the roasted garlic.
- Toss in some parmesan cheese to make a garlic parmesan variation of this cracker that is absolutely irresistible.
- Experiment with different oils, like avocado or sunflower oil, for subtle shifts in flavor while still keeping the dough light and crisp.
- Try a sprinkle of cayenne pepper for a mild heat that balances the deep, roasted garlic flavor perfectly.
How to make roasted garlic crackers
These roasted garlic crackers come together with simple steps and minimal effort — just mix, chill, roll, and bake. The overnight rest does all the heavy lifting, leaving you with big flavor and an addictive crunch.


Step 1: Whisk flour, baking powder, and salt together.
Step 2: Combine olive oil and garlic in a small bowl.
Would you like to save this post for later?
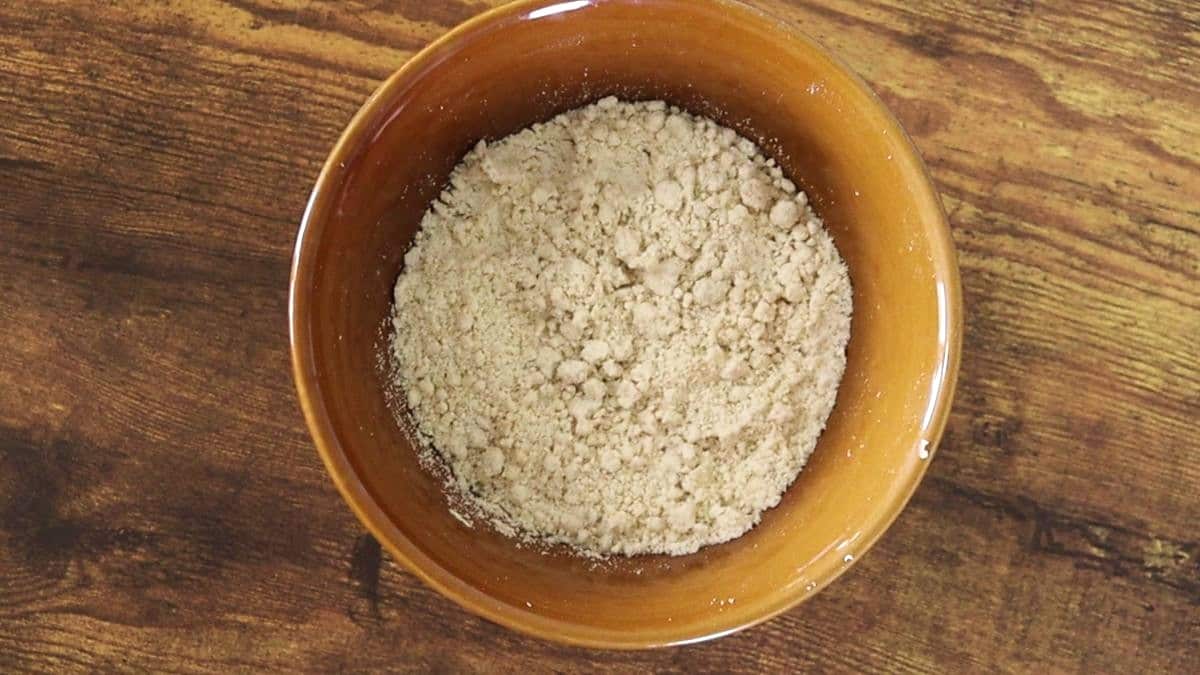

Step 3: Cut oil mixture into flour mixture.
Step 4: Stir in water.


Step 5: Cover and refrigerate 20–24 hours.
Step 6: Form into ball and turn out on a well-floured work surface.

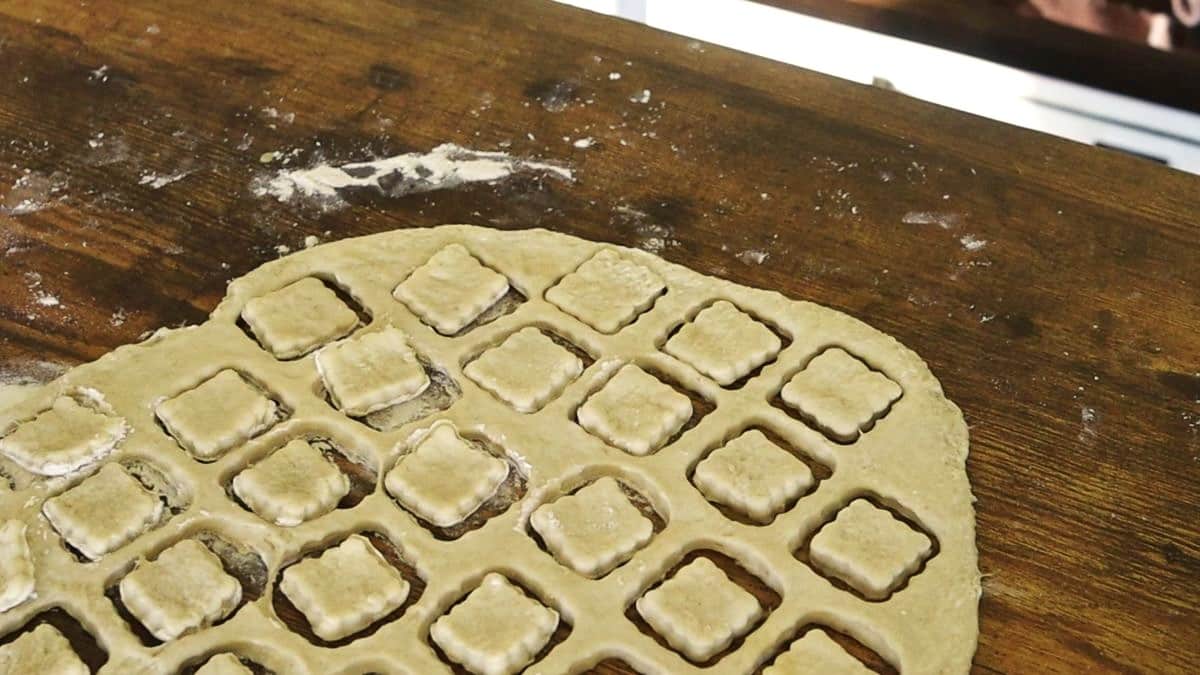
Step 7: Flour dough well and roll to 1/4″ thick.
Step 8: Cut with cookie cutter.
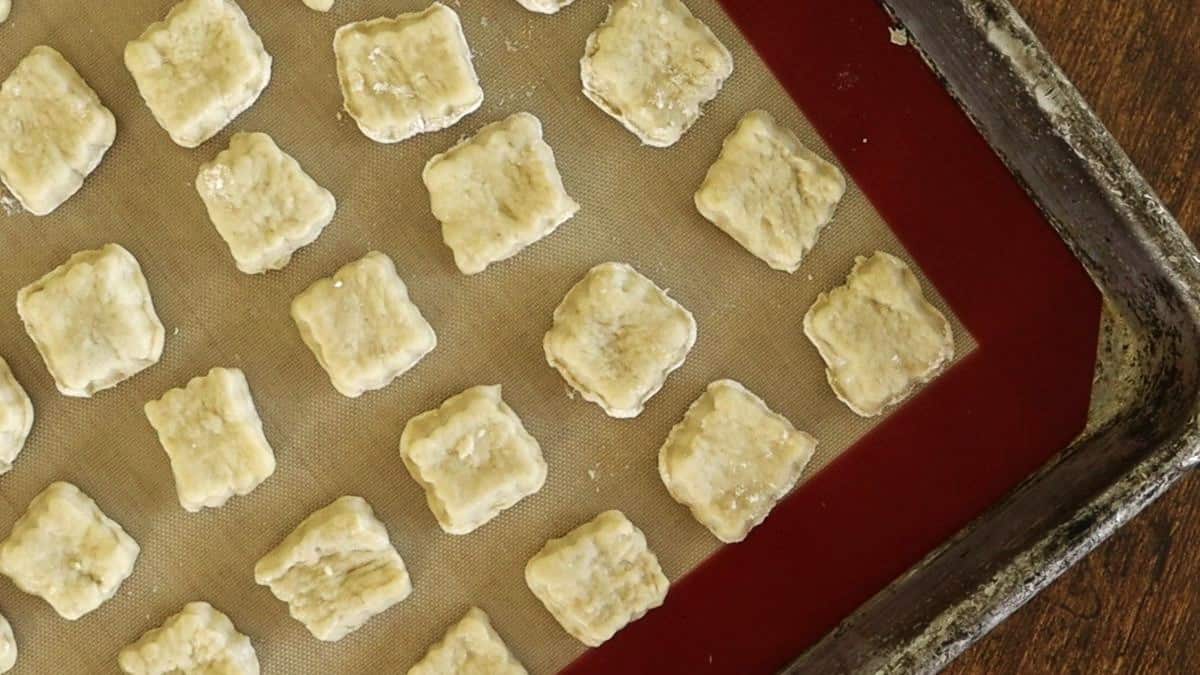

Step 9: Lay out on silicone lined baking sheet.
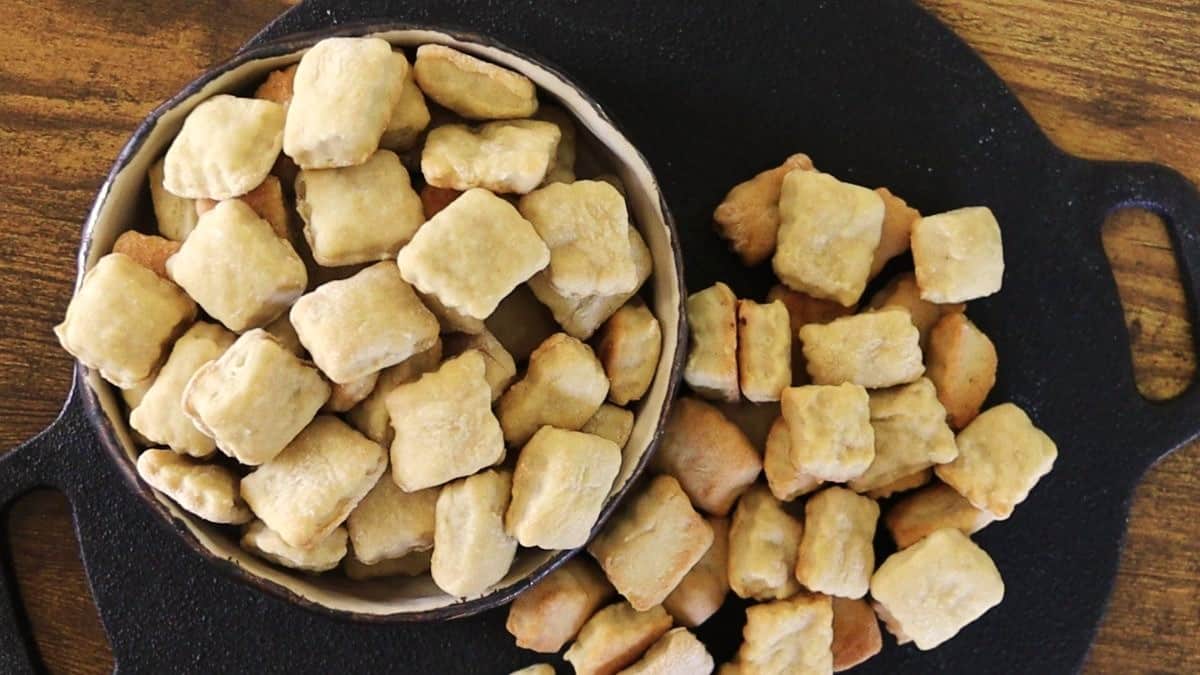
Step 10: Bake at 375° for 25 minutes, then cool on pan.
You’ll find measurements, and more detailed step-by-step instructions, in the recipe card below, which you can also print for your convenience if you’d like.
Recipe FAQs
Yes — the long proofing is what gives these crackers their amazing texture. It’s similar to pizza dough, turning crisp and flavorful when baked.
You can, but homemade roasted garlic is sweeter, fresher, and honestly so easy to make that it’s worth the few extra minutes it takes to do it yourself.
Yes, but keep in mind the oil brings a lot of flavor to the crackers, so pick one that carries a flavor you enjoy.
That depends on how you plan to serve them, but remember — this dough tends to shrink back a bit. Choose a cookie cutter slightly larger than the size you want your finished cracker to be.
Cooling on the pan lets them fully firm up and develop their signature crunch — skip it and they won’t be as crisp.
Serving ideas
These roasted garlic crackers are bite-sized, crisp, and flavorful — the perfect thing to grab by the handful for a quick snack. They make a great addition to any cheese board or party spread. If you want to enjoy them with dip, you can make them a little larger and they will be the perfect way to scoop up big tasty gobs of sweet Italian sausage dip or bacon blue cheese dip.
I like to make them snack size and toss them right into a steamy hot bowl of soup — much like you do with oyster crackers. Try them with my yellow split pea soup, traditional Italian broccoli soup, or creamy sausage and pepper soup for a homemade pairing that’s really off the charts!
Diane Gail’s tips for success
- Don’t skip the proofing: Proofing this dough overnight enhances the garlic flavor and brings the unique texture to these crackers that makes them so darn irresistible.
- Cool directly on the pan: Leaving them on the pan to cool ensures that the crunch develops all the way through the cracker.
- Mix garlic with oil before adding: The mashed roasted garlic won’t fully blend into the oil, but this step helps it spread evenly through the dough.
- Flour generously when rolling: This is a wetter dough, so you’ll need plenty of flour to handle it — be generous.
- Expect some shrinkage while baking: The dough is stretchy, so choose a slightly larger cutter to get the size cracker you want in the end.
Final thoughts
Homemade crackers are one of those small kitchen wins that make the week feel easier—and tastier too. This recipe gives you deep roasted-garlic flavor, clean crunch, and a dough you can mix ahead so snack time never sneaks up on you. Make them bite-size for everyday nibbling or cut them larger for dips and boards. Once these hit the counter, it’s hard to keep your hands out of the bowl!
Roasted Garlic Crackers Recipe
Ingredients
- 1 1/2 cups all-purpose flour
- 1 teaspoon baking powder
- 1/2 teaspoon salt
- 3 tablespoons extra virgin olive oil
- 1 tablespoon mashed roasted garlic
- 1/2 cup water
Instructions
- Whisk dry ingredients: In a medium bowl, combine the flour, baking powder, and salt until evenly mixed. This ensures the leavening and salt distribute well through the dough.
- Combine oil and garlic: In a small bowl, stir together the olive oil and mashed roasted garlic. The garlic won’t completely blend in, but mixing them first helps spread the garlic flavor evenly throughout the dough.
- Cut oil mixture into dry ingredients: Pour the garlic-oil mixture into the flour and use a fork or pastry blender to work it in until the mixture looks crumbly. This step helps coat the flour with oil for a tender texture.
- Add water and mix: Stir in the water until a shaggy dough comes together. The dough will be quite sticky — that's exactly as it should be.
- Cover and cold proof: Cover the bowl tightly and refrigerate for 20–24 hours. This slow proofing time deepens the flavor of the dough and strengthens the gluten to produce a better texture.
- Form and prepare for rolling: Remove the dough from the refrigerator and form it into a ball. It will be sticky, so coat your hands and the dough with plenty of flour, then place it on a well-floured surface and sprinkle the top generously with flour to make it easier to work with.
- Roll out dough: Roll the dough evenly to about ¼ inch thick — that’s the sweet spot. This dough has a lot of spring and tends to stick, so rolling it thinner won’t work well.
- Cut into shapes: Use a cookie cutter slightly larger than the size you want your cracker to be — this dough springs back as it’s cut. Gather and reroll any scraps to use up all the dough.
- Arrange on baking sheet: Lay the cut crackers on a silicone-lined baking sheet, spacing them slightly apart to allow even baking.
- Bake to golden crisp: Bake in a preheated 375°F (190°C) oven for about 25 minutes, or until the crackers are lightly golden on the bottom.
- Cool on the pan: Remove from the oven and allow the crackers to cool completely on the baking pan. This helps them develop their full crunch.
Notes
- Cold proof the dough: Don’t skip the overnight chill — it develops deep roasted flavor and strengthens the gluten for that perfect bite.
- Mix the garlic with the oil first: Even though it won’t blend completely, this step helps the garlic spread evenly throughout the dough.
- Flour generously when rolling: This dough is sticky, so dust your hands, rolling pin, and counter well to make it easier to work with.
- Stick with ¼-inch thickness: The dough has spring and resists rolling thinner — ¼ inch is the sweet spot for texture and bake.
- Cut slightly larger than you want: The dough shrinks back a bit, so size your cookie cutter accordingly for a perfect finished shape.
- Cool right on the pan: Letting the crackers cool on the pan locks in their crunch and keeps that roasted garlic flavor bold and rich.
Nutrition
Nutrition information is automatically calculated, so should only be used as an approximation.
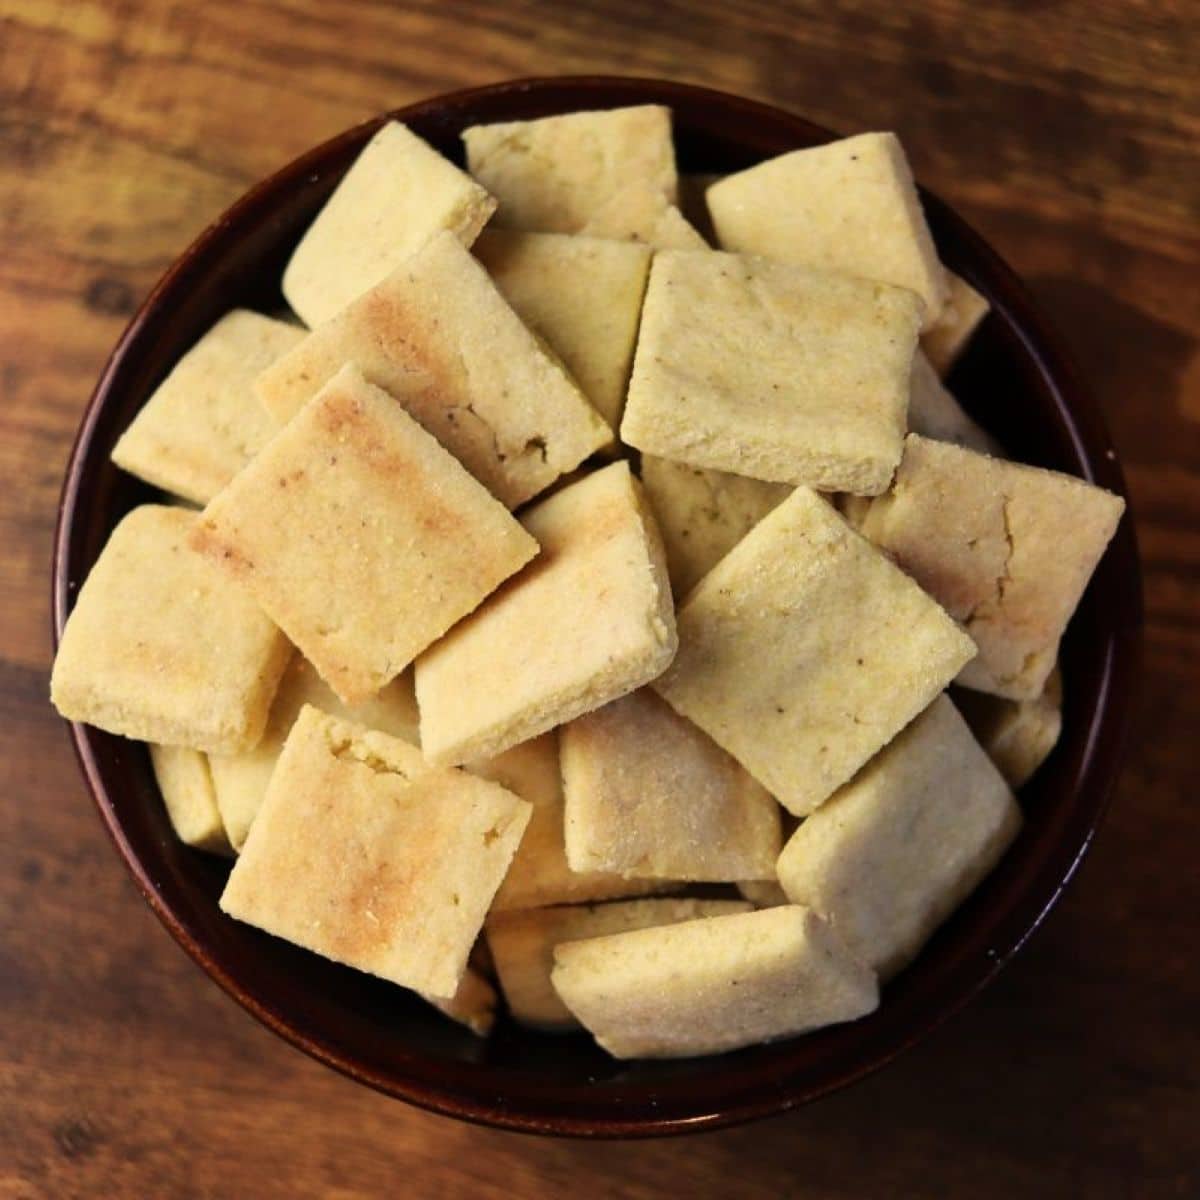
These roasted garlic crackers have such a rich, savory flavor — the roasted garlic really shines through! They’re perfectly crisp and bite-sized, just right for simple snacking. I’d love to know if anyone else finds them as irresistible straight from the jar as I do!
~ Diane Gail