Easy No Yeast Flatbread Recipe
This easy no yeast flatbread is soft, buttery, and made with just four ingredients. There’s no yeast, no baking powder, and no lengthy rise time. Just a quick dough, a short rest, and a hot skillet.
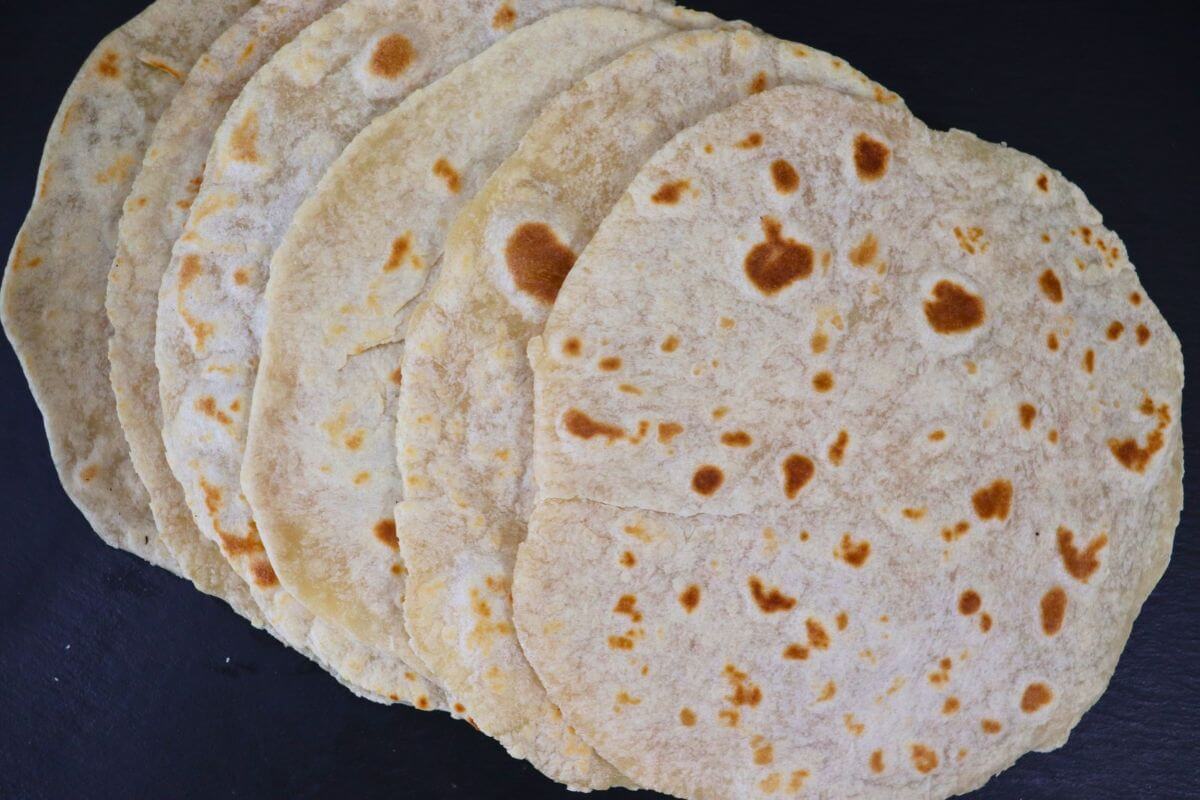
This easy flatbread gets bread on the table quickly
I make all of my bread from scratch, so when I find myself without any in the house a quick trip to the store to grab a loaf isn’t a good solution for me. That’s when this simple no yeast flatbread recipe really comes in handy.
In less than 30 minutes of hands on time I can have fresh, homemade flatbread ready to put together a great meal. It’s perfect for making wraps, sandwiches, or quesadillas, giving me plenty of options for a quick dinner, even when I haven’t planned ahead.
It’s a flavorful, convenient recipe that I find myself turning to again and again.
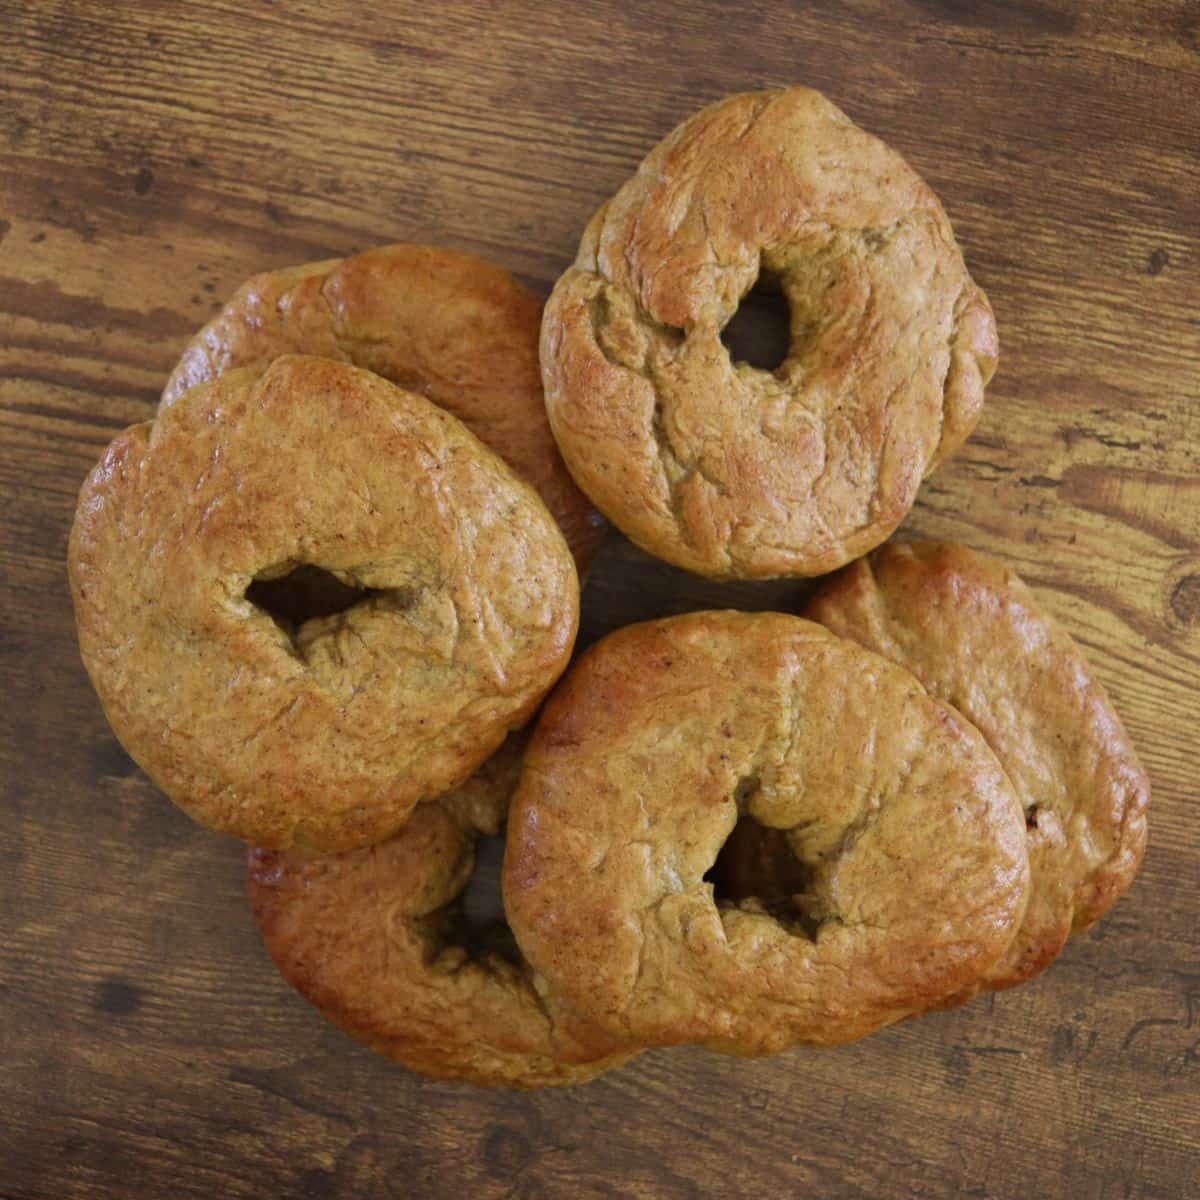
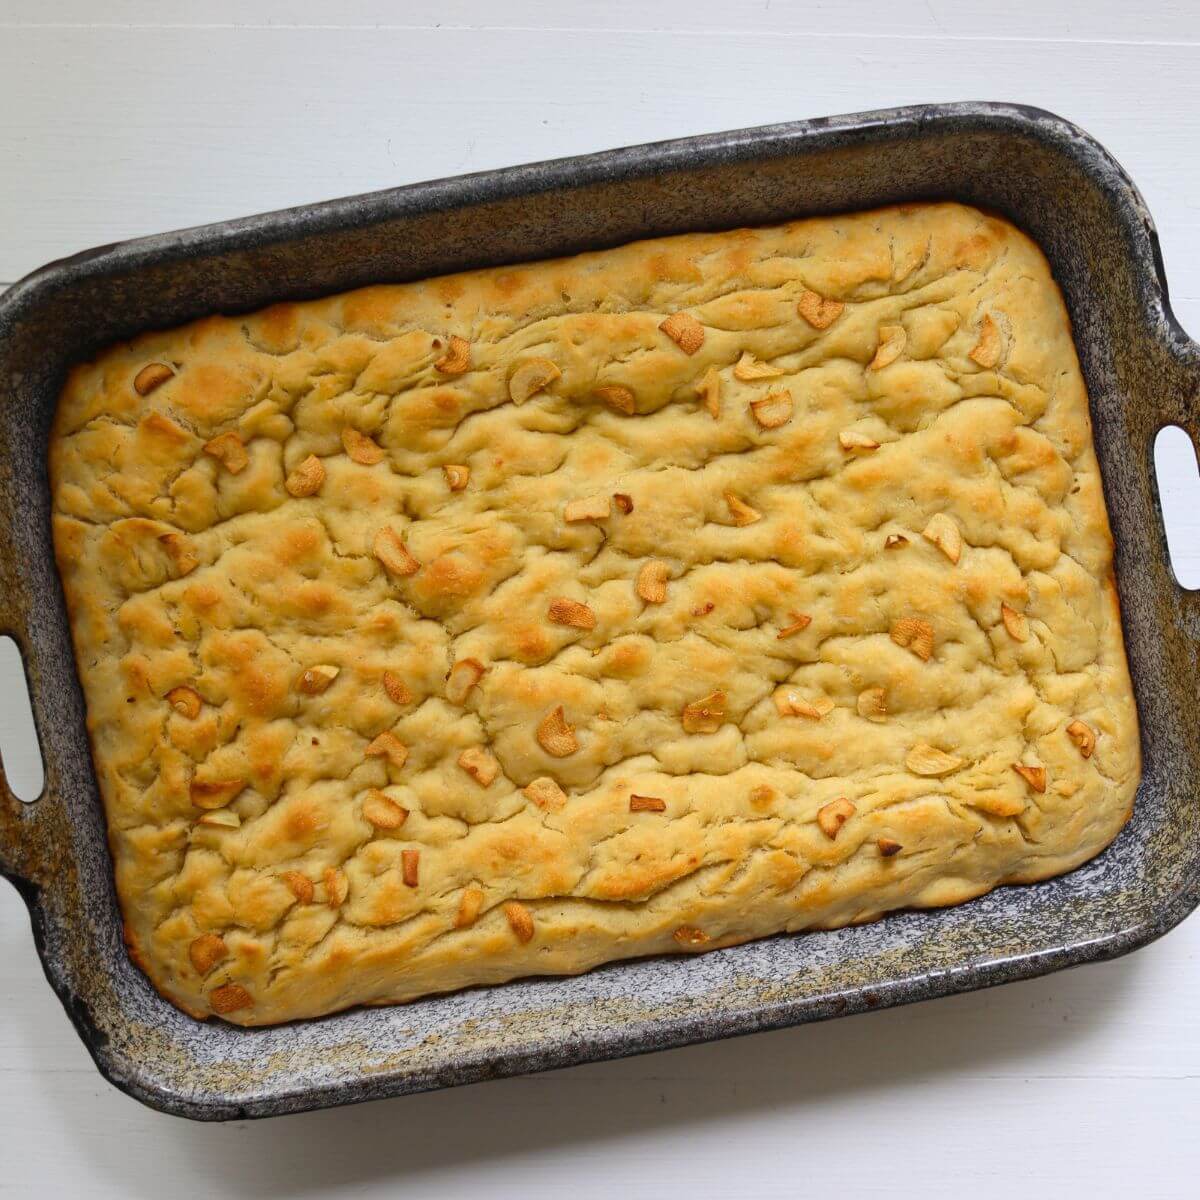
If you like bringing homemade breads to the table as much as I do, be sure to try my easy garlic focaccia, flour tortillas from scratch, and traditional New York bagels next.
Recipe ingredients
- All-Purpose Flour: All-purpose flour has enough protein to develop the gluten needed for a flexible flatbread without making it overly chewy. Choose a good-quality, unbleached all-purpose flour for consistent results and a tender texture.
- Milk: Whole milk provides the moisture needed to bring the dough together. Its fat content contributes to a soft, tender texture, while its natural sugars encourage browning during cooking.
- Butter: Adds a rich, buttery flavor that makes this simple four-ingredient flatbread especially delicious. I use my from scratch butter in this recipe.
See the recipe card for full information on ingredients and quantities.
How to make no yeast flatbread
Step 1: Mix the Dough
Combine the flour and salt in a large mixing bowl, whisking them together to distribute the salt evenly.
Combine the milk and butter in a small saucepan over low heat. Stir occasionally until the butter has completely melted, then remove the saucepan from the heat. Pour the warm mixture into the dry ingredients and stir just until the flour is incorporated.
Don’t expect the dough to look perfectly smooth at this point. It will still be a little rough, with the ingredients just beginning to hold together.
Step 2: Knead the Dough
Turn the dough onto a lightly floured work surface and knead it for about 2 minutes.
Use the heel of your hand to push the dough away from you, fold it back over itself, and give it a quarter turn. Continue working it this way until it becomes smooth and cohesive.
The dough should feel soft and pliable when you’re finished. It doesn’t need the extended kneading that you would give a traditional loaf of yeast bread.
Step 3: Rest the Dough
Cover the dough and let it rest for 30 minutes.
During this time, the flour continues to hydrate and the gluten relaxes. This makes the dough more cooperative when it’s time to roll it out.
You won’t see the dough double in size or develop the airy appearance of a risen yeast dough. That’s not what we’re looking for here.
Step 4: Divide and Roll the Flatbread
Divide the rested dough into 6 equal portions and shape each one into a small disk.
Working with one portion at a time, roll the dough into an approximately 8-inch circle. Turn the dough occasionally as you roll to help maintain a reasonably round shape.
There’s no need to make perfectly shaped circles. What matters is rolling each piece to a fairly uniform thickness so it cooks evenly.
Step 5: Cook the Flatbread in a Skillet
Heat a cast iron or nonstick skillet over medium-high heat. Leave the skillet completely dry; there’s no need to add butter or oil.
Lay one flatbread in the hot skillet and cook it for approximately 1 to 1½ minutes.
You’ll begin to see bubbles forming beneath the surface, and some areas may puff considerably. Lift an edge to check the underside. It should have developed scattered golden-brown spots.
Turn the flatbread over and cook the second side for another 1 to 1½ minutes, until the dough is cooked through.
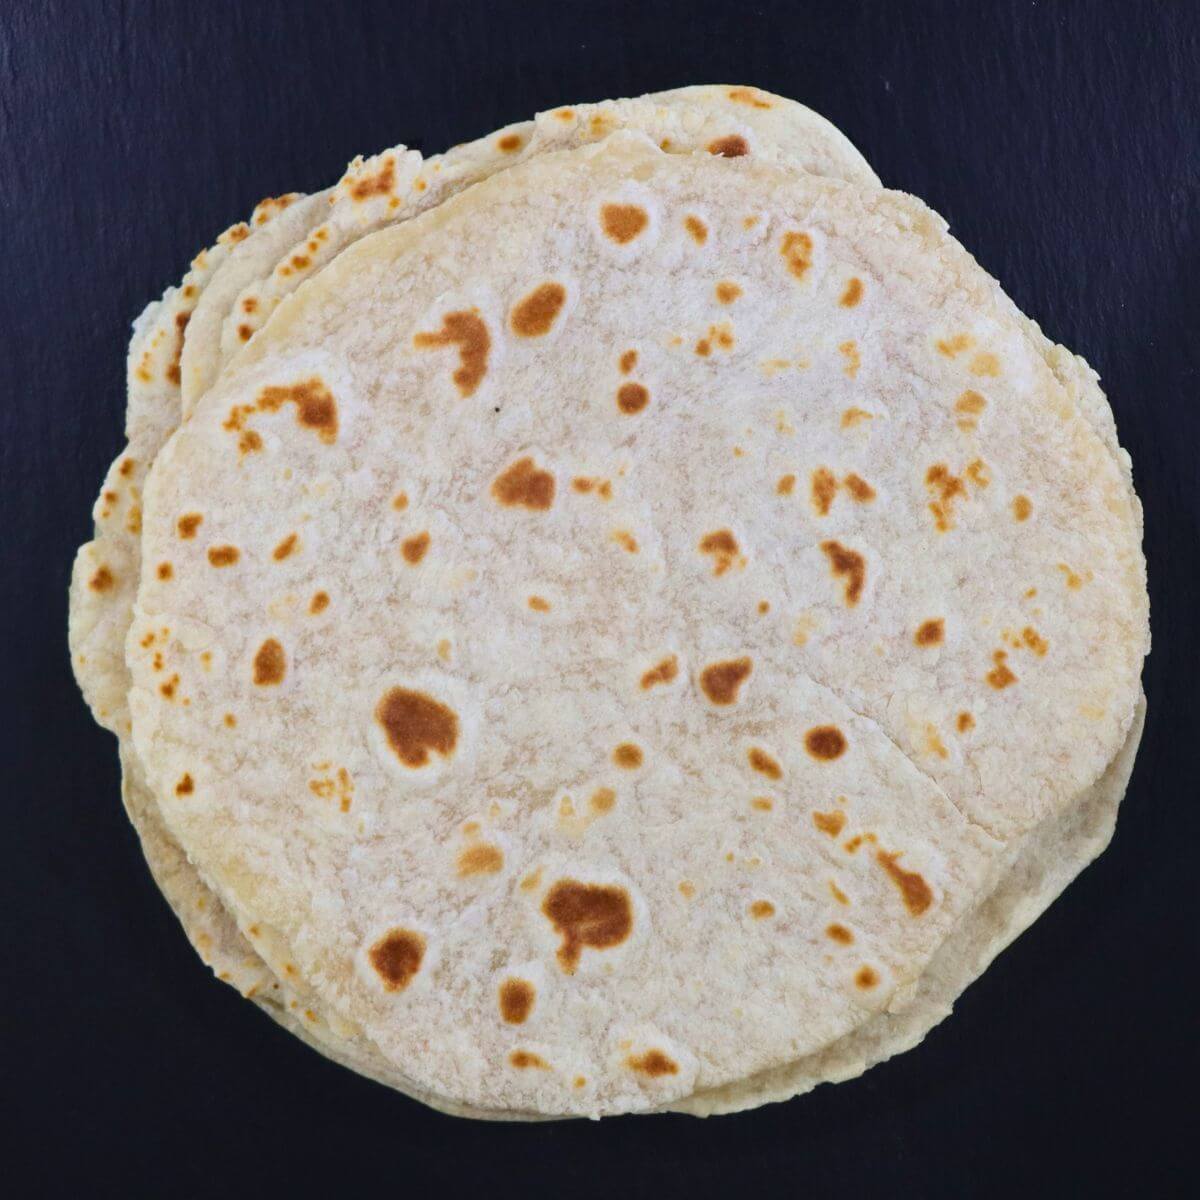
Transfer the finished flatbread to a plate and cover it with a clean kitchen towel. Continue cooking the remaining pieces, stacking them beneath the towel as they’re finished. This retains warmth and moisture between the layers of flatbreads, helping to keep the bread soft and flexible while you finish the batch.
Pro tips
- Use a well-heated skillet: Give your skillet time to heat thoroughly before adding the first flatbread. Cast iron takes longer to heat than some other cookware, but once hot, it maintains its temperature well. A properly heated surface helps the bread puff and develop its characteristic brown spots.
- Use flour sparingly: If the dough sticks to your work surface or rolling pin, a light dusting of flour will make it easier to handle. Use only what you need, as excess flour can make the finished flatbread dry.
- Keep the dough covered: As you roll and cook each flatbread, keep the remaining portions covered with a clean towel. Exposed dough can develop a dry surface, making it more difficult to roll and affecting the finished texture.
- Adjust the heat as you cook: The skillet may become progressively hotter as you work through the batch. If the flatbreads begin browning too quickly, lower the heat a little. You want enough heat to cook the bread quickly without scorching the surface.
Would you like to save this post for later?
Variations and substitutions
This four-ingredient flatbread recipe is a good starting point for several variations. You can change the flavor or adjust some of the ingredients without changing the basic preparation method.
- Whole Wheat Flatbread: Replace up to half of the all-purpose flour with whole wheat flour. Whole wheat absorbs moisture differently and produces a somewhat denser bread, so the dough may need a small adjustment in moisture.
- Garlic and Herb Flatbread: Add finely chopped garlic or fresh herbs to the dough before the resting period. Parsley, rosemary, and thyme are all possibilities, depending on how you plan to serve the bread.
- Dairy-Free Flatbread: Use an unsweetened plant-based milk and replace the butter with olive oil. The finished flatbread will have a different flavor and may be somewhat less tender than the butter-and-milk version.
Storing and reheating
Homemade flatbread is best enjoyed freshly cooked, but leftovers can be stored for another meal.
Storing Leftover Flatbread
Allow the flatbreads to cool completely before placing them in an airtight container or food storage bag. Keeping the bread well sealed helps prevent it from drying out.
Store them at room temperature for up to 2 days or refrigerate them for up to 5 days.
Making Flatbread Dough Ahead of Time
You can prepare the dough in advance if you want to have it ready to roll and cook later.
After kneading, cover the dough tightly and refrigerate it for up to 24 hours. Remove it from the refrigerator and allow it to lose its chill before dividing and rolling. Cold dough can be more difficult to stretch and may shrink back as you roll it.
Freezing Homemade Flatbread
Allow the cooked flatbreads to cool completely. Freeze them individually on a silicone-lined baking sheet until firm, then stack them in a freezer-safe container or bag.
Store in the freezer for up to 2 months.
Reheating Flatbread
A skillet is the best way to reheat homemade flatbread. Place the bread in a dry skillet over medium heat and warm it briefly on each side until heated through. Avoid leaving the bread in the skillet longer than necessary, as excessive heating can dry it out.
Frozen flatbread can be reheated directly from the freezer. It will simply take a little longer to warm.
Serving ideas
One of my favorite things about this homemade flatbread is how versatile it is. I can use it to make all sorts of quick meals, especially when I want something that would normally call for simple flour tortillas or homemade white sandwich bread.
These flatbreads are perfect for making wraps and sandwiches. Fill them with sliced meats, cheese, fresh vegetables, and your favorite condiments for a satisfying lunch or dinner. They also work well for tacos. Try them in place of tortillas for your next homemade chicken taco bar dinner, or fill them with the chicken and vegetables from my Tex Mex chicken sheet pan meal for a quick and easy wrap.
Another great way to use these flatbreads is for homemade quesadillas. Try them with my homemade sweet potato quesadilla, spicy Cajun chicken quesadilla, or easy ham and cheese quesadilla recipes. They’re also a great choice for breakfast quesadillas, like my breakfast bacon and egg quesadilla or cheesy sausage and egg quesadilla. Just keep in mind that these flatbreads are smaller than the tortillas called for in those recipes, so a recipe that normally makes two quesadillas will make four using these flatbreads.
Frequently asked questions
Why doesn’t this flatbread recipe use baking powder?
Baking powder isn’t necessary for this style of flatbread. Rather than relying on a chemical leavening agent, the bread gets its occasional puffed areas from steam generated during cooking. The result is a thin, soft bread rather than the thicker, more uniformly airy texture you might expect from a baking-powder flatbread.
Is no yeast flatbread the same as naan?
Not exactly. Naan is traditionally associated with Indian and Central Asian cooking and is often made with yogurt and a leavening agent.
It’s also commonly cooked against the hot walls of a tandoor, which gives it a distinctive texture and appearance. This recipe is a simpler skillet-cooked flatbread made without yeast, yogurt, or baking powder.
Can I make no yeast flatbread without milk?
You can use water instead of milk, but the results will be different. Milk contributes richness, tenderness, and flavor to this particular dough. A water-based version will generally be less rich and may have a slightly different texture.
Why is my flatbread dough too sticky?
Some stickiness is normal with a soft dough, but it shouldn’t be so wet that it’s impossible to handle. Flour absorption varies, so you may occasionally need to make a small adjustment. If the dough remains excessively sticky after mixing, work in a little additional flour until it’s manageable.
Why is my flatbread dough too dry?
A dry, crumbly dough can happen when flour is measured too generously or when a particular flour absorbs more liquid than expected. Work in a small amount of additional milk until the dough holds together and feels pliable.
Why isn’t my flatbread puffing up?
Flatbread doesn’t always puff uniformly, and that’s perfectly normal. Some pieces may develop large bubbles, while others rise only slightly. If the bread remains completely flat and takes a long time to brown, the skillet may not be hot enough. The dough needs sufficient heat to generate steam quickly.
Can I use this flatbread for wraps?
Absolutely. This recipe makes a soft, flexible bread that works well for wraps and rolled sandwiches. It’s particularly easy to fold while warm, although cooled flatbread can be warmed briefly before filling.
Can I use no yeast flatbread as a pizza crust?
Yes, but this no yeast flatbread is quite thin and doesn’t support pizza toppings as well as a thicker, leavened flatbread. While you can use it for a lightly topped pizza, I recommend using a leavened flatbread recipe instead. It provides a thicker, more substantial base that’s better suited for pizza.
Other recipes you’ll love
If you loved this from scratch no yeast flatbread recipe, give these other great bread recipes a try too!
Homemade Semolina Bread
Savory Pumpkin Dinner Rolls
Farmhouse Yeast Rolls From Scratch
Old Fashioned Buttermilk Biscuits Recipe (Flaky and Tender)
Buttermilk Dinner Rolls From Scratch
Rustic Dutch Oven Rye Bread Recipe With Caraway Seeds
No Yeast Flatbread
Ingredients
- 3 1/2 tablespoons butter
- 3/4 cup whole milk
- 2 cups all-purpose flour
- 1/2 teaspoon salt
Instructions
- Whisk the flour and salt together in a large mixing bowl.
- Combine the milk and butter in a small saucepan over low heat. Stir occasionally until the butter melts, then remove from the heat.
- Pour the warm milk mixture into the dry ingredients and stir until a shaggy dough forms.
- Transfer to a lightly floured work surface and knead for about 2 minutes, until smooth and pliable.
- Cover and let rest for 30 minutes.
- Divide the dough into 6 equal portions. Shape each into a disk and roll into an 8-inch circle.
- Heat a dry cast iron or nonstick skillet over medium-high heat. Cook each flatbread for 1 to 1½ minutes per side, until golden-brown spots develop, and the dough is cooked through.
- Stack the cooked flatbreads on a plate and cover with a clean kitchen towel to keep them soft and flexible until ready to serve.
Notes
-
If the flatbread browns too quickly, reduce the heat slightly. If it remains pale and doesn’t puff, increase the heat.
-
Use only enough flour to prevent sticking when kneading and rolling. Excess flour can make the finished flatbread dry.
-
Prepare the dough up to 24 hours in advance and refrigerate it covered. Allow it to lose its chill before rolling and cooking.
-
Store cooled flatbreads in an airtight container at room temperature for up to 2 days or refrigerate for up to 5 days.
-
Freeze cooked, cooled flatbreads in a freezer-safe container or bag for up to 2 months. Reheat directly from frozen in a dry skillet.
Nutrition
Nutrition information is automatically calculated, so should only be used as an approximation.