Pie Crust From Scratch

Making pie crust from scratch gives you a flaky, tender crust that store-bought dough simply can’t match. Made with just four simple ingredients, this homemade pie crust works beautifully for both sweet and savory pies and freezes well for make-ahead convenience.
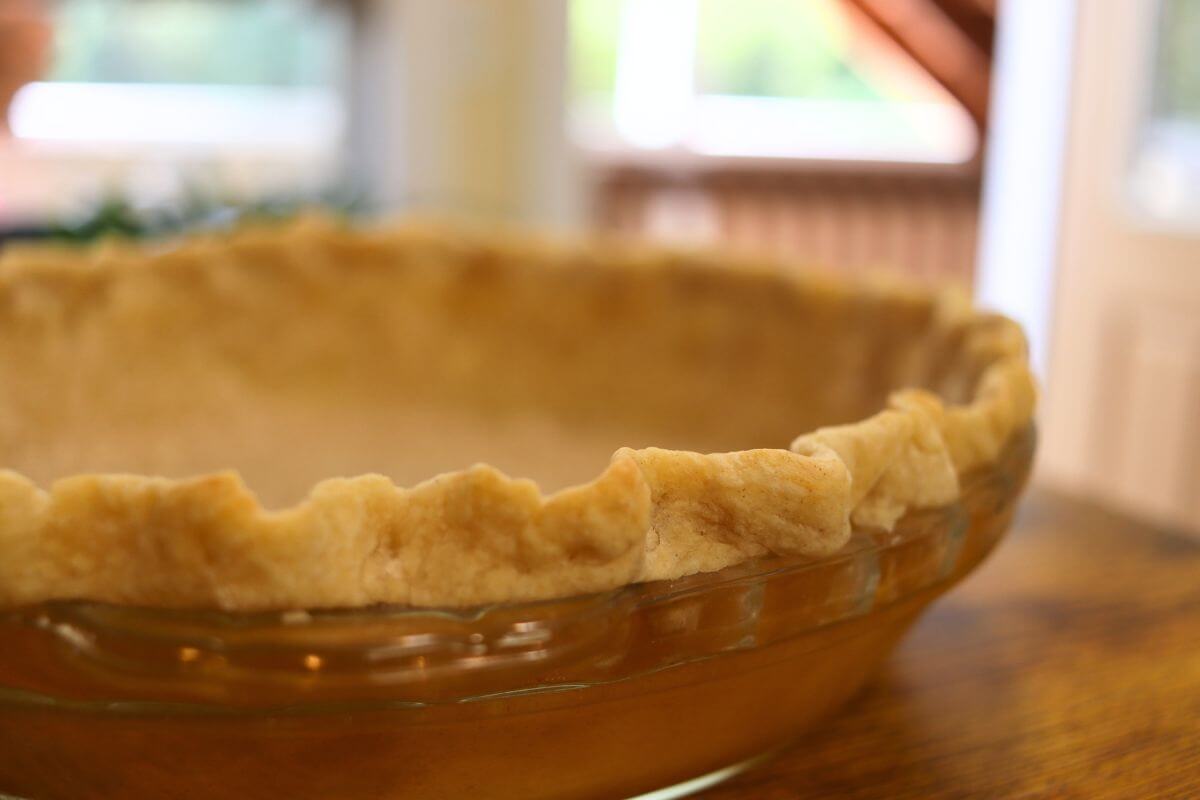
Pie crust is better from scratch
Pie crust was one of the first things I learned to make in my grandmother’s kitchen. Her crust was perfect every time, and she made the whole process look effortless. The truth is, while many people are intimidated by the thought of making their own pie crust, it’s actually very easy to do.
Today I’m sharing Grandma’s classic homemade pie crust recipe with you, along with step-by-step instructions and all the tips and tricks I’ve picked up over the years for getting it right every time. Once you know what makes a good pie crust and see how simple it is to make your own, you will never look in the direction of a store-bought crust again.
If you like making from scratch dough in your kitchen as much as I do, give my easy garlic focaccia, classic buttermilk biscuits, and flour tortillas from scratch a try too.
Recipe ingredients
- All-purpose flour: Provides the structure the pie crust needs, with a moderate protein content that makes it well suited to pastry. It has enough protein to create a crust that holds together well without the higher gluten-forming potential of bread flour, making it a reliable choice without the need for specialty pastry flour.
- Salt: Salt seasons the dough and brings out the flavor of the flour and lard. It’s important even when the crust will be filled with something sweet; without it, homemade pie crust can taste noticeably flat. Fine salt is a good choice because it distributes easily throughout the flour.
- Lard: Lard is the fat that gives this crust its tender texture and distinct flaky layers. Choose a good-quality, neutral-tasting lard for the best results, and keep it cold until you’re ready to work it into the flour. Cold pieces of fat remain dispersed throughout the dough and create pockets as the crust bakes, contributing to its characteristic flakiness.
- Water: Water provides the moisture needed to bring the flour and lard together into a workable dough. Use ice cold water to help keep the lard firm while you mix the crust, and add only as much as the dough needs to hold together. Too much water can encourage excess gluten development and make the finished crust tougher.
See the recipe card for full information on ingredients and quantities.
How to make pie crust from scratch
This recipe makes enough dough for a double-crust pie, with one crust for the bottom of the pie and one for the top. If you’re making a single-crust pie, you can cut the recipe in half or the second portion of dough can be wrapped and frozen for another time.
Step 1: Add the all-purpose flour and salt to a large mixing bowl and stir them together until the salt is evenly distributed throughout the flour.
Step 2: Add the cold lard to the flour mixture. Using your fingertips, a fork, or a pastry cutter, work the lard into the flour until the mixture is crumbly with small, irregular pieces of lard still visible throughout. Don’t try to blend the lard completely into the flour; leaving some pieces intact helps create flaky layers as the crust bakes.
To use a food processor instead, add the flour, salt, and cold lard to the bowl and pulse in short bursts just until the mixture reaches the same crumbly consistency. Avoid running the processor continuously, which can quickly overwork the mixture and warm the lard.
Step 3: Add the icy cold water gradually, mixing it into the flour mixture as you go. Stop adding water as soon as the mixture is moist enough to hold together when you press a small amount between your fingers. The dough does not need to look smooth or feel uniformly moist at this point.
Would you like to save this post for later?
Step 4: Use your hands to bring the mixture together, pressing and working it just enough to form a dough. Handle it as little as possible and stop once it holds together. Overworking pie dough develops more gluten and can make the baked crust tough instead of tender.
Step 5: Divide the dough into two equal portions and gently shape each one into a thick, flat disk. Wrap the disks and refrigerate them for at least 1 hour, until thoroughly chilled. Chilling firms the lard while giving the flour time to hydrate and the gluten time to relax, making the dough easier to roll while helping preserve the texture of the finished crust.
Step 6: Lightly flour your work surface and rolling pin. Place one chilled disk on the surface and roll from the center outward, turning the dough periodically to help maintain an even round and prevent it from sticking. Use only as much additional flour as necessary to keep the dough from sticking, and roll it large enough to fit your pie plate with some dough extending beyond the edge.
Step 7: Loosely roll the dough around the rolling pin or gently fold it to make it easier to move without stretching. Transfer it to the pie plate and ease it into the bottom and sides. Avoid pulling or stretching the dough to make it fit, as stretched dough is more likely to shrink during baking.
Step 8: Add the prepared filling and roll out the second disk using the same method for a double-crust pie. Lay it over the filling, trim the excess dough as needed, then seal and crimp the edges. Cut vents in the top crust so steam can escape during baking. For a single-crust pie, trim and crimp the edges as needed before filling or baking.
Top tips
- Keep everything chilled from start to finish: Cold ingredients are only the beginning. Keep the lard, water, and dough cold throughout the entire process, including while rolling and assembling the pie. If the dough or lard begins to soften as you work, return it to the refrigerator until it firms up again before continuing.
- Roll to an even thickness: Pay attention to the center as well as the edges as you roll. An evenly rolled crust bakes more consistently, while thin areas can become overly browned before thicker areas are fully baked.
- Bake in a glass pie dish: Glass heats gradually and holds heat well, helping the crust bake evenly and giving the bottom enough time to brown and crisp as the filling cooks. As an added benefit, the clear glass lets you check the color of the bottom crust as the pie bakes.
- Brush with egg wash if desired: For a double-crust pie, brush the top crust lightly with egg wash before baking if you want a shinier, more deeply golden finish. Apply a thin, even coating so it doesn’t collect around the edges or in decorative cuts.
- Use a pie crust shield when needed: The exposed edges of a pie crust often brown faster than the rest of the crust. If they reach the color you want before the pie has finished baking, cover them with a pie crust shield for the remainder of the baking time.
- Use pie weights for blind baking: When a recipe calls for partially or fully blind baking the crust, line the chilled crust and fill it with pie weights before it goes into the oven. The weights help keep the bottom from puffing and the sides from slumping while the crust bakes without a filling.
Serve
Once you have a good homemade pie crust recipe, there are plenty of reasons to keep a batch on hand. Use it for classic fruit pies like apple, cherry, blueberry, peach, or pear, or turn it into a savory crust for chicken or turkey pot pie. A single portion of the dough also works well for quiche and other single-crust pies.
For a savory way to use the dough, turn it into handheld meat pies filled with beef, chicken, pork, turkey, or whatever hearty filling you have in mind. My homemade handheld meat pie is filled with leftover turkey, making it a particularly useful recipe to have after a holiday meal when you want to turn those leftovers into something entirely new.
You can also substitute this pie crust for the pastry used in my rustic pumpkin galette. The free-form shape makes a galette an easy way to use one portion of the dough, and the buttery, flaky crust pairs particularly well with the pumpkin filling.
And when apple season arrives, try using it in my apple pan dowdy from scratch. That recipe uses a different crust as written, but this homemade pie crust can be substituted when you want a more traditional flaky pastry topping.
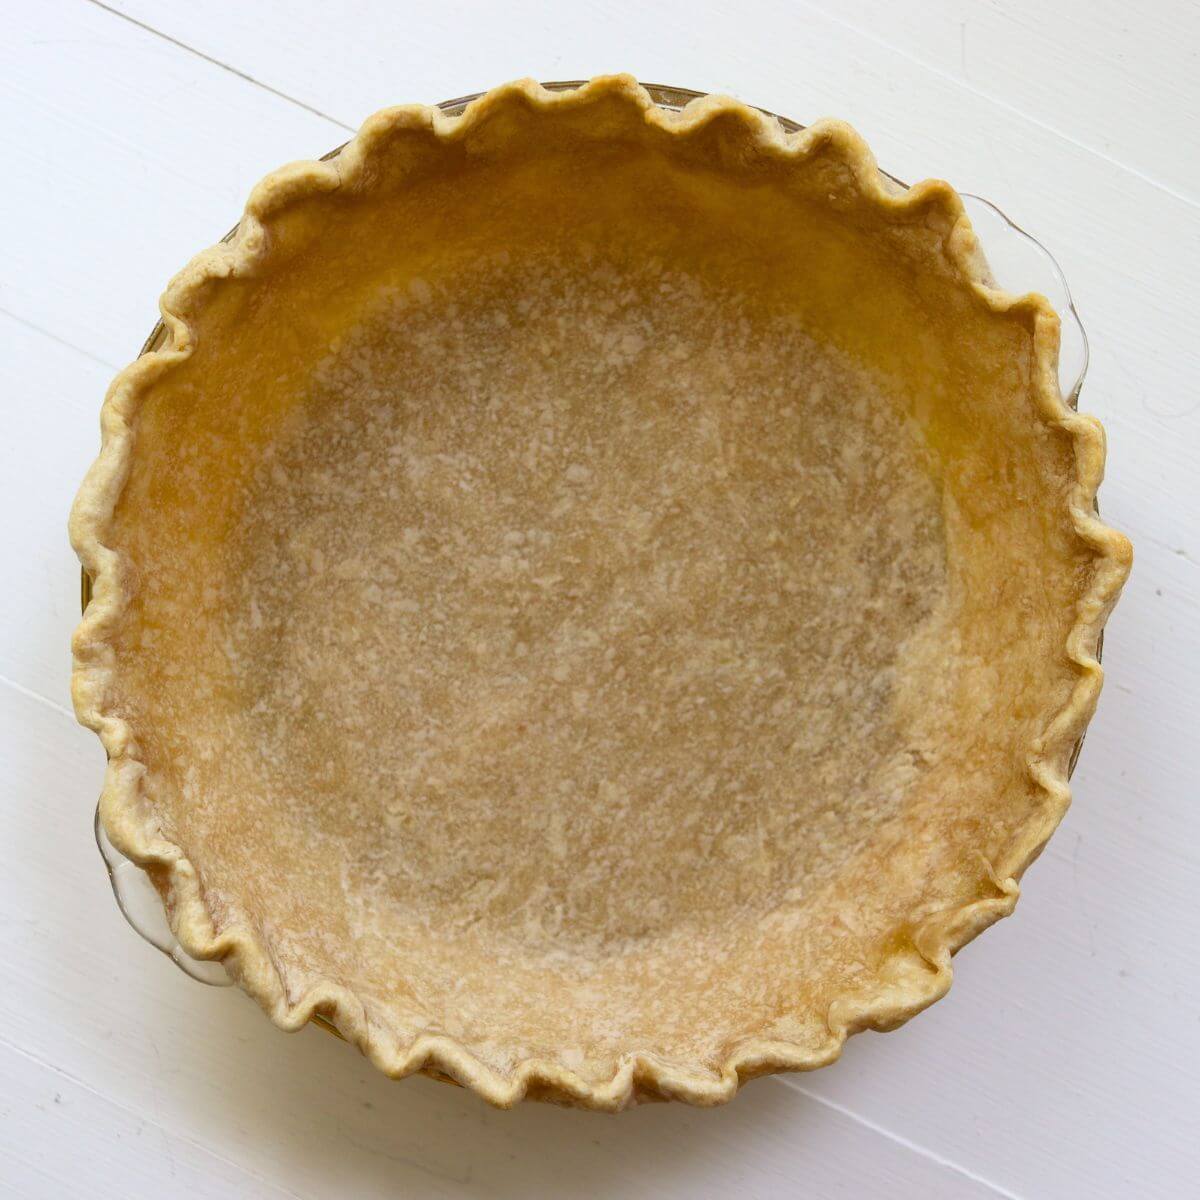
Pie Crust From Scratch
Ingredients
- 2 2/3 cups all-purpose flour
- 1 teaspoon salt
- 1 cup lard
- 10-12 tablespoons icy cold water
Instructions
- Whisk the flour and salt together in a large mixing bowl.
- Cut the cold lard into the flour with a pastry cutter, fork, or your fingertips until crumbly, leaving small pieces of lard throughout. Alternatively, pulse the ingredients briefly in a food processor.
- Add the icy cold water a little at a time, mixing until the dough comes together. Do not overwork the dough.
- Divide the dough in half and shape each portion into a disk. Wrap and refrigerate for at least 1 hour.
- On a lightly floured surface, roll one disk into a round large enough to fit your pie plate. Transfer the dough to the pie plate and gently fit it into the bottom and sides without stretching.
- Fill and finish the crust as directed by the pie recipe you are making. For a double-crust pie, roll out the second disk for the top crust, seal and crimp the edges, and cut vents before baking.
Notes
- Keep the ingredients and dough cold throughout the process. If the lard begins to soften while working with the dough, refrigerate it briefly before continuing.
- Baking time and temperature will depend on the pie you are making. Follow the directions for your chosen filling, including any instructions for partially or fully blind baking the crust.
- For blind baking, line the chilled crust and fill it with pie weights to help prevent the bottom from puffing and the sides from slumping.
- The dough can be made ahead and refrigerated or frozen for later use.
Nutrition information is automatically calculated, so should only be used as an approximation.