Maple Walnut Scones

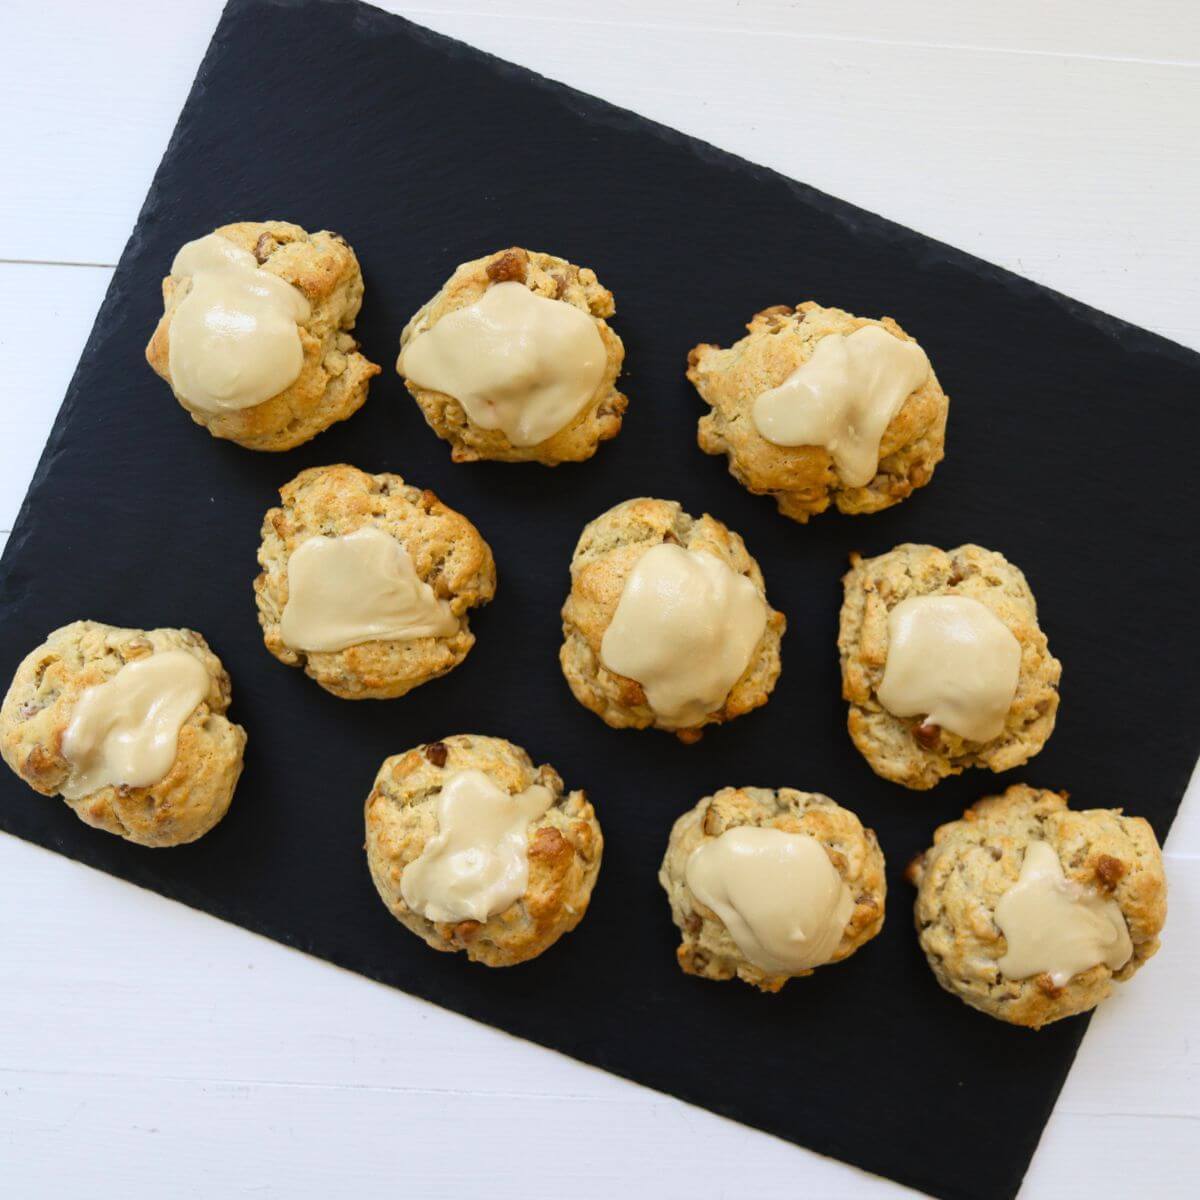
These maple walnut scones are soft, buttery, and packed full of rich maple flavor and chopped walnuts, then topped with a smooth maple icing. They’re easy to make from scratch and perfect for breakfast, brunch, or an afternoon coffee break.
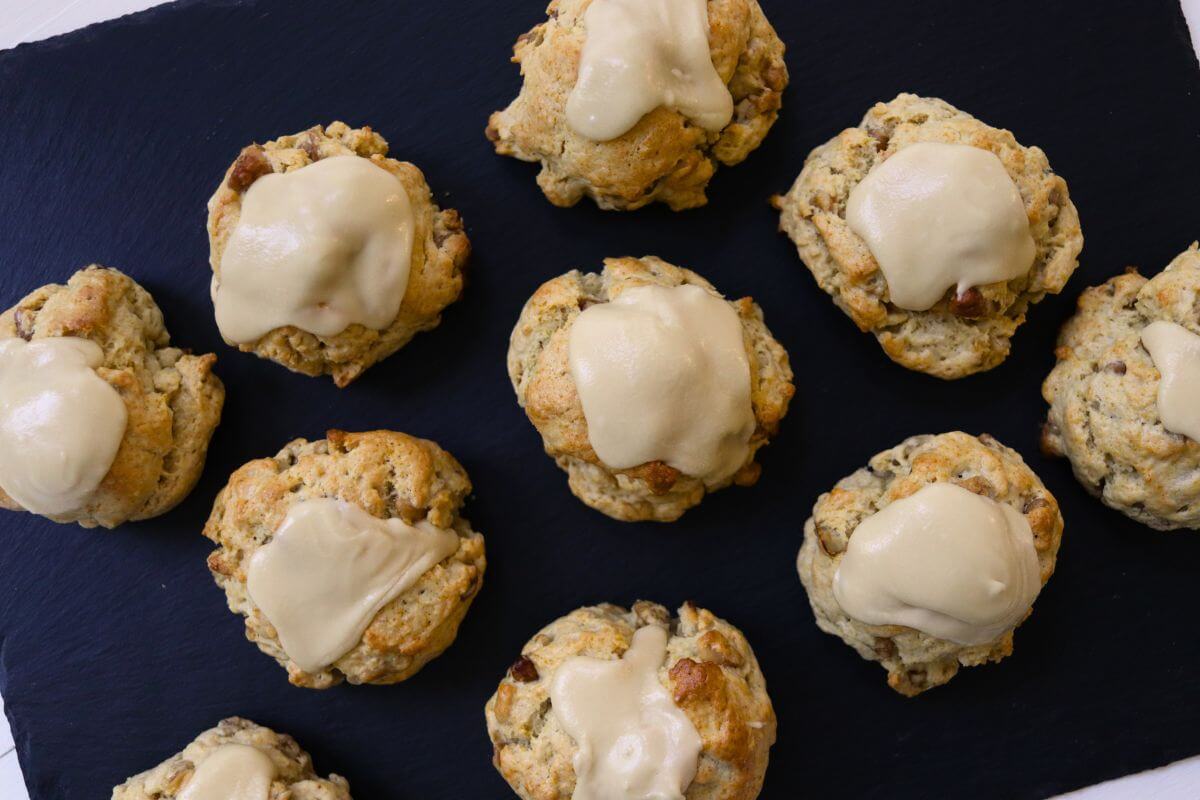
Classic maple walnut flavor in a tender scone
I lived in northern Maine for several years, where maple sugaring is a long-standing tradition and the state ranks among the country’s top maple syrup producers. I’ve always loved pure maple syrup, but living there gave me an even greater appreciation for it. Since then, I’ve used it often in my kitchen to sweeten everything from beverages to homemade baked goods.
The combination of maple syrup and walnuts is a classic for good reason, and it makes an especially delicious scone. This recipe is a little sweeter than a traditional scone because it’s finished with a smooth maple icing, but you can easily leave the icing off if you prefer something less sweet. Either way, these scones are full of rich maple flavor with plenty of chopped walnuts in every bite.
If you love making scones, be sure to try my homemade pumpkin cranberry scones, cinnamon roll scones, and savory apple cheddar scones too.
Recipe ingredients
- All-purpose flour: All-purpose flour gives these scones a tender, delicate crumb while providing enough structure for them to rise without becoming dense. Use a fresh bag of flour if yours has been sitting in the pantry for a long time, as older flour can lose both flavor and baking performance.
- Butter: Use cold, unsalted butter straight from the refrigerator and cut it into small cubes before mixing it into the flour. Cold butter creates the rich flavor and tender texture every good scone should have. If you enjoy making dairy products at home, my from scratch farmhouse butter is an excellent choice for this recipe.
- Heavy cream: Heavy cream produces a richer, more tender scone than milk because of its higher butterfat content. It adds moisture to the dough without making it sticky and contributes to the scones soft texture.
- Maple syrup: Choose 100% pure maple syrup, not pancake syrup or maple-flavored syrup. Pure maple syrup provides a deeper, more complex maple flavor that comes through in both the scones and the icing. Grade A Dark Robust has the boldest maple flavor, but any pure maple syrup will work well.
- Walnuts: Walnut halves generally stay fresher longer than pre-chopped walnuts, so chop them yourself for the best flavor and texture. Their rich, earthy flavor complements the maple syrup perfectly and adds little pockets of nuttiness throughout the scones.
- Brown sugar: Brown sugar adds a warm molasses sweetness that complements the maple and brings out the rich, nutty flavor of the walnuts. Its added moisture also helps give the scones a tender crumb while encouraging a nicely browned exterior. Fresh homemade brown sugar is a great choice for its soft texture and rich molasses flavor.
See the recipe card for full information on ingredients and quantities.
Would you like to save this post for later?
How to make maple walnut scones
For the scones:
Step 1: Preheat your oven to 400°F (200°C). Line a baking sheet with a silicone baking mat to prevent the scones from sticking and to encourage even browning.
Step 2: Add the all-purpose flour, baking powder, and salt to the bowl of a stand mixer fitted with the paddle attachment. Mix on low speed just until the dry ingredients are evenly combined.
Step 3: Add the cold butter and mix on low speed until it is broken into pea-sized pieces. The mixture should look crumbly with small pieces of butter distributed throughout the flour.
Step 4: Add the chopped walnuts, heavy cream, egg, maple syrup, and brown sugar. Mix on low speed just until the dough comes together and no dry flour remains. Stop mixing as soon as everything is incorporated to keep the scones tender.
Step 5: Using a scoop, portion the dough into 10 equal mounds and place them on the prepared baking sheet, spacing them about 2 inches apart to allow room for spreading as they bake.
Step 6: Lightly brush the tops of the scones with heavy cream. This helps them bake to a beautiful golden brown while adding a subtle richness to the crust.
Step 7: Bake for 18 to 20 minutes, or until the tops are lightly golden brown and the scones are baked through.
Step 8: Remove the baking sheet from the oven and transfer the scones to a wire rack. Allow them to cool for 15 minutes before adding the icing.
For the icing:
Step 1: In a small bowl, whisk together the powdered sugar, maple syrup, and softened butter until smooth and creamy with no lumps remaining.
Step 2: Spoon a dollop of maple icing into the center of each cooled scone and allow it to spread over the top on its own. Let the icing set for a few minutes before serving.
Top tips
- Toast the walnuts before chopping them: Spread the walnuts on a baking sheet and toast them at 350°F (175°C) for 5 to 8 minutes, then let them cool completely before chopping. Toasting deepens their flavor and makes the maple and walnut combination even more pronounced.
- Chill the dough if your kitchen is warm: If the dough becomes soft while you’re mixing or scooping it, refrigerate it for 15 to 20 minutes before baking. Starting with a colder dough helps the scones bake up taller and keeps the texture tender.
- Rotate the baking sheet halfway through baking: After about 10 minutes, rotate the baking sheet for more even browning, especially if your oven has hot spots.
- Let the scones cool before icing: If the scones are too warm it will cause the maple icing to become thin and run off the tops. Allowing them time to cool will keep the icing set in the top center of the scone.
- Freeze unbaked scones for fresh-baked flavor anytime: Scoop the dough onto a parchment-lined baking sheet and freeze until firm, then transfer the portions to a freezer-safe container or freezer bag. Bake directly from frozen, adding 2 to 4 minutes to the baking time, so you can enjoy freshly baked maple walnut scones whenever you want.
Other recipes you’ll love
If you loved this from scratch scone recipe, give these other great baked goods recipes a try too!
Peanut Butter Scones Recipe
Vanilla Caramel Cake with Homemade Caramel Frosting
Apple Pan Dowdy
Raspberry Biscuit Pudding with Vanilla Cream Glaze
Chocolate Peppermint Cake
Moist Lemon Crunch Cake Recipe
Maple Walnut Scones
Ingredients
For the scones:
- 2 1/2 cups all-purpose flour
- 1 tablespoon baking powder
- 1/2 teaspoon salt
- 1/2 cup butter cold, cut into small cubes
- 1 cup chopped walnuts
- 1/2 cup heavy cream + more for brushing
- 1 large egg
- 1/4 cup pure maple syrup
- 2 tablespoons brown sugar
For the icing:
- 1/2 cup powdered sugar
- 3 tablespoons maple syrup
- 1 tablespoon butter room temperature
Instructions
For the scones:
- Preheat the oven to 400°F (200°C). Line a baking sheet with a silicone baking mat or parchment paper.
- In the bowl of a stand mixer, combine the flour, baking powder, and salt. Add the cold butter and mix until the butter is broken into pea-sized pieces.
- Add the chopped walnuts, heavy cream, egg, pure maple syrup, and brown sugar. Mix just until a shaggy dough forms and no dry flour remains. Do not overmix.
- Divide the dough into 10 equal portions and place them on the prepared baking sheet, leaving about 2 inches between each scone. Brush the tops with heavy cream.
- Bake for 18 to 20 minutes, or until the tops are lightly golden and the scones are baked through.
- Transfer the scones to a wire rack and let them cool for 15 minutes.
For the icing:
- Whisk together the powdered sugar, pure maple syrup, and heavy cream until smooth. Spoon a dollop of icing into the center of each cooled scone and allow it to spread naturally over the top. Let the icing set for a few minutes before serving.
Notes
- Use cold butter straight from the refrigerator for the most tender scones.
- Toast the walnuts before adding them to the dough for a deeper, richer flavor. Let them cool completely before mixing them in.
- Scoop the dough into evenly sized portions so all of the scones bake at the same rate and finish at the same time.
- Store leftover scones in an airtight container at room temperature for up to 2 days or refrigerate for up to 5 days. Freeze for up to 3 months.
Nutrition
Nutrition information is automatically calculated, so should only be used as an approximation.