Spicy Pickled Garlic Recipe

This spicy pickled garlic recipe turns whole garlic cloves into crisp, tangy bites with a lively kick. The sharp bite of fresh garlic mellows in the brine, while the crushed red pepper flakes add a hit of heat, making these punchy little cloves a great addition to sandwiches, charcuterie boards, salads, and more.
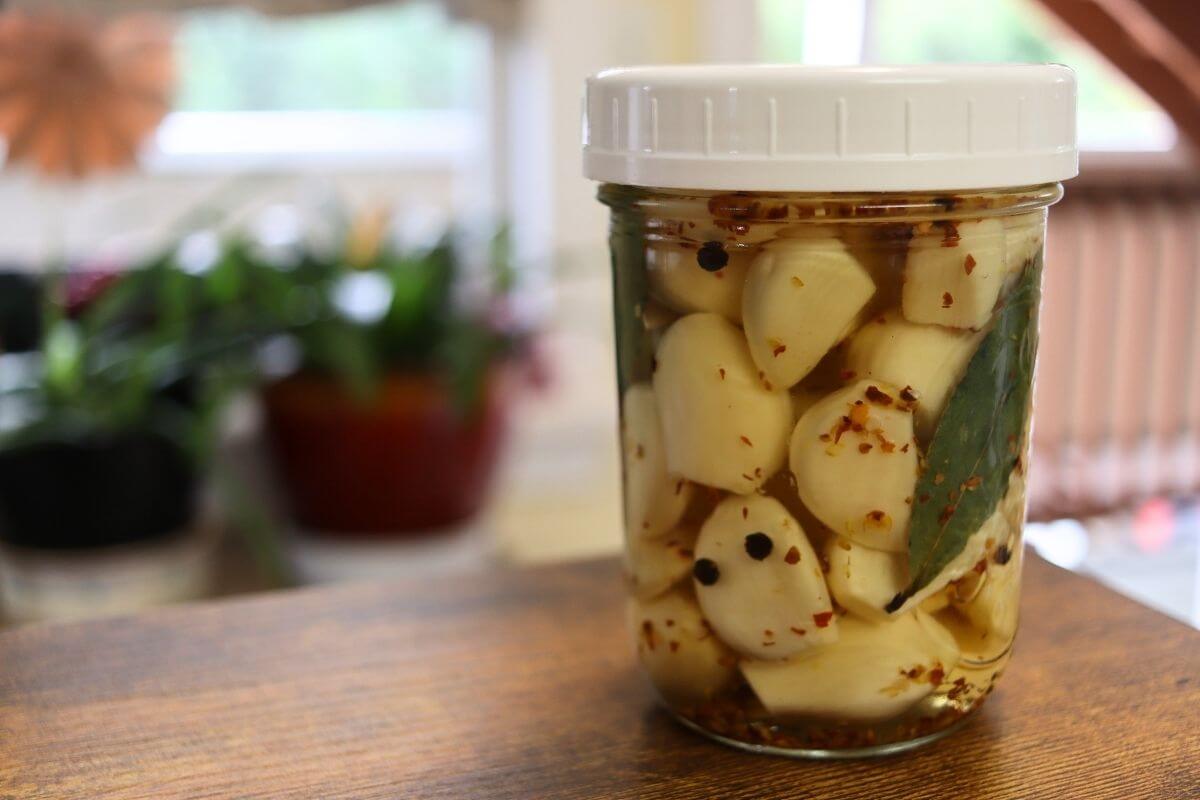
Spicy and pickled is good for garlic
The first time I ever saw a charcuterie board, it had a little dish of spicy pickled garlic tucked next to the olives and cheese. I’m not sure what I was more taken by — the board or the garlic. But I do know that I decided right then that when I finally embarked on my pickling journey, spicy garlic cloves would be high on my must-make list.
I’ve done a little quick pickling over the years, but it’s been random and pretty inconsistent. This year, I finally dove headfirst into the deep waters of the pickling art. And spicy garlic, also known as chili pepper garlic, still made the cut. This recipe is simple, uses very few ingredients, and is really versatile in the kitchen. Make it once, and you’ll be replenishing it every time your jar runs low.
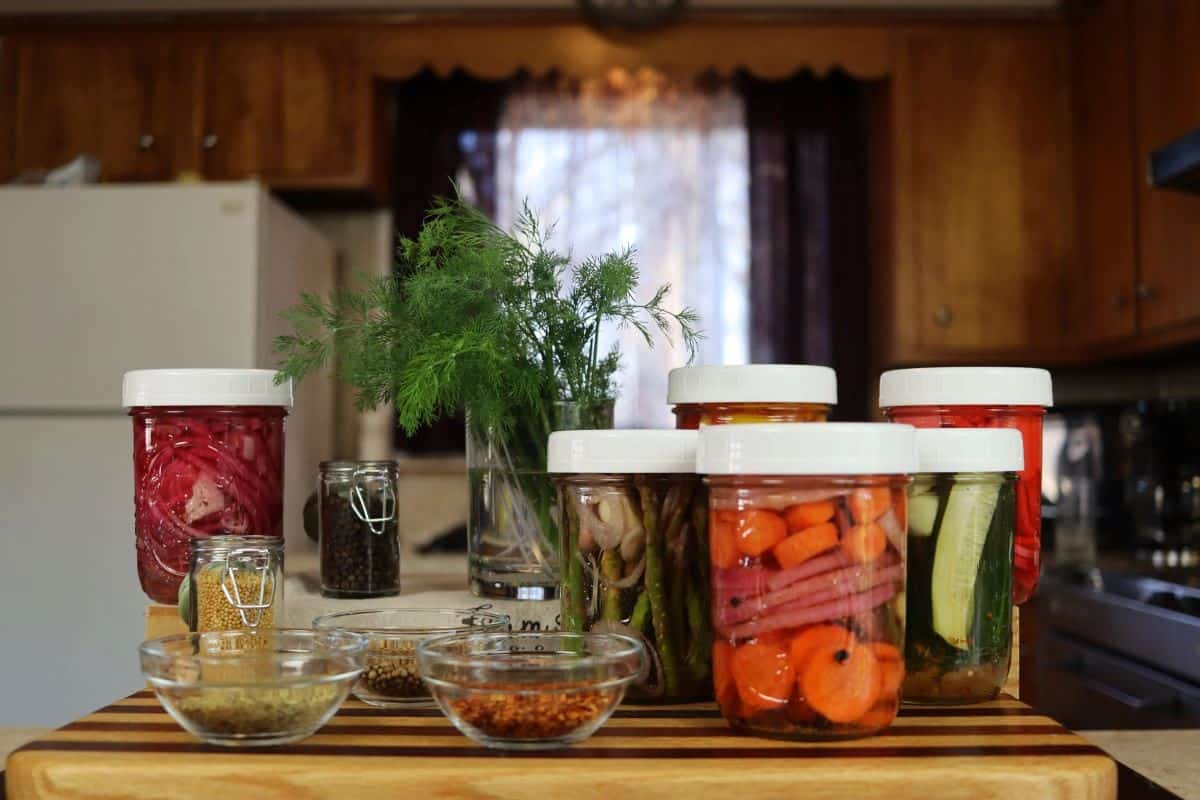
If you love preserving fruits and vegetables in the kitchen as much as I do, be sure to try my classic pickled mushrooms, garlic dill pickles, and Moroccan preserved lemons next.
Recipe ingredients
- Garlic cloves: Choose firm, plump garlic cloves that are free from soft spots, mold, and significant sprouting. The cloves are the star of the recipe, and as they sit in the brine their assertive raw garlic bite mellows while they retain a bold garlic flavor.
- White wine vinegar: Choose an unseasoned white wine vinegar with 5% acidity. It provides the acidity needed for the quick-pickling brine and has a less aggressive flavor than distilled white vinegar, allowing the garlic and chile to remain the prominent flavors in the jar.
- Pickling salt: Pickling salt is ideal for the brine because it dissolves cleanly and contains no anti-caking agents or iodine that can cloud the liquid. It seasons the garlic and helps balance the acidity of the vinegar.
- Crushed red pepper flakes: Use standard crushed red pepper flakes for a noticeable but approachable chile heat. The flakes infuse both the garlic and the brine as they sit, so the heat becomes more pronounced with time.
- Fresh bay leaf: Fresh bay leaf contributes a subtle herbal aroma and slight bitterness that balances the sharp garlic, vinegar, and chile. A dried bay leaf can also be used; its flavor is more concentrated, so use a smaller amount when substituting dried for fresh.
See the recipe card for full information on ingredients and quantities.
How to make spicy pickled garlic
Step 1: Trim the hard root end from each garlic clove, then remove and discard the papery skin. Leave the cloves whole.
Step 2: Combine the white wine vinegar, granulated sugar, and pickling salt in a measuring cup or bowl. Stir until the sugar and salt are completely dissolved.
Step 3: Place the peeled garlic cloves in a clean pint jar. Add the crushed red pepper flakes and black peppercorns, then tuck the two bay leaves down alongside the garlic cloves in the jar.
Step 4: Pour the brine into the jar, making sure the garlic and bay leaves are completely covered. Gently tap the jar on the counter or run a clean utensil around the inside to release any trapped air, then add more brine if needed. Cover the jar tightly and refrigerate.
Step 5: As you use the pickled garlic, make sure the remaining cloves stay beneath the brine. Properly refrigerated, the spicy pickled garlic will keep for up to 1 year.
Would you like to save this post for later?
Peeling the garlic cloves
Peeling enough garlic cloves to make spicy pickled garlic takes a little time, but trimming the cloves first makes the job much easier. These simple techniques help loosen the papery skins while keeping the cloves whole and intact for pickling.
- Trim the root end: Cut the hard root end from each garlic clove before you start peeling. This breaks the skin where it clings tightly to the clove and gives you an edge to start pulling it away.
- Roll stubborn cloves: If the skin doesn’t release easily after trimming, gently roll the clove between your fingers. The light pressure helps separate the papery skin from the garlic without crushing the clove.
- Shake a batch in a covered container: Place several separated garlic cloves in a sturdy container with a tight-fitting lid and shake vigorously for 20 to 30 seconds. The cloves knocking against one another can loosen much of the skin, leaving less to remove by hand.
Top tips
- Add fresh herbs for another layer of flavor: Tuck a small sprig of fresh thyme, rosemary, oregano, or dill into the jar to infuse the brine with an herbal note as the garlic pickles. Choose one herb rather than combining several so its flavor complements the garlic and chile without muddying the brine.
- Use a pickling weight if needed: A small glass pickling weight is an easy way to keep the garlic cloves beneath the surface of the brine, particularly when the jar is full and the cloves are prone to floating. It isn’t required, but it can make keeping everything submerged easier.
- Give the garlic time to pickle: Refrigerate the garlic for at least 1 week before eating it. After 2 to 3 weeks, the sharp raw-garlic bite will have mellowed further and the cloves will have taken on more flavor from the seasoned brine.
- Shake the jar occasionally: A gentle shake during the first few days redistributes the crushed red pepper flakes and peppercorns through the brine as the garlic pickles.
- Adjust the heat in your next batch: Crushed red pepper continues to infuse the brine as the garlic sits, so taste the finished garlic before deciding whether to increase or decrease the amount of pepper flakes the next time you make it.
- Don’t worry if the garlic changes color: Garlic can sometimes develop blue or green coloring after it is exposed to an acidic pickling brine. This is a natural chemical reaction and doesn’t mean the garlic has spoiled.
- Reach for a clean utensil: Always remove garlic cloves from the jar with a clean fork or spoon rather than your fingers or a utensil that has already touched other food. This helps prevent introducing food particles and microorganisms into a jar that may be stored in the refrigerator for many months.
- Use the brine too: Once it has had time to pick up the garlic, chile, peppercorn, and bay flavors, the brine can add a punch of acidity and heat to vinaigrettes, marinades, and savory sauces.
Serve
Spicy pickled garlic is right at home on a charcuterie board alongside cured meats, good cheeses, olives, and other pickled vegetables. You can also slice the cloves for sandwiches and burgers, chop them into pasta and grain salads, scatter them over pizza, or serve them alongside rich meats where their tangy heat provides a welcome contrast.
For sandwiches, try a few thin slices tucked into a chicken salad sandwich with basil, or serve them alongside an old fashioned tuna melt for a sharp, spicy bite between bites of the warm sandwich. They’re also a natural match for a hot hamburger sandwich with gravy, where the acidity of the pickled garlic cuts through the rich beef and gravy.
You can also give a classic Greek pasta salad classic Greek pasta salad a little extra kick by using pressed spicy pickled garlic in place of the fresh garlic already called for in the recipe. You can even scatter sliced cloves over a Halloween spider pizza after it comes out of the oven, adding a spicy option for the adults without changing the fun olive-spider design.
For a hearty dinner, put a small dish of the garlic on the table alongside homemade braised red cabbage and hot Italian sausage from scratch. The tangy chile-spiked cloves are especially good with the richness of sausage, so they’re equally at home beside easy sweet Italian sausage when you want that same contrast without additional heat in the sausage itself.
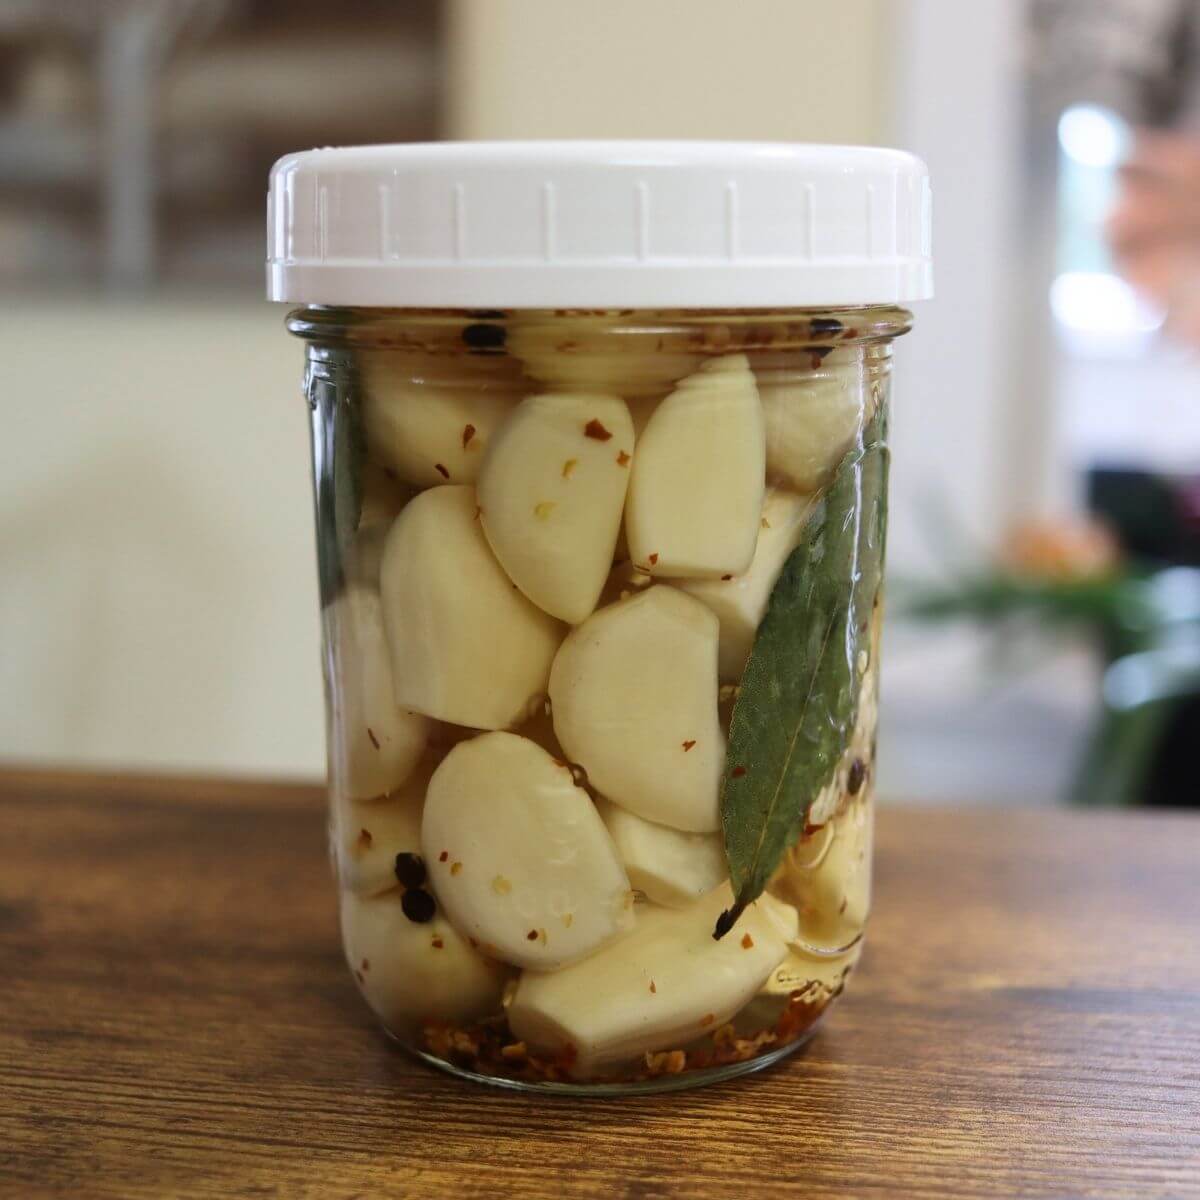
Spicy Pickled Garlic
Ingredients
- 2 cups garlic cloves peeled
- 1 cup white wine vinegar 5% acidity
- 1/2 teaspoon granulated sugar
- 1/2 teaspoon pickling salt
- 1/2 teaspoon crushed red pepper flakes
- 12 whole black peppercorns
- 2 fresh bay leaves
Instructions
- Trim the hard root ends from the garlic cloves and remove the papery skins. Leave the cloves whole.
- Stir the white wine vinegar, granulated sugar, and pickling salt together until the sugar and salt are completely dissolved.
- Place the garlic cloves in a clean pint jar. Add the crushed red pepper flakes and black peppercorns, then tuck the bay leaves in the jar alongside the garlic.
- Pour the brine into the jar, completely covering the garlic and bay leaves. Cover tightly and refrigerate.
- Allow the spicy pickled garlic to pickle for at least 1 week before serving. For a mellower garlic flavor and more developed brine, allow 2 to 3 weeks.
Notes
- Keep the garlic cloves completely submerged in the brine during storage. A small glass pickling weight can be used if needed.
- Always use a clean utensil to remove garlic cloves from the jar.
- Store the spicy pickled garlic covered in the refrigerator for up to 1 year.
- Garlic may turn blue or green during pickling. This is a natural reaction and does not indicate spoilage.
- For extra flavor, add a small sprig of fresh thyme, rosemary, oregano, or dill to the jar.
Nutrition information is automatically calculated, so should only be used as an approximation.