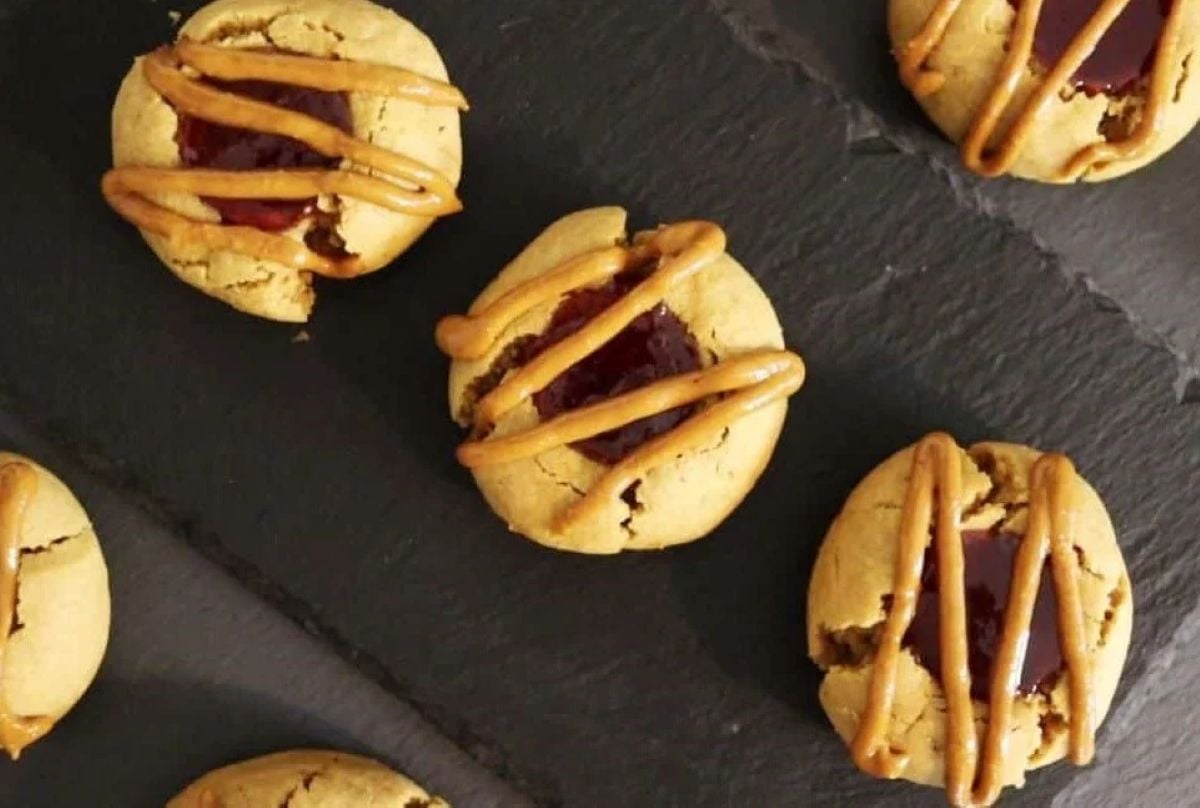
Peanut Butter And Jelly Thumbprint Cookie Recipe

These peanut butter and jelly thumbprint cookies are a soft, rich twist on the classic thumbprint cookie you know and love. Perfect for holiday cookie trays, and for year-round baking, they combine a tender peanut butter base with a sweet burst of your favorite jelly in every bite.
If you love cookies, you’ll want to try my Nutella cookies, pecan butterball cookies, and my double chocolate cookies next.
Let’s talk about this recipe
Every Christmas season when I was growing up, my grandmother and I would spend an entire afternoon baking cookies. We made all kinds — sugar cookies, butterball cookies, and chocolate crinkles — but these peanut butter and jelly thumbprint cookies were my absolute favorite. I couldn’t wait to make them every year.
The soft, nutty cookie paired with sweet jelly was unlike anything else on the tray. Now that I’m all grown up, I bake them all throughout the year. They are one of my go-to sweets when I want to whip up a little nostalgia in the kitchen — right up there with my cast iron skillet cinnamon rolls.
What makes this recipe so good
- Soft, rich peanut butter dough bakes up beautifully while still holding its shape for the thumbprint.
- A bright burst of jelly adds sweet contrast to the nutty cookie base.
- Natural peanut butter (just peanuts + salt) gives the cleanest peanut flavor and a more consistent dough.
- Simple, reliable steps make this recipe just as easy for an everyday bake as it is for a holiday cookie tray.
- These cookies stay fresh for days, so you can make them ahead without losing flavor or texture.
Ingredients you’ll need
You only need a handful of everyday baking staples to make these cookies — and if you’re a peanut butter fan, you probably already have them on hand.
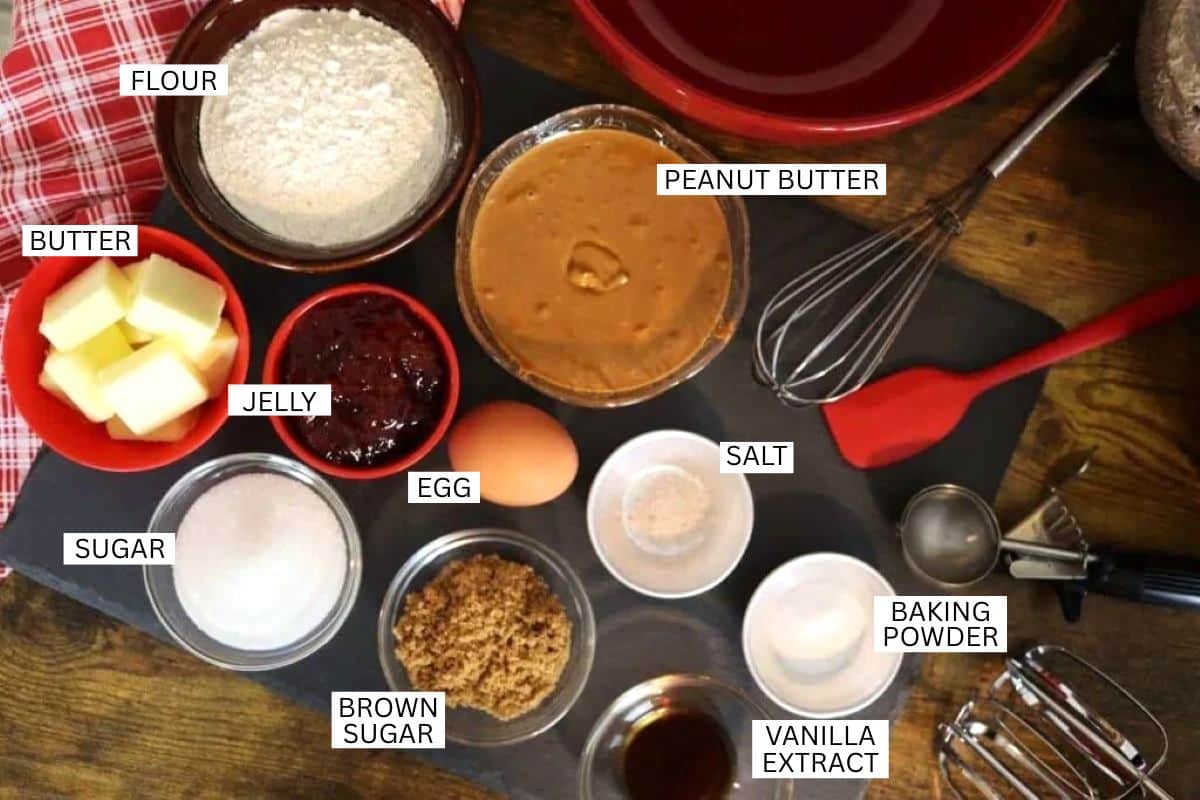
- Peanut butter: Use peanut butter with a short ingredient list; it keeps the peanut flavor forward and the dough easy to work with.
- Jelly: I used strawberry for this batch, but any flavor works. I highly recommend pure fruit spread — it gives a fresher, more vibrant fruit flavor than standard jelly.
See recipe card below for full information on ingredients and quantities.
Make it your own
- Swap the jelly for jam, preserves, or pure fruit spread, in your favorite flavor — perfect for working in seasonal fruit flavors throughout the year.
- Fill the thumbprint with chocolate ganache, marshmallow cream, or creamy cookie dip, for a sweeter twist that works well for parties or a casual weekend treat.
- Press in a chocolate kiss, mini peanut butter cup, or Rolo candy, instead of making a thumbprint for an easy candy-cookie combo.
- Use seedless jelly for a smoother bite, or chunky jam for extra fruit texture, depending on your preference.
- Try chunky peanut butter in the dough, instead of smooth, for added texture and little pops of crunchy peanut goodness in every bite.
How to make peanut butter and jelly thumbprint cookies
Making these cookies is simple and a little bit fun — exactly how baking should be. With just a few basic steps, you’ll go from mixing bowl to a tray of warm, jelly-filled peanut butter goodness in no time.

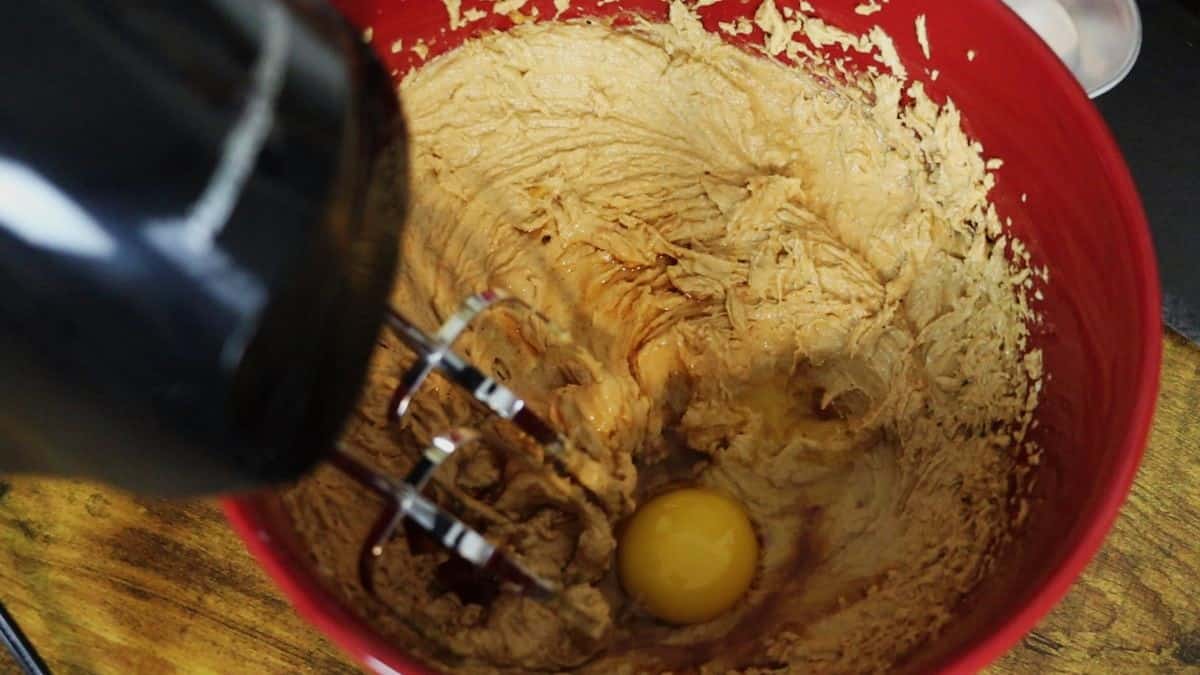
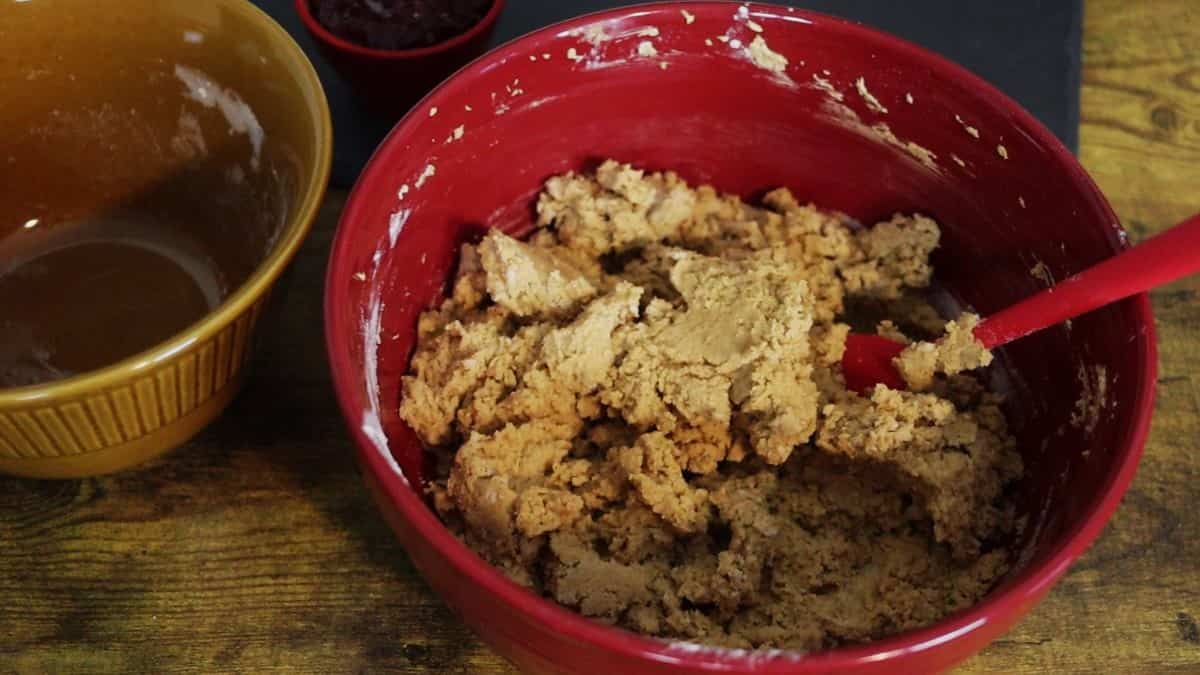
Step 1: In a large bowl, blend the peanut butter and butter until smooth, then beat in the sugars until the mixture is creamy.
Step 2: Mix in the vanilla extract and egg until combined.
Would you like to save this post for later?
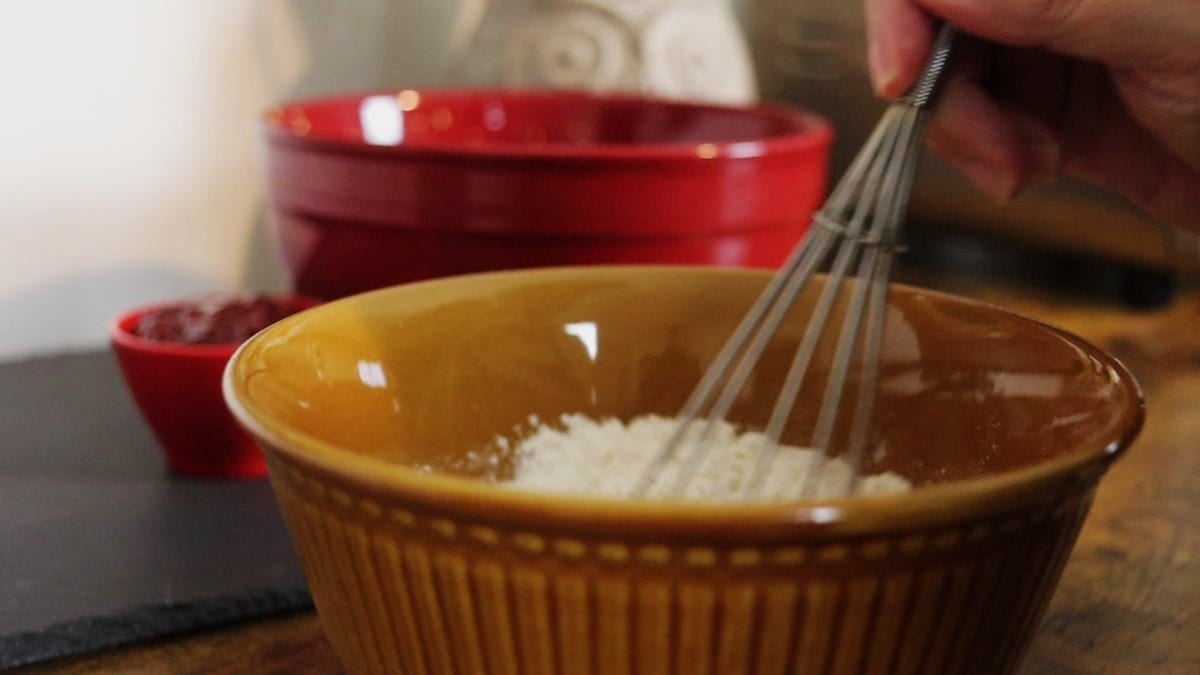
Step 3: In another bowl, whisk together the flour, baking soda, and salt.
Step 4: Fold the dry mixture into the wet ingredients in increments, mixing just until combined.
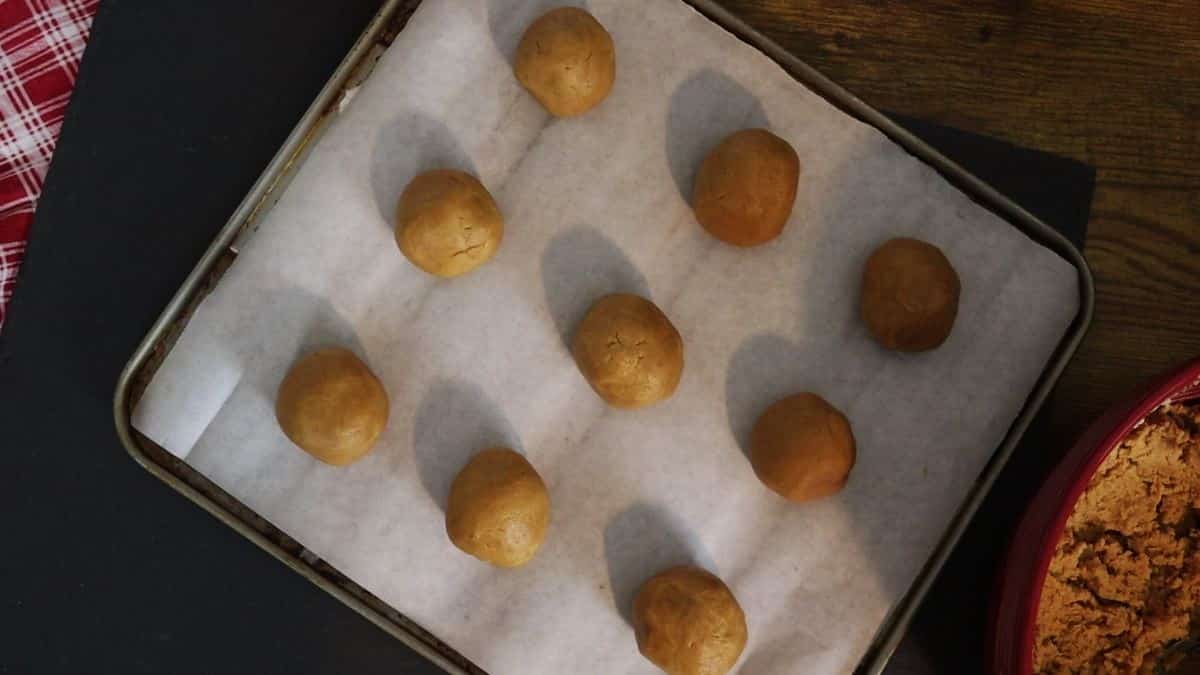
Step 5: Scoop and roll the dough into balls, place them on a parchment-lined baking sheet, and bake at 350°F (175°C) for 15 minutes.
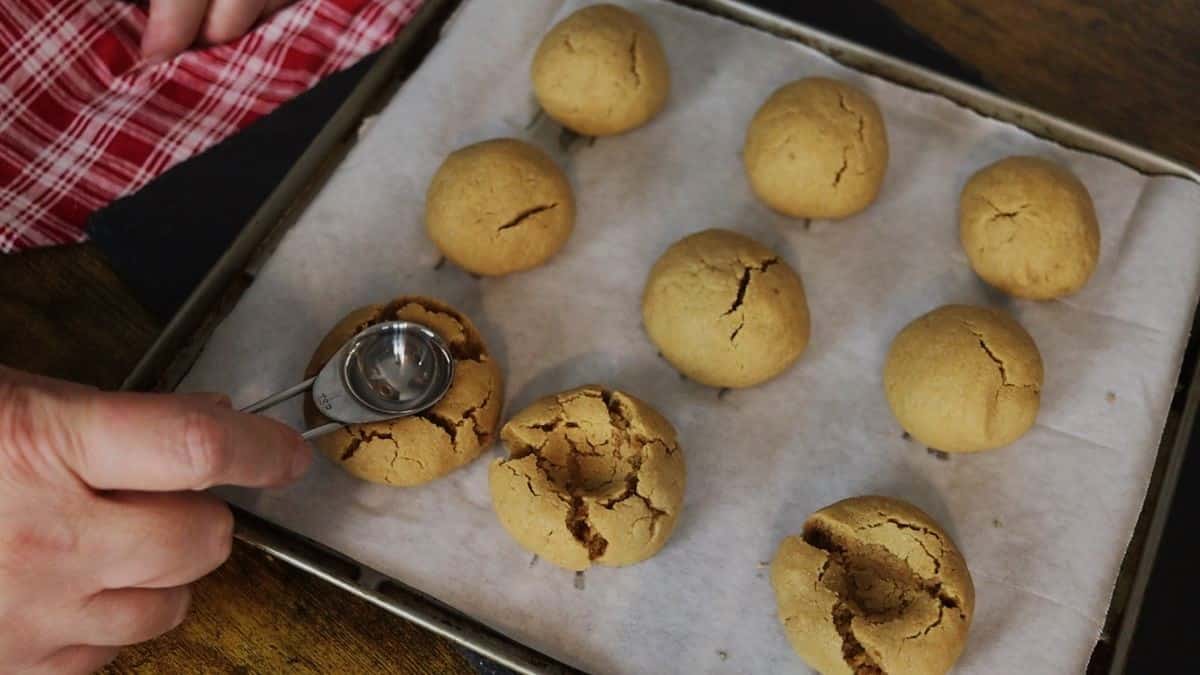
Step 6: Remove from oven and use the back of a measuring spoon to create a thumbprint in each cookie.
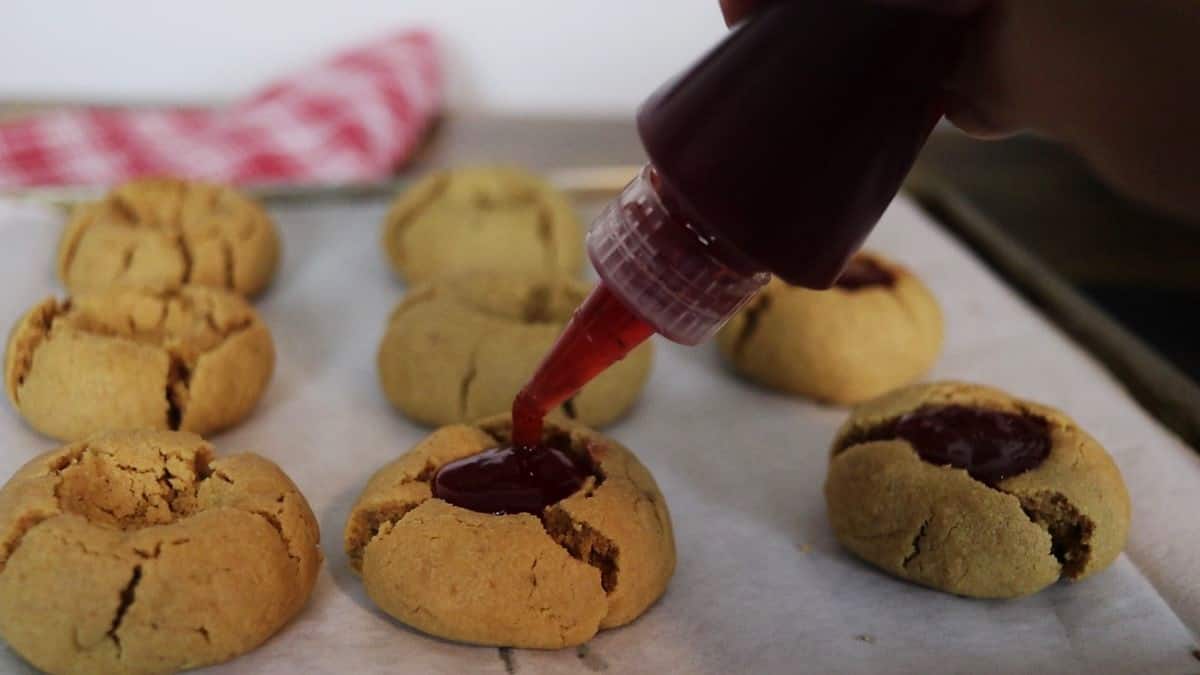
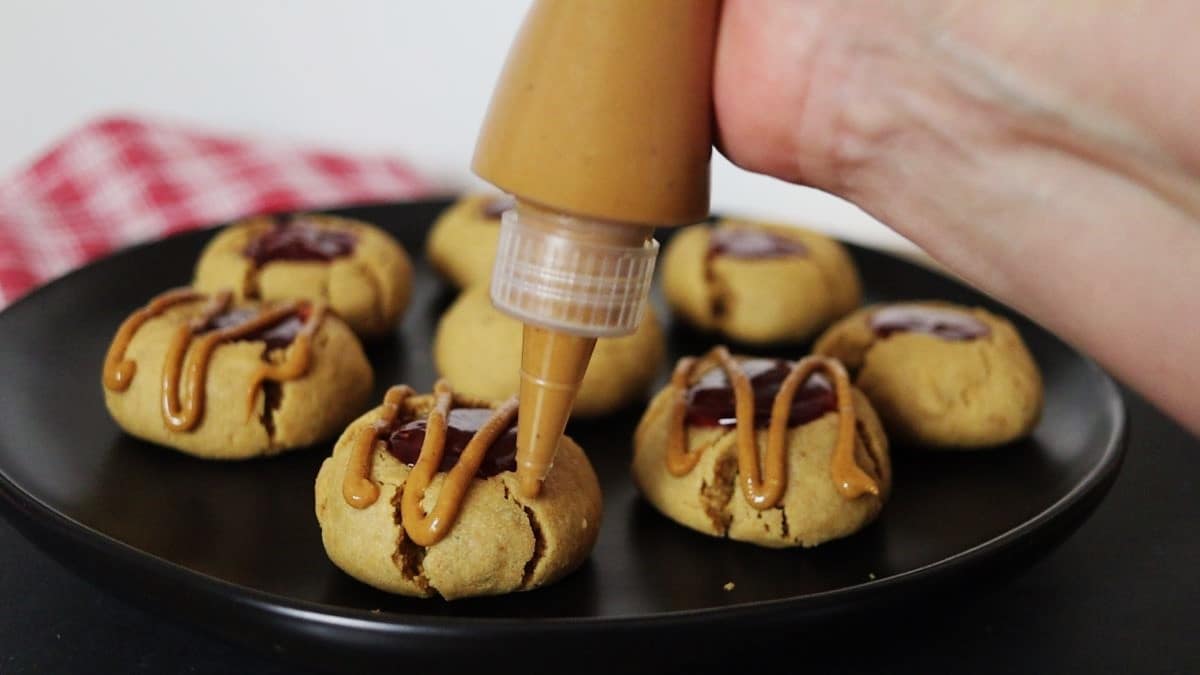
Step 7: Lightly warm the jelly, pipe (or spoon) it into the indents, and bake for another 5 minutes.
Step 8: Let cookies cool slightly, then drizzle lightly warmed peanut butter over the top before serving.
Recipe FAQs
Yes! You can make the dough a day ahead and refrigerate it until you’re ready to bake.
Yes, freeze unfilled cookies for up to 2 months, then thaw, add jelly, and bake for the last 5 minutes before serving.
Any flavor works — strawberry, raspberry, grape, or even apricot. Pure fruit spreads give the best texture and flavor.
Absolutely. Chunky peanut butter will give the cookies extra texture and little pops of peanut in every bite.
Not at all. The drizzle is a nice finishing touch, but the cookies are just as delicious without it.
Serving ideas
These cookies can be served just as they are, no bells and whistles needed. But they’re hard to beat with a tall glass of cold milk. They’re just as good with a steamy cup of coffee flavored with my homemade chocolate coffee creamer on a chilly day, and they’re downright stellar with a tall, icy glass of French press iced coffee in the heat of summer.
Make them for a holiday dessert table, a summer picnic spread, or just for weekday snacking. They mix seamlessly with just about any other cookie, making them perfect for a cookie platter at any gathering. Bottom line — no matter when you bake them or how you serve them, they disappear quickly every time.

Diane Gail’s tips for success
- Use natural peanut butter: It gives a cleaner, richer flavor with no extra sugar or oils to change the taste.
- Don’t overmix: Overmixing will make the cookies tough — stop as soon as the dough just comes together.
- Warm the jelly slightly: It makes filling the indents easier and keeps it from spreading all over the top of the cookie.
- Cool before drizzling: Let cookies cool completely before adding the peanut butter drizzle, so it sits nicely on top instead of running off.
- Make the indents while the cookies are warm: The centers press in more easily when they’ve just come out of the oven.
- Line your baking sheet with parchment: It prevents sticking and makes cleanup a breeze.


Peanut Butter and Jelly Thumbprint Cookies
Ingredients
- 3/4 cup peanut butter (peanuts and salt only)
- 1/2 cup salted butter softened
- 1/4 cup granulated sugar
- 1/4 cup brown sugar
- 1 teaspoon vanilla extract
- 1 large egg room temperature
- 1 1/4 cups all-purpose flour
- 1 teaspoon baking soda
- 1/2 teaspoon salt
- 1/2 cup jelly your favorite flavor
Instructions
- Cream fats: Blend peanut butter and softened butter in a large mixing bowl until smooth and creamy.
- Add sugars: Mix in the sugar and brown sugar until fully incorporated.
- Add egg and vanilla: Blend in the vanilla extract and egg until smooth. Set aside.
- Mix dry ingredients: In a separate bowl, whisk together flour, baking soda, and salt.
- Combine mixtures: Add the dry ingredients to the wet mixture in increments, folding with a spatula between each addition. Do not overmix.
- Scoop and shape: Use a cookie scoop to portion dough (about 2 tbls each), shape into balls, and place on a parchment-lined baking sheet.
- First bake: Bake at 350°F (175°C) for 15 minutes. Remove from the oven.
- Create indentations: Use the back of a rounded measuring spoon to gently press an indent into each warm cookie.
- Fill and finish baking: Warm the jelly slightly and spoon into the indentations. Return to the oven for 5 more minutes. Cool on the pan for 5 minutes, then transfer to a rack.
Notes
- Use natural peanut butter: Choose one made with just peanuts and salt for the right texture and flavor balance.
- Jelly filling: Lightly warming your favorite jelly makes it easier to spoon neatly into the indents.
- Don’t skip the rest: Letting the cookies sit on the pan for 5 minutes after baking helps them firm up before transferring.
- Peanut butter drizzle (optional): For a decorative and tasty finish, warm a spoonful of peanut butter and lightly drizzle it over the cooled cookies.
- Storage: Store in an airtight container at room temperature for up to 4 days.
Nutrition
Nutrition information is automatically calculated, so should only be used as an approximation.

These Peanut Butter and Jelly Thumbprint Cookies are a fun and delicious twist on a classic treat! With a perfect balance of creamy peanut butter and sweet jam, they’re sure to be a hit with everyone. If you try them, I’d love to hear how they turn out — please leave a review and share your thoughts with others! And if you have any questions or need tips while making them, feel free to drop a comment. I’m here to help and would love to assist you. Enjoy these delightful cookies!