How To Make Garden Markers At Home

You can make garden markers at home that have rustic charm, cost next to nothing, and take very little of your time to put together. I’m going to show you how today.
Below, you’ll find all the information you need to make the gorgeous garden markers in this post. There is a link to a video that I’ve put up on the YouTube channel to make it easier for you to follow along if you are a visual learner like I am. And there’s also a full printable tutorial available at the end of this post, if you would like to have that with you while you work.
I hope you love making these garden markers as much as I did. I’m just crazy about the almost primitive looking design. They make me smile every time I look at them.
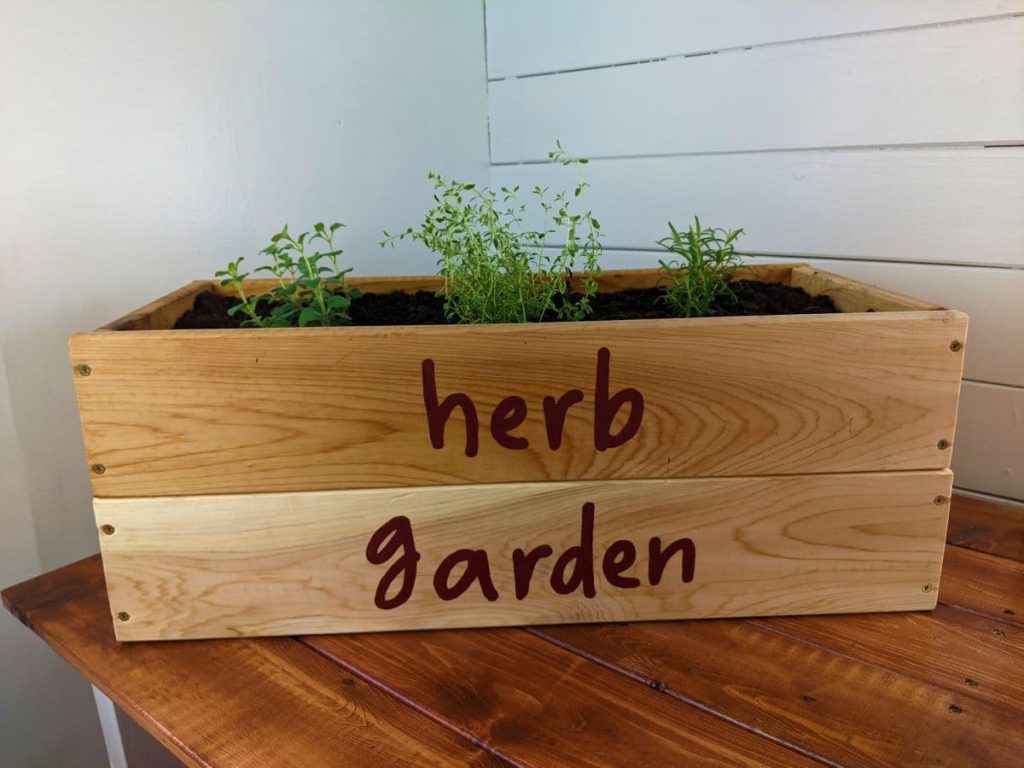
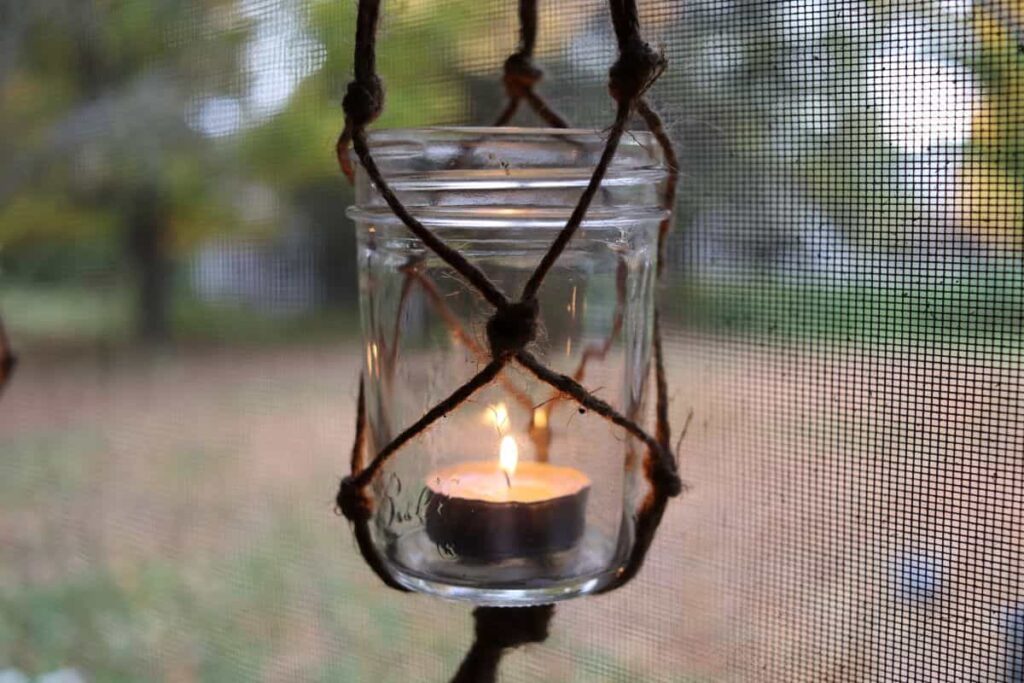
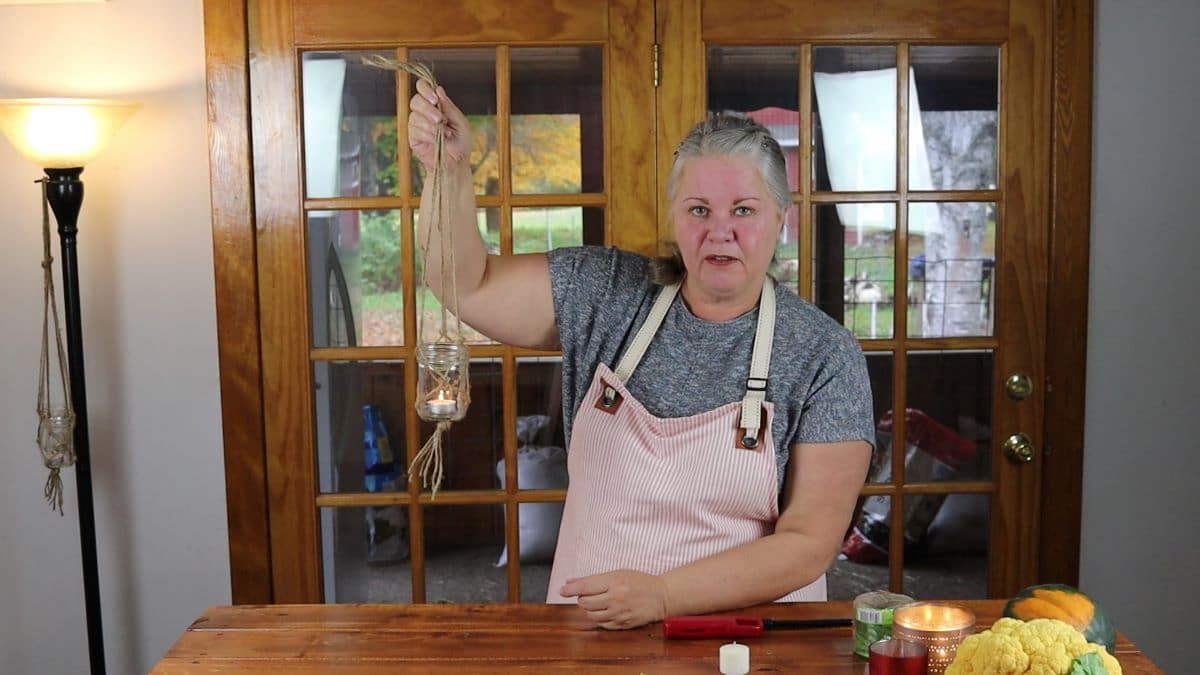
A simple wooden herb box and a few basic jute twine tea light hangers are great additions to your outdoor space too. And a DIY mini plant hanger or a few simple beaded wooden spoons bring a little handmade charm to your indoor space.
How Much Do These Markers Cost
The cost of making these markers will vary a little according to what supplies you have on hand. The sticks and stones are of course provided by Mother Nature, free of charge. But you will need a few other items as well. I’ve listed them further down in this blog post for your convenience.
If you have everything on the list around the house than you’re good to go. If not, it’s pretty safe to say that you can pick up all of what you need for no more than $10. Unless you need the pruning shears which can be about $10 themselves.
But honestly, if I didn’t have them I would have just broken the sticks by hand and called it good.
No matter the exact dollar amount … how much does this project cost? … not much at all!
Ways To Use Garden Markers
When you think of garden markers you probably picture them sitting at the end of garden rows that are planted full of tasty hand grown veggies. I know it’s the first picture that comes to my mind. And that is one great place to have a garden marker. Especially when your plants are still small and you may not be certain what you’ve planted in that row. And also for aesthetics, of course.
But garden markers can be used in so many places. And when they’re as charming as these little beauties are, you might want to spread them around a bit!
Place them anywhere on your property that you have planted flowers, herbs, or any sort of plant really. Use them in all of your indoor container gardens. And don’t forget to make a few to dress up your houseplants too.
Here’s What You Need To Make These Markers:
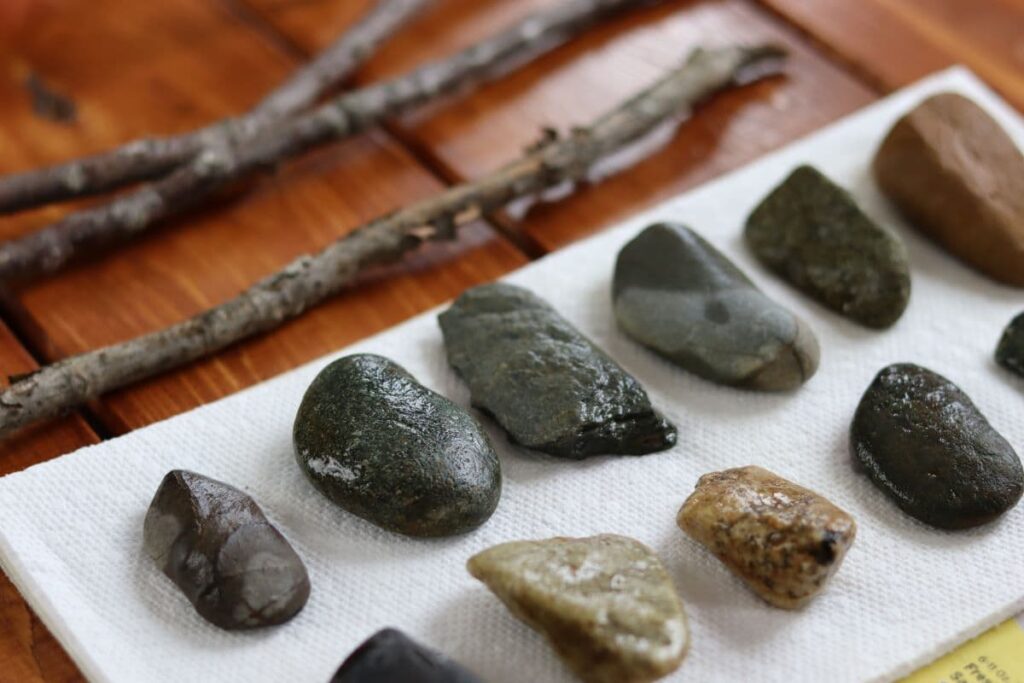
As mentioned above Mother Nature will provide you with the two of the three main elements needed to make these garden markers; sticks and stones.
So, head on out for a walk and gather what you need a day or two before you plan to put them together.
You’re going to want to choose sticks that are reasonably straight and thick enough to balance the weight of the stone attached to the top of them without falling over. You’ll also want to be sure that they are more than 12″ long as you are going to need to cut them to 12″ in order to make your markers.
You’ll need stones that are pretty flat and not very thick so that they are not too heavy for the stick. They’ll need to be at least 3″ wide, closer to 4″ makes them exponentially easier to wrap.
This, admittedly, is quite the guessing game. But hopefully taking a look at the pictures throughout this post will help you gauge exactly what you need to gather.
After you’ve gleaned Mother Nature for your sticks and stones there are only a few things left to gather before starting your project.
Here’s a full list for you …
- Sticks – about 12″ long
- Stones – about 3″-4″ wide, flat and not too thick
- Jute Twine – 4′ length for each marker, it doesn’t take this much but it is easier to work with the twine if it is longer than needed
- White Craft Paint – minimal amount
- Small Paintbrush
- Black Marker
- Pruning Shears
- Old Toothbrush or Small Scrub Brush
- Scissors
How Long Does It Take To Make These Markers?
These garden markers don’t take much time to make at all. Because the painting needs to be done in steps it is important to realize that you will need to step away from the project to allow the paint to dry several times.
So, it isn’t a sit down and complete in an hour kind of project. It will be spread out over an afternoon. Or in my case over a few days. I tend to walk away and get involved in other things which keeps me from returning to the project until the next day.
Either way, if you take a tally of the total time to complete this project it is just about 15 minutes per marker, 2 hours and 15 minutes if you are including the drying time for the paint. And 26 hours and 15 minutes if you add in the time it takes for the sticks and stones to dry out before you get started.
How To Make Garden Markers
After you’ve collected the sticks and stones to make your garden markers you’ll need to bring them in the house and prep them for the project.
Take a small scrub brush or an old toothbrush and clean the dirt off your stones. It’s easiest to do this under some running water in the sink.

Would you like to save this post for later?
Lay your sticks out on a flat surface, preferably by a window with the sun shining in. Then lay your stones out with them. You’ll want to put some newspaper and/or paper towels under your wet stones when you lay them out. Allow a day or two for any dampness to work it’s way out of your sticks and stones before you start your project.
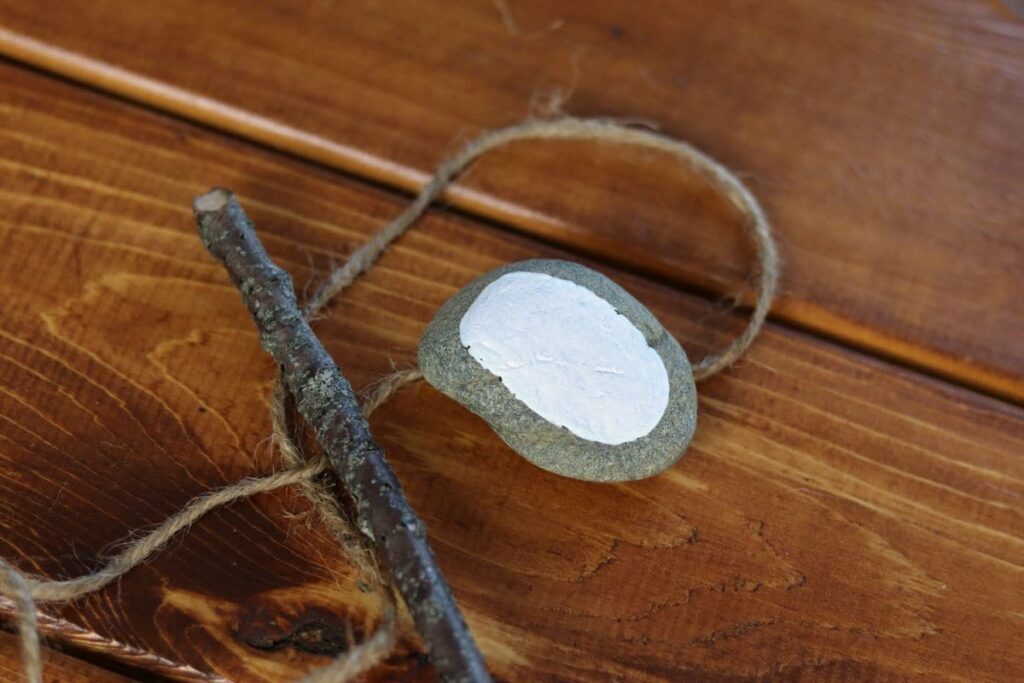
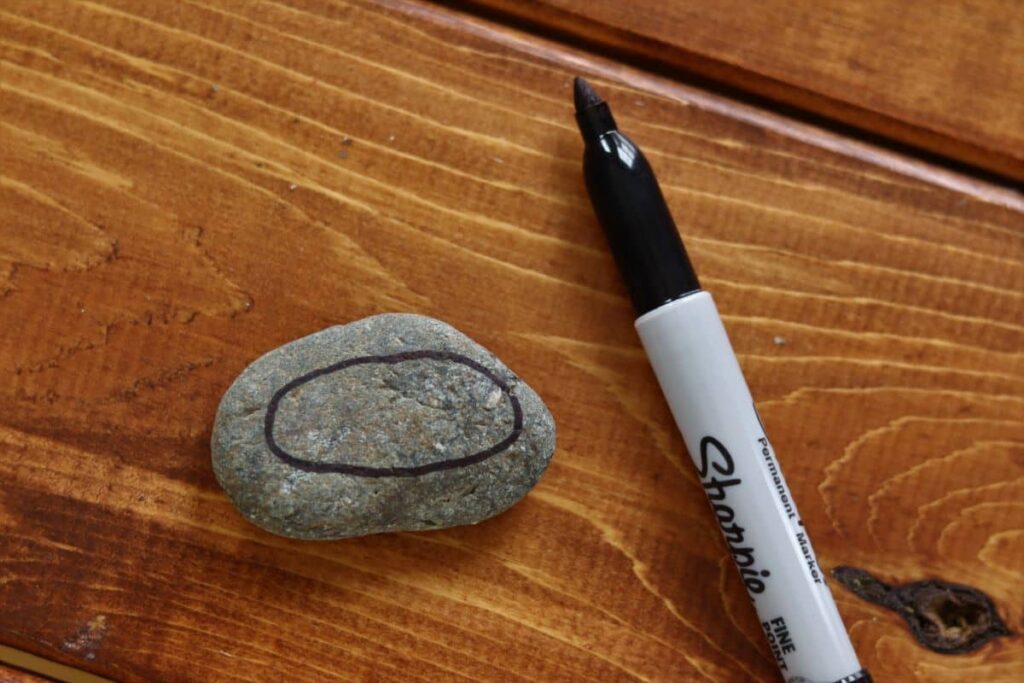
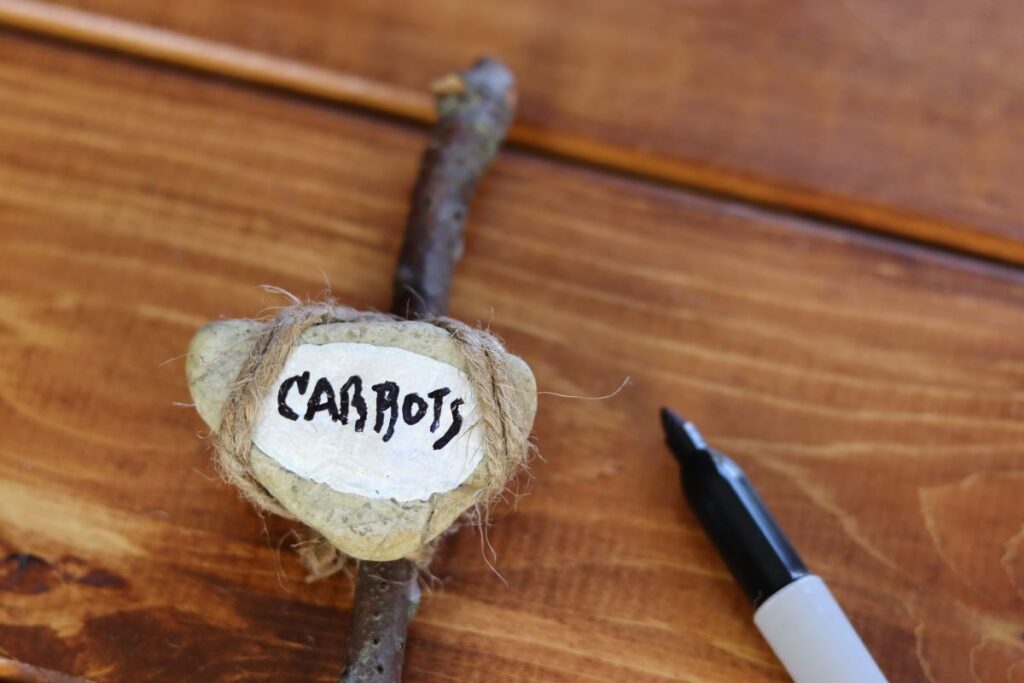
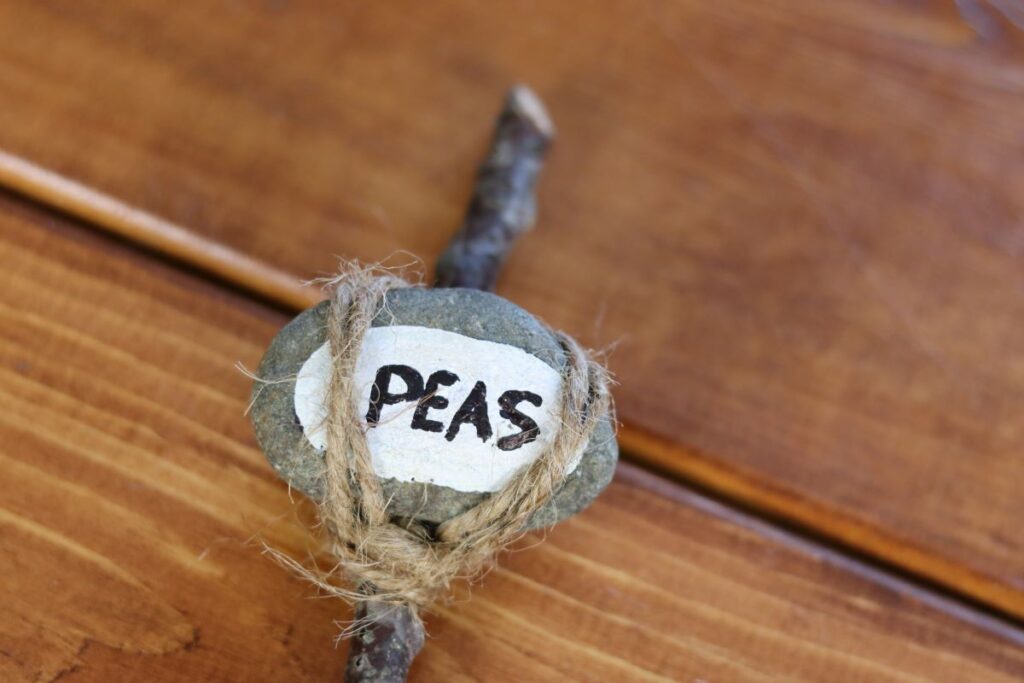
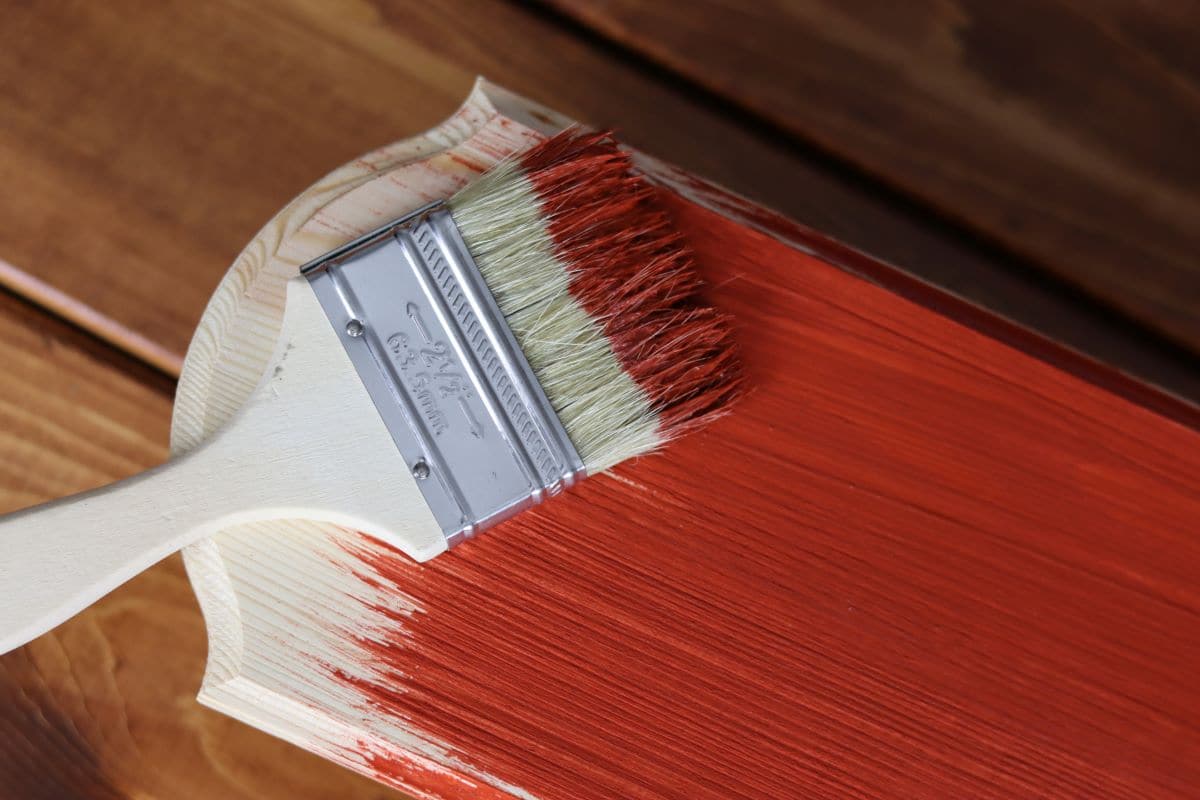
Use a black sharpie marker to outline the oval shape for the white patch you are going to paint on your stones.
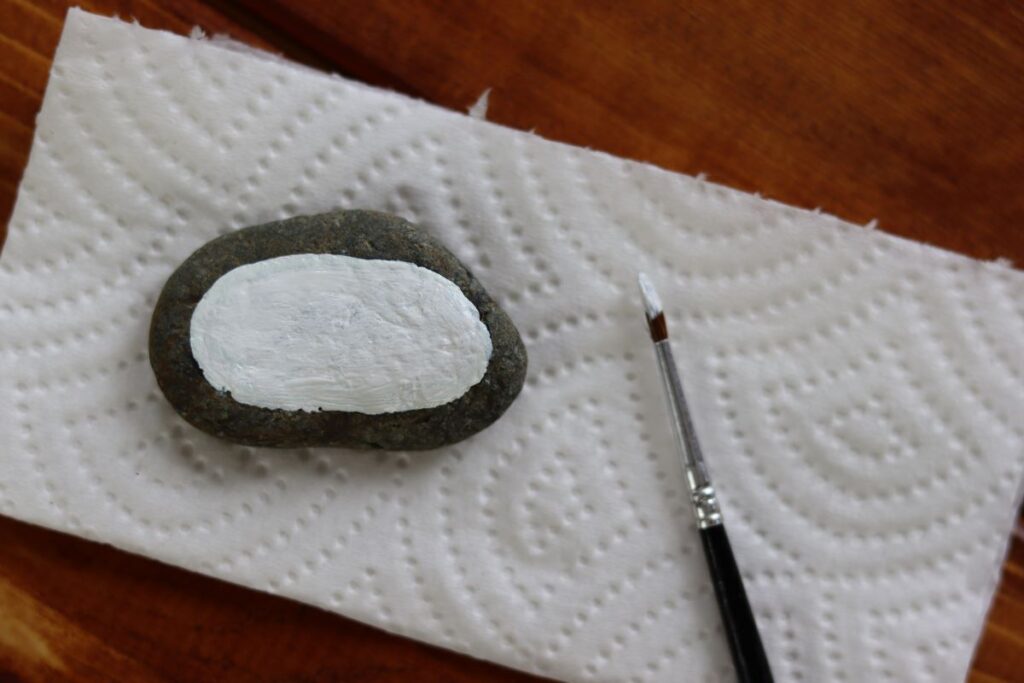
Then paint the area in being careful to cover all of the marker. Allow them to dry and then apply a second coat so the patch is a solid white color.
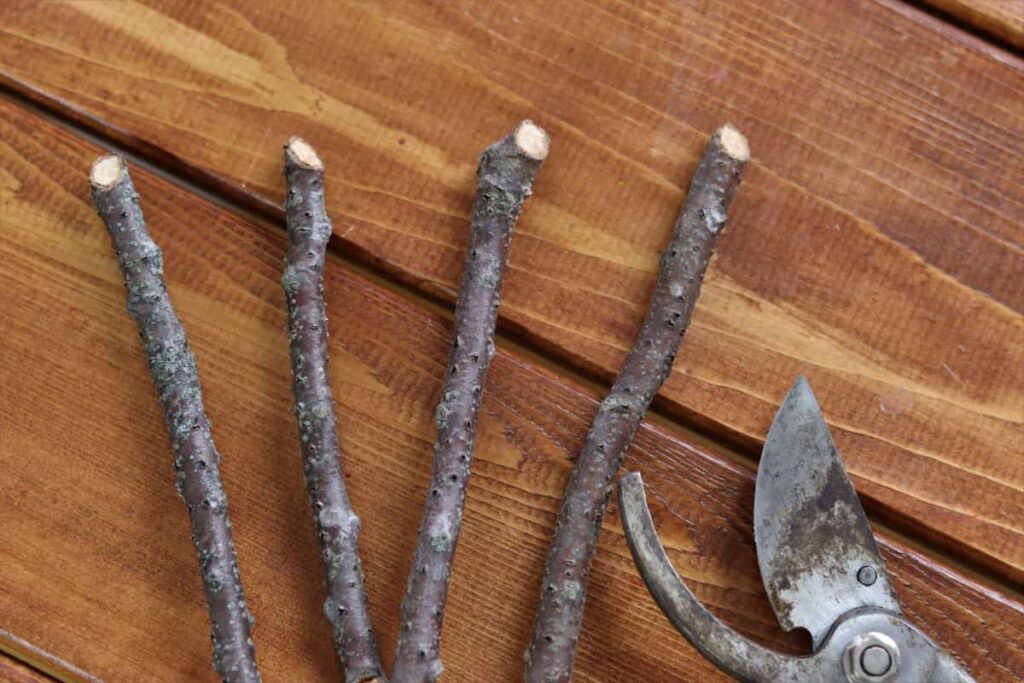
Take a pair of pruning shears and trim the ends of your stick, making the total length of the stick about 12″.
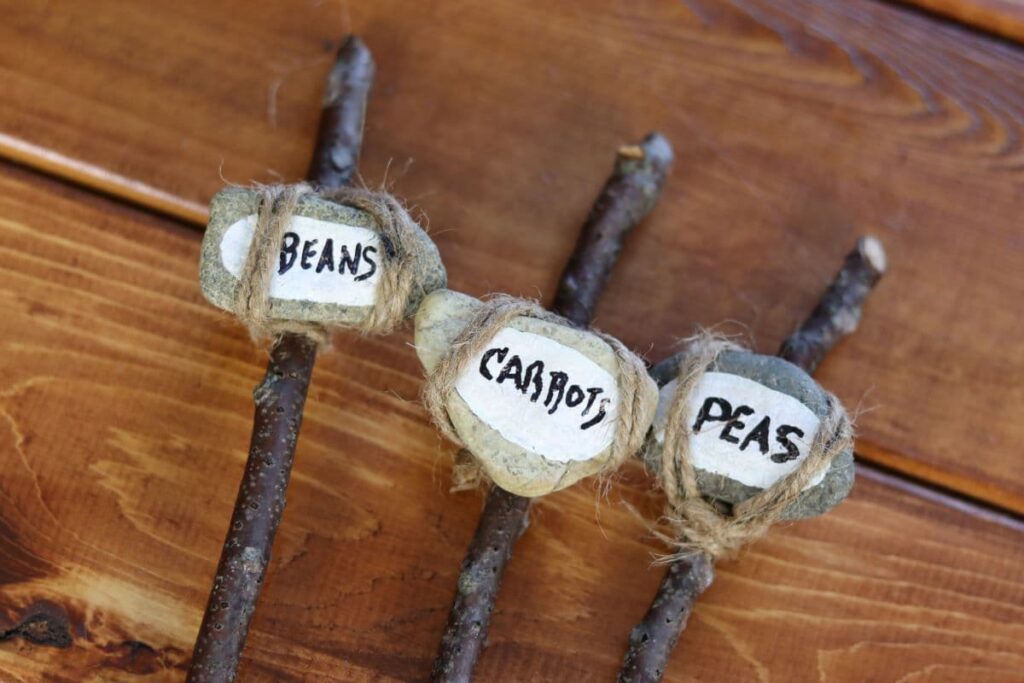
Wrap the painted stone to the stick with jute twine. Start by wrapping the jute twine around the stick, towards the top where you want the stone to sit, about 3 or 4 times. Leave a small length of twine to the left of the stick, as you will want this little bit to tie off the twine when you are done wrapping it.
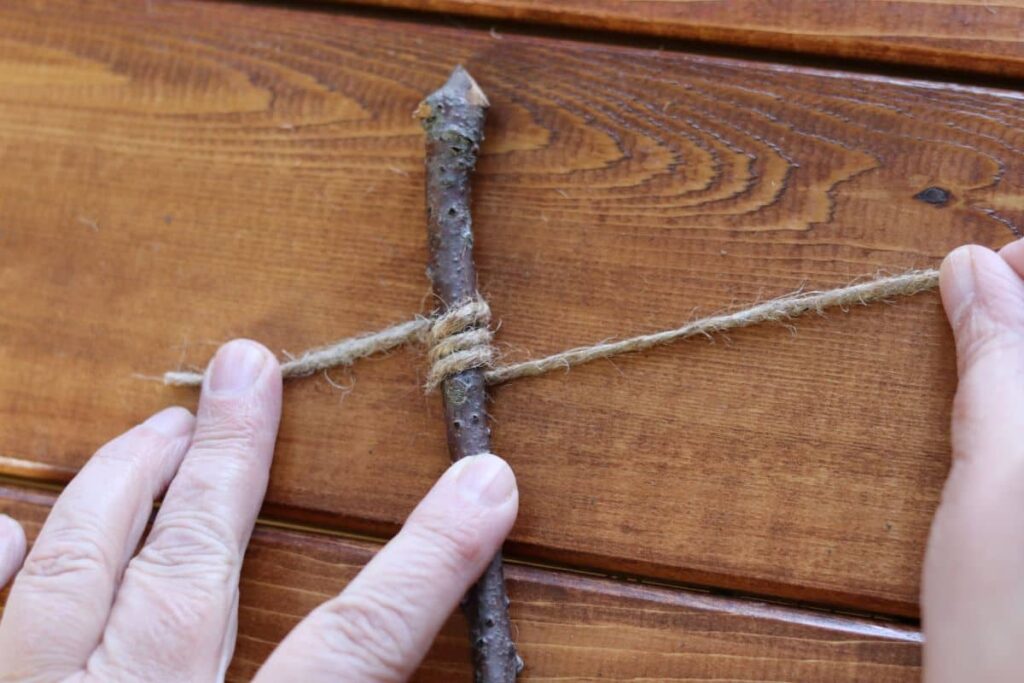
Then place the stone on the stick with the top covering the wrapped twine. Bring the twine up behind the stick and out to the right of the stick above the stone. Wrap it around the left side of the stone and then behind the stick below the stone.
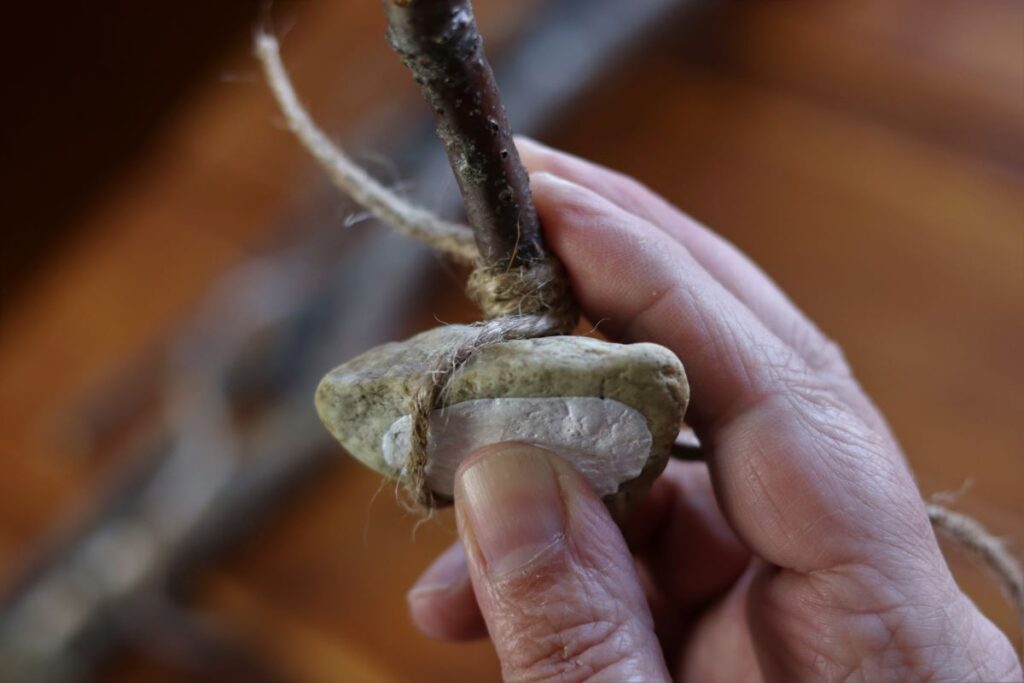
Then wrap the twine around the stick twice to tighten it. You will need to hold tightly onto the stick, the stone, and the twine throughout this whole process.
Now bring the twine up behind the stick and out to the left of the stick above the stone. Wrap it around the right side of the stone and then behind the stick below the stone. Then wrap the twine around the stick twice to tighten it.
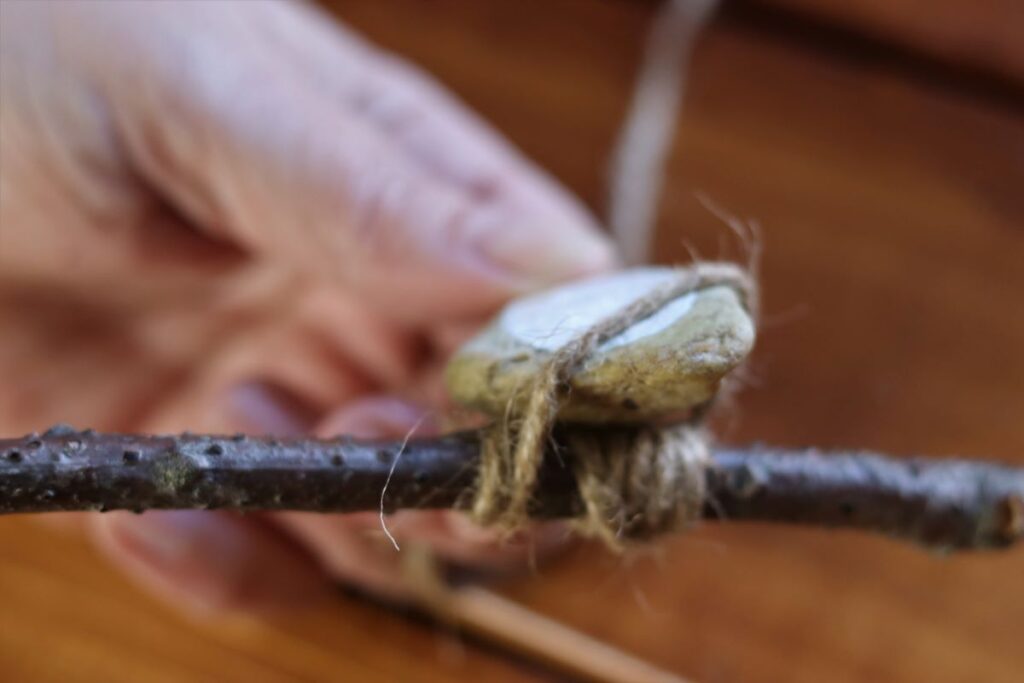
Repeat wrapping both sides of the stone one more time. Then keeping the string very tight, turn the marker over so that the back of it is facing you. Tie the end of the string into a knot with the small length of twine you left at the beginning.
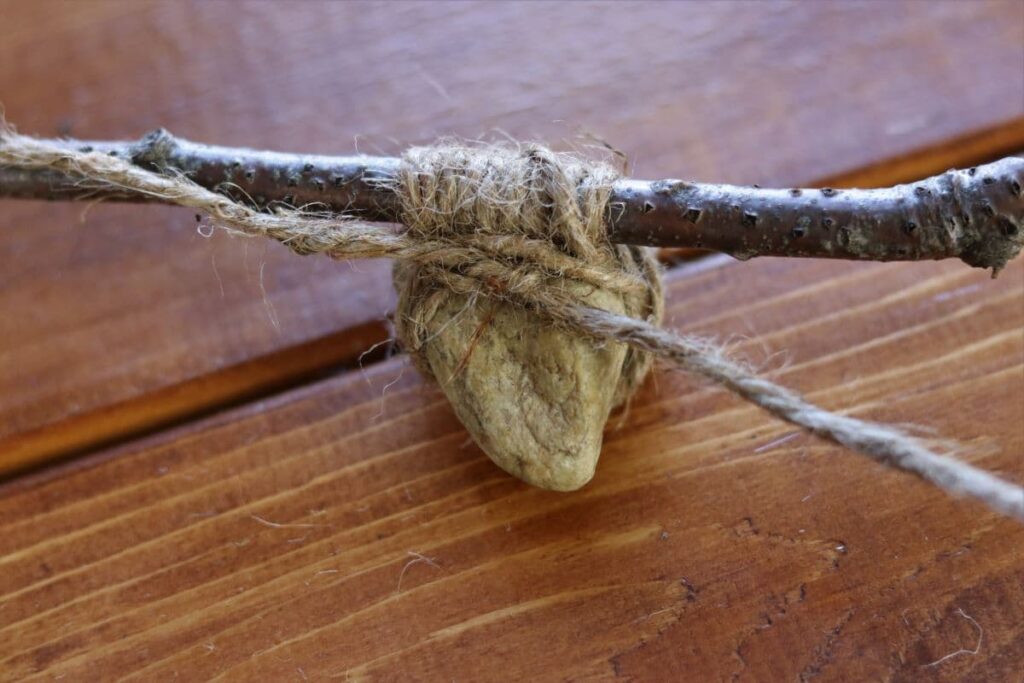
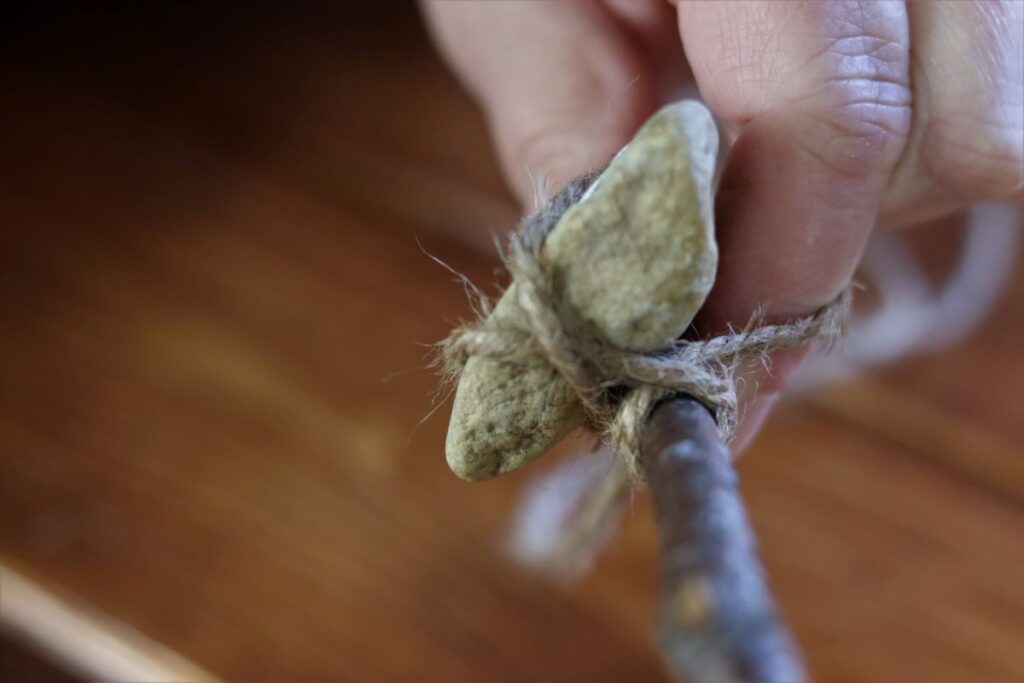
When you’re finished the stone should be securely attached to the stick. Because the stones are all different shapes and sizes it may take more than one try to get it right.
I had to mess around with it 3 or 4 times before I got it really snug. But then I was able to do it rather quickly. It really just takes a little patience and perseverance.
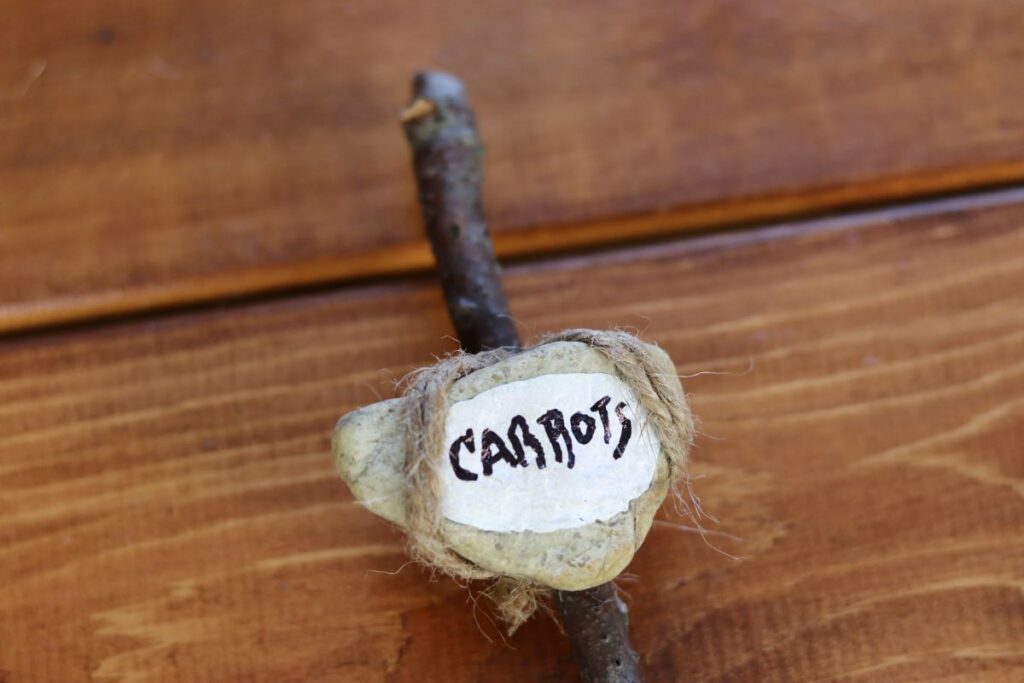
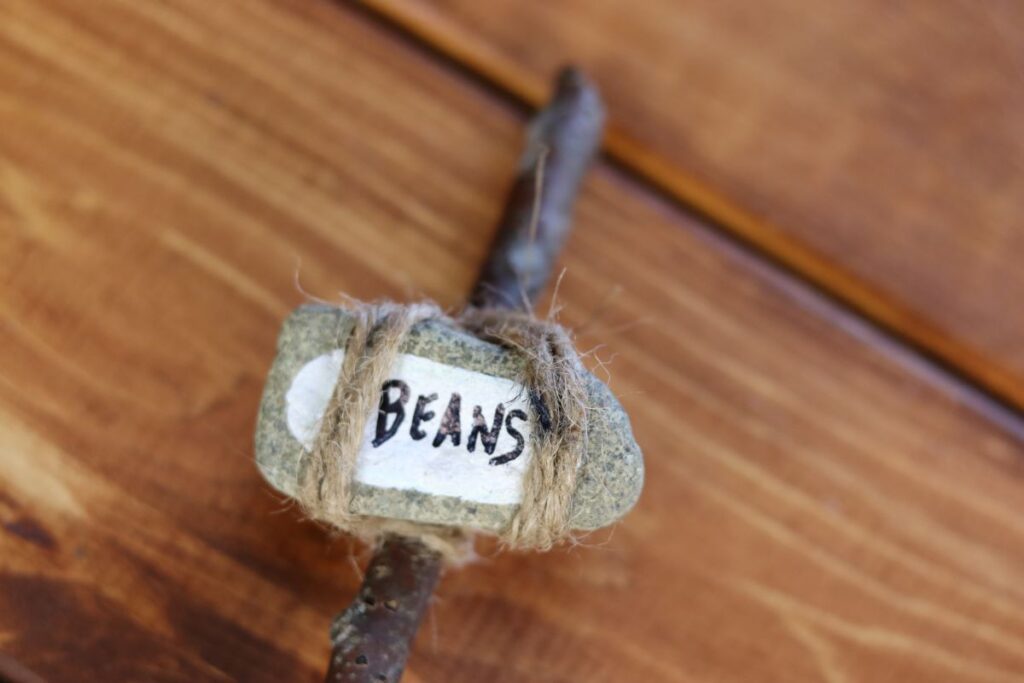
Take your black sharpie marker and write the name of the vegetable, flower, or herb that you want to use the garden marker for on the white patch. And you’ve got one rather primitive looking garden marker that, in my humble opinion, is a really great addition to any green space.
Will These Garden Markers Last
Yes. Your garden markers will last for quite some time. I hesitate to say how long as I just made mine and I’m not absolutely certain how long I will have them.
Logically, it makes sense to me that over a few years the sticks will begin to decay. And the string will definitely do the same. My experience with jute twine tells me you should get 3 or 4 seasons out of the twine.
But, no matter, it takes little effort to simply freshen up the marker on the stones, grab a few fresh sticks, and rewrap the twine. It may seem like doing the project completely over a second time. But I don’t feel that way at all.
I view it as a relaxing way to spend a sunny afternoon in the early part of spring when I’m just itching to do all things gardening. I expect to be just as excited about freshening these markers up as I am about making them today.
The garden markers that you make to use indoors in your houseplants and herbs will last much longer as they will not be exposed to the elements. I think it’s pretty safe to consider them a long term addition to those pots.
Recommended For You …

If you try this project and love it, please give it 5 stars! It supports my work more than you may realize, and I appreciate that a great deal!
You can also show your support by tagging me on Facebook @sustainableslowliving and/or Instagram @slowlivingbydianegail when you post a pic of your finished project.

DIY Rustic Garden Markers
Equipment
- Small paintbrush
- Black marker
- Pruning shears
- Old toothbrush or small scrub brush
- Scissors
- Newspaper or paper towels
Materials
- 1 12" stick
- 1 3"-4" stone flat and not too thick
- 1 4' length jute twine it doesn’t take this much but it is easier to work with the twine if it is longer than needed
- white craft paint
Instructions
- Clean the materials: Scrub the stones under running water and brush away any dirt.
- Dry the materials: Lay sticks and stones out on a paper-lined surface near sunlight. Let dry for 1–2 days.
- Mark the paint area: Use a Sharpie to outline an oval on the flattest surface of each stone.
- Paint the white patch: Fill in the oval with white paint, allow to dry, then apply a second coat.
- Trim the sticks: Use pruning shears to cut sticks to approximately 12 inches long.
- Begin wrapping: Start wrapping jute twine around the stick 3–4 times near the top, leaving a tail for tying later.
- Secure the stone (part 1): Place the painted stone on the stick, wrap twine around the left side, then behind the stick.
- Secure the stone (part 2): Wrap twice around the stick, then wrap around the right side and back behind the stick.
- Repeat and tie off: Repeat both sides once more, turn it over, and tie off with the tail you left earlier.
- Label your markers: Write the plant name on the dried white patch using a Sharpie.
Video
Notes
- Choose flat, smooth stones: This gives you the best surface for painting and writing clearly.
- Let materials dry fully: Damp sticks or stones can affect adhesion and make wrapping more difficult.
- Use outdoor-rated paint: This helps your garden markers withstand weather without fading or peeling.
- Practice the twine wrapping: Try a few times to get the feel before finalizing each marker.
- Add a protective coat: For extra durability, seal the finished markers with a weather-resistant topcoat.
These look cute! I’m going to try this as I always forget to make plant markers, so each year there’s a period of me trying to remember what I’ve planted.
I do the same thing! That’s why I made these. Happy garden marker making 😉
What a cute idea! I have to remember this for the garden this year.
Hope you make them Kerry! They’re fun 😉
These are just incredibly cute! My little granddaughters would love to help me make some like this for their garden. Thanks for the creative idea!
These rustic garden markers are a great way to add a personal touch to your garden using simple, natural materials. They’re functional and beautiful at the same time! If you give them a try, I’d love to hear how they turn out in the comments. Happy gardening!